Assembly Instructions
Please keep for future reference.
Important -
Please read these instructions fully before starting assembly
Version 1 - 25/11/19
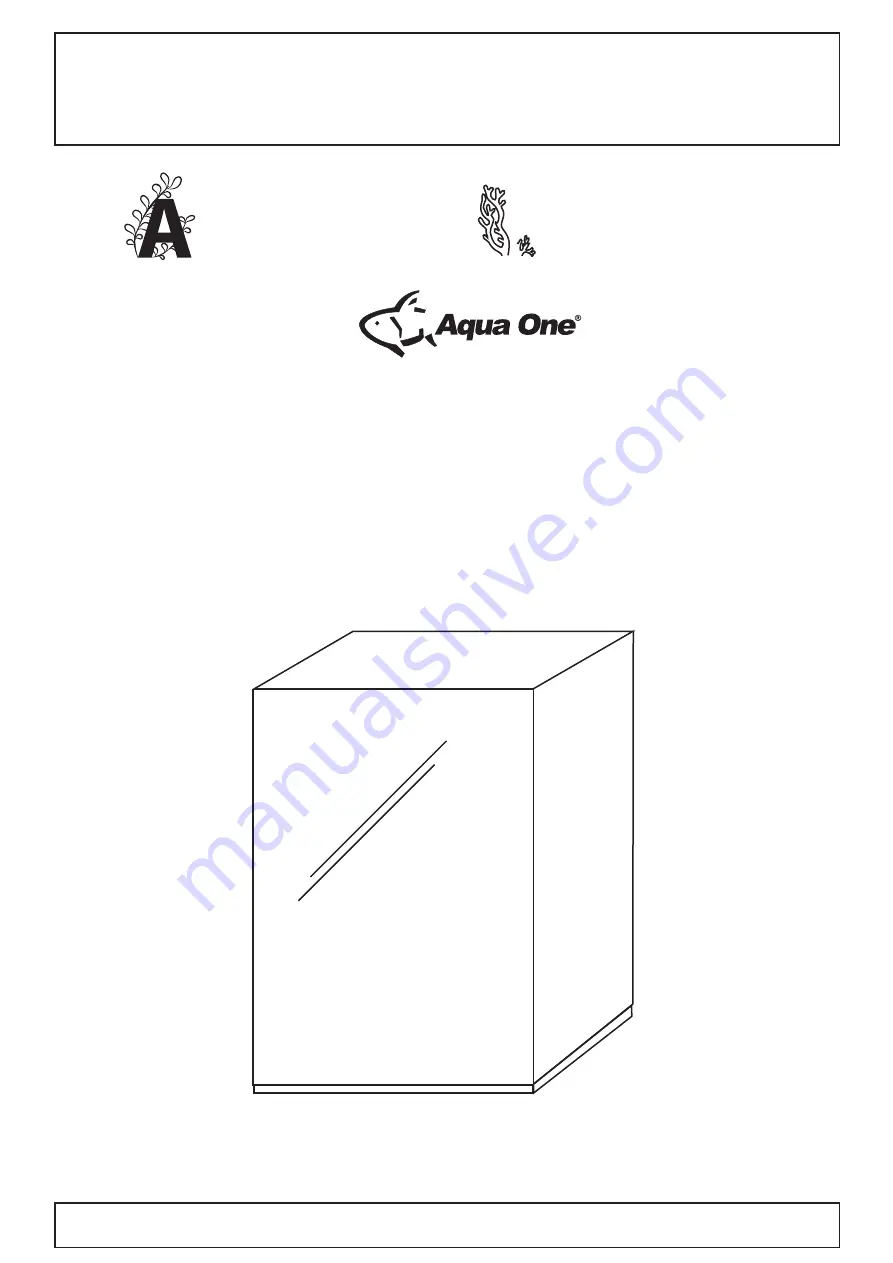
60cm Cabinet
Suitable for AquaSys 150 or ReefSys 180 Aquariums
Aqua
Sys
Reef
by
Page 1: ...ructions Please keep for future reference Important Please read these instructions fully before starting assembly Version 1 25 11 19 60cm Cabinet Suitable for AquaSys 150 or ReefSys 180 Aquariums AquaSys ReefSys by ...
Page 2: ...r your floor use opened out unit carton We do not recommend the use of power drill drivers for inserting screws as this could damage the unit Only use hand screwdrivers Dispose of all packaging carefully and responsibly Care and maintenance Contact Us Only clean using a damp cloth and mild detergent do no use bleach or abrasive cleaners From time to time check that there are no loose screws on thi...
Page 3: ...Panels Please check you have all the panels listed below 2x Side panels 764 x 530mm 2 x Wide back brace 764 x 200mm 1x Base 604 x 531mm 1x Top 604 x 531mm 1x Door 786x596mm B A C D E ...
Page 4: ...ease check you have all the fittings listed below 30x 15mm Large Locking Cam Nut 30x Cam Bolts 1 2 4x Hinges 3 4x Hinge Plates 4 6x Hammer in Glides 5 12x 3 5x15mm Screws 6 2x Push Catch 7 1x Aperture Trim Ring 8 ...
Page 5: ...es with cross facing up and the arrow facing the edge of the board Screw 3x Cam Bolts 2 into the 5mm holes along the back edge Attach the two hinge plates 4 to the side that has the two pairs of 5mm holes at the front edge eith the flat edge at the front Repeat on both panels A 1 1 1 1 1 1 A 2 2 2 A 4 4 ...
Page 6: ...ings 1 into the 7 holes of the Wide Back Braces B Attach the raw edge of the Wide Back Braces to the back edge of the sides giving the Cam Fittings a half turn with the screwdriver Repeat for both panels 1 1 1 1 1 1 1 B A B ...
Page 7: ...des 5 to the underside of the base panel C using the pip marks as a guide for fitment then turn the base over to have the 5mm holes facing upwards Screw in cam bolts 2 into all of the 5mm holes C 2 2 2 2 2 2 2 2 2 C Turn over 2 5 5 5 5 ...
Page 8: ...Drop sides with attached back braces onto the cams on the base ensuring the side that has the hinge plates is on the left hand side as you face it Give all cam fittings a half turn with the screwdriver C A B B A ...
Page 9: ... screws 6 attach the bracket for the push catch 7 to the pip marks then attach push catch to the bracket by clipping in at the back and pushing down at the front until you hear a click Turn top over and attach to sides and back braces as with the base D 2 2 2 2 2 2 2 2 2 2 C 7 6 6 A A B B D Turn over ...
Page 10: ...holes and screw in using remaining screws 6 Hook hinge arms into the front of the hinge plate and push in at the back of the arm until they click Adjust hinges using adjustment screws as necessary Adjust the push catch 7 as necessary by twisting in or out 6 6 6 6 E 3 3 C A A D E 7 ...
Page 11: ... From the inside of the cabinet push aperture trim ring 8 through the hole in the top of the cabinet We highly recommenced securing with silicone to seal the edge and protect the chipboard 7 A A B B C D Silicone ...