background image

Lithium Battery Installation

Insert lithium battery into the battery slot as shown below.

Note: 
1. Lithium batteries should be purchased separately. You can use: Sony F970/F550/
NP-FM500H.
2. There's no need to remove the batteries when powered by adapter. DC power will 
charge the batteries and battery power will be displayed in the top left corner of  the screen.

6

7

4. Function and Operation

1. Before setting functions, make sure device is connected correctly.

2. Before entering the menu, the Direction Pad has several default functions: 
<    /    > = brightness adjustment; <   /   > = contrast adjustment. 

Note: 
Refer to P9 to set shortcuts as needed.

3. Press <M> on the V-Screen to enter the menu. Press <    /    > to choose from 
the main menu, including display, menu, function, and shortcut settings. Then 
press <    > to enter sub-menu. Press <    /    > to navigate the sub-menu, and 
<    /    > to adjust parameters. Press <M> to confirm and return to the main menu. 
Press once more to exit the menu.

Power Switch

Switch on the V-Screen by pressing the power switch. To power off, 
hold the power switch for 2 seconds.

Note: 
1. Power indicator lights red when connected with power. 
2. Power indicator lights green when turned on.  
3. A red battery indicator will blink on the screen when power is low. Replace 
batteries immediately

Signal Input Switch

Press the < A/V> button to choose appropriate signal input mode. Ex: Switch to 
HDMI mode to receive  HDMI signal. 

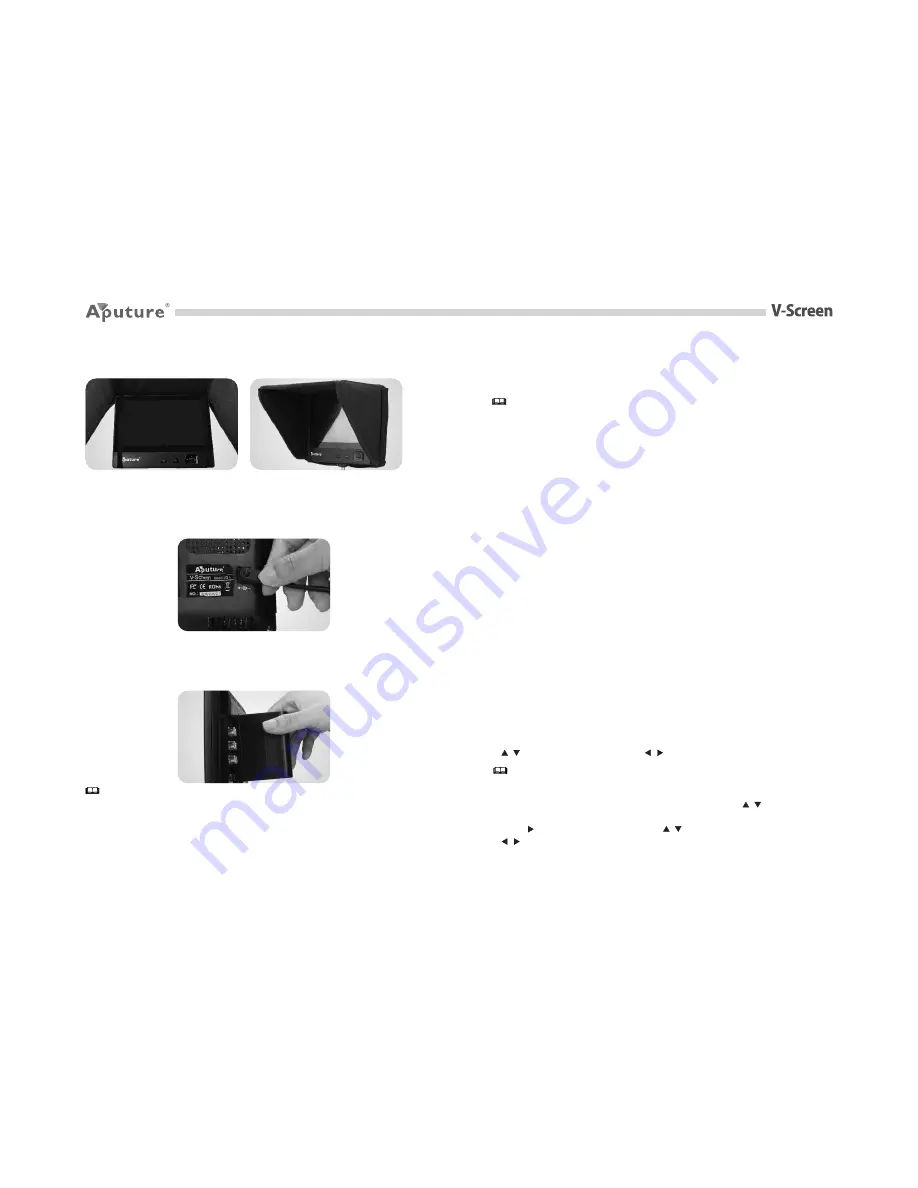
3) Fix the sunshade cover

Fix the sunshade cover on the V-Screen with the tape as shown by the picture.

Using Power Adapter 

To power by adapter, connect the DC Adapter to the DC Input on the back of 
V-Screen.

Enter Sleep Mode

Enters sleep mode after 30 seconds when there is no signal. Awake unit by 
pressing any button except power switch.

Supports HDMI Signal Output

V-Screen VS-2 not only supports HDMI signal input, but also has a unique HDMI 
output function.

AP-025

Monday, January 14, 2013 11:56:37 AM

Summary of Contents for V-Screen

Page 1: ...www aputure com R User Manual Vivo Movie Solution V Screen Digital Video Monitor AP 025 Monday January 14 2013 11 56 33 AM...

Page 2: ...1 1 2 3 1 2 3 4 5 6 HDMI VS 2 7 2 3 3 4 4 4 5 5 5 6 6 7 7 10 11 7 7 7 AP 025 Monday January 14 2013 11 56 34 AM...

Page 3: ...1 2 3 4 5 6 7 8 9 1 2 HDMI YPbPr AV Audio Video1 Video2 AP 025 Monday January 14 2013 11 56 34 AM...

Page 4: ...3 5 6 USB 7 6 8 HDMI VS 2 1 2 3 4 5 1 4 1 Y 2 Pb 3 Pr 4 3 4 1 4 5 6 7 2 3 1 2 3 4 5 6 7 8 10 1 LCD 2 USB 3 4 5 A V 6 7 5 6 Video 1 7 Vedio 2 8 Audio 9 DC 10 1 4 11 HDMI 12 HDMI VS 2 OUT 12 11 9 AP 02...

Page 5: ...2 DC 5 6 1 2 HDMI 3 4 5 1 1 HDMI AV AV 2 1 4 1 4 3 1 2 5 3 4 3 1 F 9 7 0 F 5 5 0 N P F M5 0 0 H 2 AP 025 Monday January 14 2013 11 56 35 AM...

Page 6: ...c d 95 93 90 88 85 80 e f g 6500K 2 a b 0 100 50 c 0 100 50 d 1 6 1 e 5 10 20 30 40 50 60s 5s 7 8 4 2 5 A V HDMI A V HDMI 1 a 6500K 7500K 9300K 5 P 8 6 HDMI VS 2 HDMI HDMI 7 30 1 2 P 1 0 3 M M M AP 0...

Page 7: ...70 182 x 138 x 23mm 380g VS 1 VS 2 7 0 LCD 1024 x 600 1920 x 1080 16 9 4 3 250cd 800 1 160 150 H V HDMI 1 1 1 1 9 10 X1 3 a 4 3 16 9 b X1 X5 X10 X1 c d e f ISP g M M 4 1 U 2 U 50 50 30s 3 0 NP F NP F...

Page 8: ...1 2 3 4 5 6 User Manual Vivo Movie Solution 11 V Screen Digital Video Monitor AP 025 Monday January 14 2013 11 56 36 AM...

Page 9: ...se safety instructions where all those who use this equipment will read them 1 Don t immerse in water or expose to rain May result in fire or electric shock 2 Use the included power adapter or batteri...

Page 10: ...6 Speaker and headset stereo output 7 Firmware updates via USB 8 Six language choices 9 Supports HDMI signal output VS 2 Design 1 Simple elegant design 2 Slim light body 3 Universal hot shoe mount wit...

Page 11: ...ry Slot 6 Video 1 Signal Input 7 Video 2 Signal Input 8 Audio Jack 9 DC Power Screw Mount 10 1 4 Jack 11 HDMI Signal Input 12 HDMI Signal Output VS 2 Front Back Accessories V Screen Installation 1 Mou...

Page 12: ...ss M to confirm and return to the main menu Press once more to exit the menu Power Switch Switch on the V Screen by pressing the power switch To power off hold the power switch for 2 seconds Note 1 Po...

Page 13: ...F ON OFF OFF OFF Instructions 1 Download the upgraded firmware to USB stick and then connect with V Screen by the firmware upgrade cable Press Yes to upgrade the firmware 2 V Screen shows upgrading on...

Page 14: ...cifications change 10 6 Troubleshooting Power indicator LED doesn t work Make sure the adapter is connected tightly or battery is properly installed Power indicator LED lights red Make sure V Screen i...

Reviews: