3. BASIC OPERATIONS
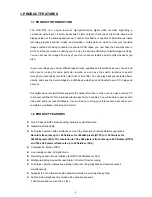
This section shows you how to operate and manage the DVR.
3.1 RECORDING OPERATIONS
3.1.1 Manual Recording
When the DVR is in the live display mode, take the following steps to start recording:
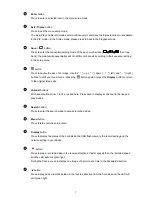
(1) In live display, press the
button to record video into a hard-disk drive with the
corresponding programmed recording settings. At once the device will emit a “beeping” sound
signal and the
button will light up indicating the DVR is in the recording status.
(2) Press the button for at least 3 seconds to stop recording any time.
Note:
In the
SEARCH MENU
and
MAIN MENU
, the user cannot press the
button to lift the
record mode.
(3) To access just recorded video, please refer to section
5.5.1 RECORD SETTING
for more
details.
3.1.2 Alarm Recording
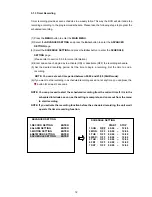
Take the following steps to activate the programmed alarm recording. For
ALARM
settings, please
refer to section 5.5.1 for more details.
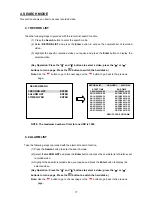
(1) Press the
MENU
button to enter the
MAIN MENU
.
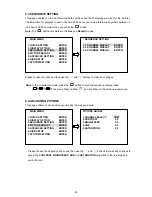
(2) Select the
ADVANCED SETTING
and press the
Enter
button to enter the
ADVANCED
SETTING
page.
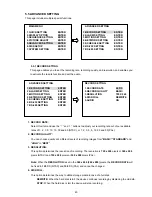
(3) Select the
ALARM SETTING
and press the
Enter
button to enter the
ALARM SETTING
page.
(Please refer to section 5.5.1 for more information.)
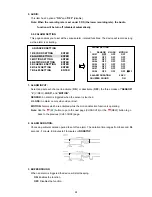
(4) Enter and set each channel to activate or deactivate the three modes of "
SENSOR
",
"
V-LOSS
", and "
MOTION
".
(5) Set the desired time period. Set the "
ALARM DURATION
" for
0
second,
30
seconds,
1
minute,
5
minutes to
10
minutes
or
NONSTOP
.
(6) Activate or deactivate the buzzer sound.
ALARM SETTING
1. SENSOR
V-LOSS
MOTION
CH01 OFF OFF OFF
CH02 OFF OFF OFF
CH03 OFF OFF OFF
CH04 OFF OFF OFF
CH05 OFF OFF OFF
CH06 OFF OFF OFF
CH07 OFF OFF OFF
CH08 OFF OFF OFF
▼
:FF
2.ALARM DURATION
0 SEC
3.BUZZER SOUND
ON
ADVANCED SETTING
1.RECORD SETTING
ENTER
2.ALARM SETTING
ENTER
3.MOTION SETTING
ENTER
4.NETWORK SETTING
ENTER
5.SCHEDULE SETTING
ENTER
11
Summary of Contents for DVR-3716
Page 2: ......
Page 51: ...Figure 4 Figure 5 49 ...

