Appalachian’s
52-Bay
INSTALLATION
AND OPERATION
PROCEDURES
FACTORY BUILT FIREPLACE INSERT
FREESTANDING - RESIDENTIAL
MOBILE HOME MODELS
MASONRY FIREPLACE INSERT
© 2001 Appalachian Stove & Fabricators, Inc.
Page 1: ...Appalachian s 52 Bay INSTALLATION AND OPERATION PROCEDURES FACTORY BUILT FIREPLACE INSERT FREESTANDING RESIDENTIAL MOBILE HOME MODELS MASONRY FIREPLACE INSERT 2001 Appalachian Stove Fabricators Inc ...
Page 2: ...alyst Light Off When Refueling 16 VIII Maintenance 17 1 Ash Removal 17 2 Care of the Glass 17 3 Chimney Care 17 4 Stove Finish 17 5 Blower Care 17 6 Door Gasket Replacement 17 7 Motor Maintenance 17 TABLE OF CONTENTS IX Safety 18 X Limited Warranty 18 XI Warranty Registration 19 Thank you for purchasing the 52 Bay stove Appalachian Stove welcomes you to the growing ranks of energy conscious Americ...
Page 3: ...a more thorough and cleaner burn 8 Warm air deflector on the top stove edge directs the heated air downward and across the floor for maximum comfort 9 Sliding damper with catalytics helps increase heat extraction by controlling the escape of hot combustion gasses and smoke The damper is opened by pulling the control handle out and closed by pushing the handle in It may be left in any intermediate ...
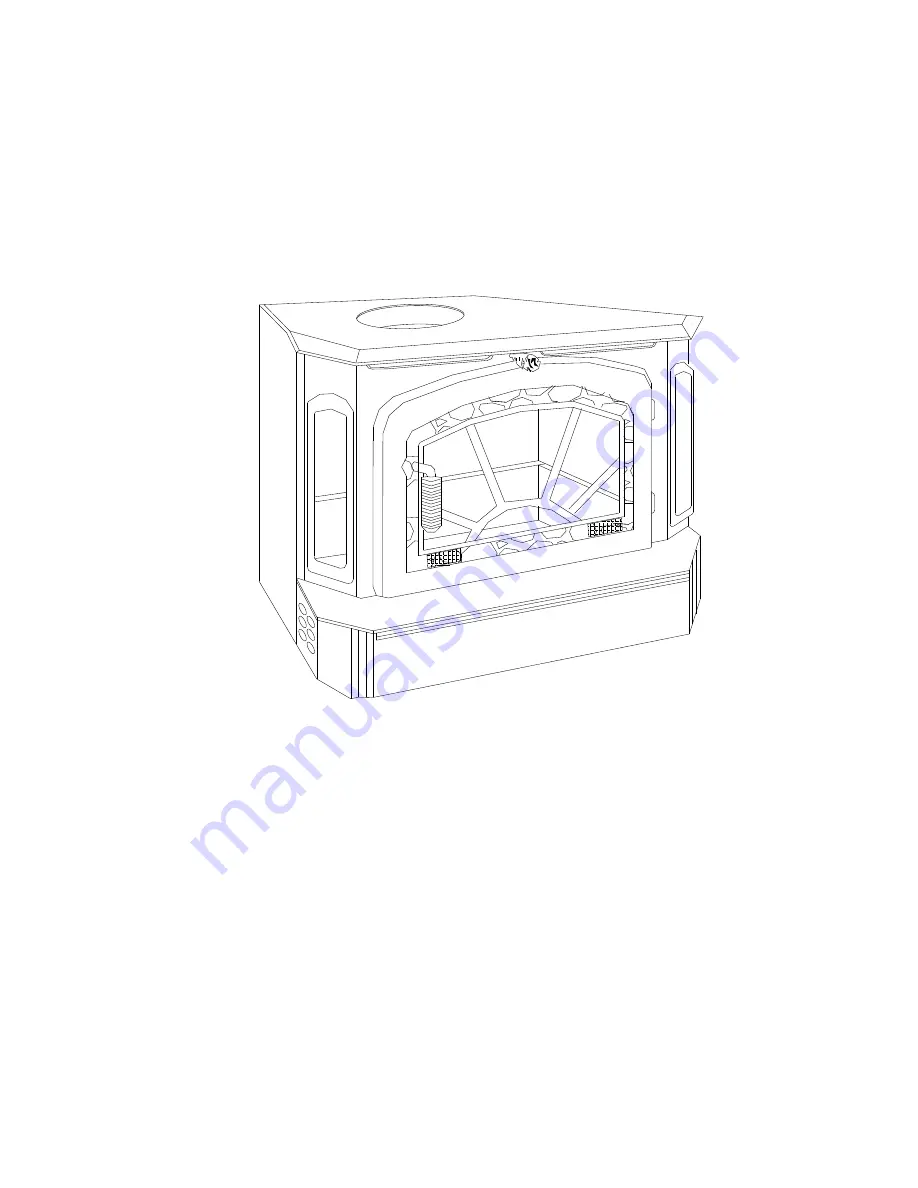
Page 4: ...nsert Model A 52 Bay Stove B Blower Assembly C Adhesive Backed Insulation D Top Trim Panel 1 E Side Trim Panels 2 F Refractory Firebox Liner G Assembly Screws H Ash Pan I Damper Spring J Optional Webbing 2 FIREPLACE DIMENSIONS Refer to FIGURE 2 to determine the minimum dimensions necessary to install the 52 Bay stove A B C 23 33 14 Depth at height of stove ...
Page 5: ...r the area around the fireplace of furniture rugs etc to allow easy access B Place drop cloths or other protective materials on the floor and hearth to protect against any possible damage C Remove ashes and thoroughly clean the firebox floor D Remove the damper plate if possible or block it open using non combustible materials such as a brick or a rock E Inspect the interior of the firebox and the...
Page 6: ...ick scrap metal etc The 52 Bay should sit level in the fireplace to function properly This completes the installation of your 52 Bay Please refer to section VII and VIII for instruction on operation and stove maintenance 7 IMPORTANCE OF PROPER DRAFT Draft is the force which moves air from the appliance up through the chimney The amount of draft in your chimney depends on the length of the chimney ...
Page 7: ... or Brass Legs 4 req Not Shown 2 CLEARANCE TO COMBUSTIBLES The 52 Bay stove must be installed with adequate clearance from combustible surfaces to ensure safe operation Refer to FIGURE 6 to determine the applicable clearances for your installation Rear and side wall clearances depend on two factors 1 Composition of the wall structure combustible or non combustible materials 2 Type of stove pipe us...
Page 8: ...ve effective operation of the unit A Select the location of the stove installation The stove should be positioned so that the air flows to the rest of the home in as straight a line as possible B Indicate the proper penetration point of the chimney structure Avoid roof areas such as valleys ridges dormers and hips Position the floor protector where the installation is to be made Section II Attach ...
Page 9: ...screws to prevent accidental separation 3 If an elbow is installed the horizontal section of the stove pipe should slope 1 4 per foot to run toward the stove to allow creosote to drip into the firebox and burn 4 Always install the single wall stove pipe with the male crimped end down to prevent leakage of creosote or moisture 5 The pipe is to be a minimum of 6 inside diameter B IMPORTANCE OF PROPE...
Page 10: ...tove is positioned suspend a plumb bob over the center of the damper opening to determine the chimney penetration point 2 All Appalachian Stoves must be connected ONLY to a UL listed class HT all fuel burning heating appliance chimney CAUTION SOME CHIMNEYS ARE AVAILABLE WITH UL LISTING WHICH ARE NOT CLASS HT AND ARE NOT SAFE WITH A SOLID FUEL APPLIANCE 3 Install the chimney following the manufactu...
Page 11: ... the opening If the door is cast and the webbing is brass it may be a tight fit Make sure that the webbing drops down completely NOTE The door may also be replaced if desired It also comes in the option of gold plated or cast black B BRASS TRIM PANELS 1 Mount top and side strips to trim panels with the self tapping brass screws that are provided Leave approximately 1 at top edges of trim to be cov...
Page 12: ...ter the heat shield on the back of the stove 2 Attach the heat shield to the stove using the screws provided Place the spacer between the heat shield and the stove back The screw will go through the spacer FIGURE 12 INSTALLING THE HEAT SHIELD 12 ...
Page 13: ... may be equipped with a temperature probe to monitor catalyst operation Proper functioning combustors typically maintain temperatures in excess of 500 degrees Fahrenheit and often reach temperatures in excess of 1000 degrees Fahrenheit If catalytic temperatures are not in excess of 500 degrees refer to the Catalyst Troubleshooting Guide or further information located in this manual To determine if...
Page 14: ...rational temperature or the stove door being opened too quickly Glowing stove parts may be attributed to running the stove too hot excessive amounts of wood a high draft reduce when temperatures become too excessive a glowing combustor this is normal during first 1 3 of burn cycle or a chimney fire close inlet air and outlet dampers completely if this does not help vacate home and call the fire de...
Page 15: ...lysts not in metal housing should be wrapped with 1 16 gasketing before installing Locate the catalysts from the front of the damper housing Re install the sealing D New gasketing should be installed to allow for a seal between the damper housing and the firebox top This may be done by putting a layer of gasketing around the top where the housing is located In both cases the use of an adhesive to ...
Page 16: ...with the control settings will allow you to regulate the heat output to keep your home comfortable CAUTION DO NOT UNPLUG YOUR BLOWER WHILE THE STOVE IS IN OPERATION CAUTION THE ASH PAN DRAWER MUST BE CLOSED WHEN THE STOVE IS IN OPERATION VIII OPERATION 3 REFUELING THE STOVE A Before attempting to add fuel to the stove OPEN the damper control fully by pulling it all the way out This allows the chim...
Page 17: ...ly it produces tar and other organic vapors which combine with expelled moisture to form creosote The creosote vapors condense in the relatively cool chimney flue of a slow burning fire As a result creosote residue accumulates on the flue lining The chimney connector and chimney should be inspected at least twice yearly during the heating season to determine if a creosote buildup has occurred If c...
Page 18: ... parts will be repaired or replaced at the manufacturer s option Parts which are returned to Appalachian Stove and Fabricators Inc within 30 days of purchase and found to be defective on inspection will be replaced without charge for the new part After 30 days parts covered by the warranty will be repaired or replaced free with the exception of freight charges which become the responsibility of th...
Page 19: ......
Page 20: ......
Page 21: ..._____________________________________ CITY __________________________________STATE ________________ HOW DID YOU HEAR ABOUT APPALACHIAN STOVE ___________ ______________________________________________________________ TYPE OF HEAT YOU PRESENTLY HAVE ________________________ APPROXIMATE SQUARE FEET OF HOME ______________________ NUMBER OF ROOMS _________________________________________ TYPE OF CONSTR...