


6
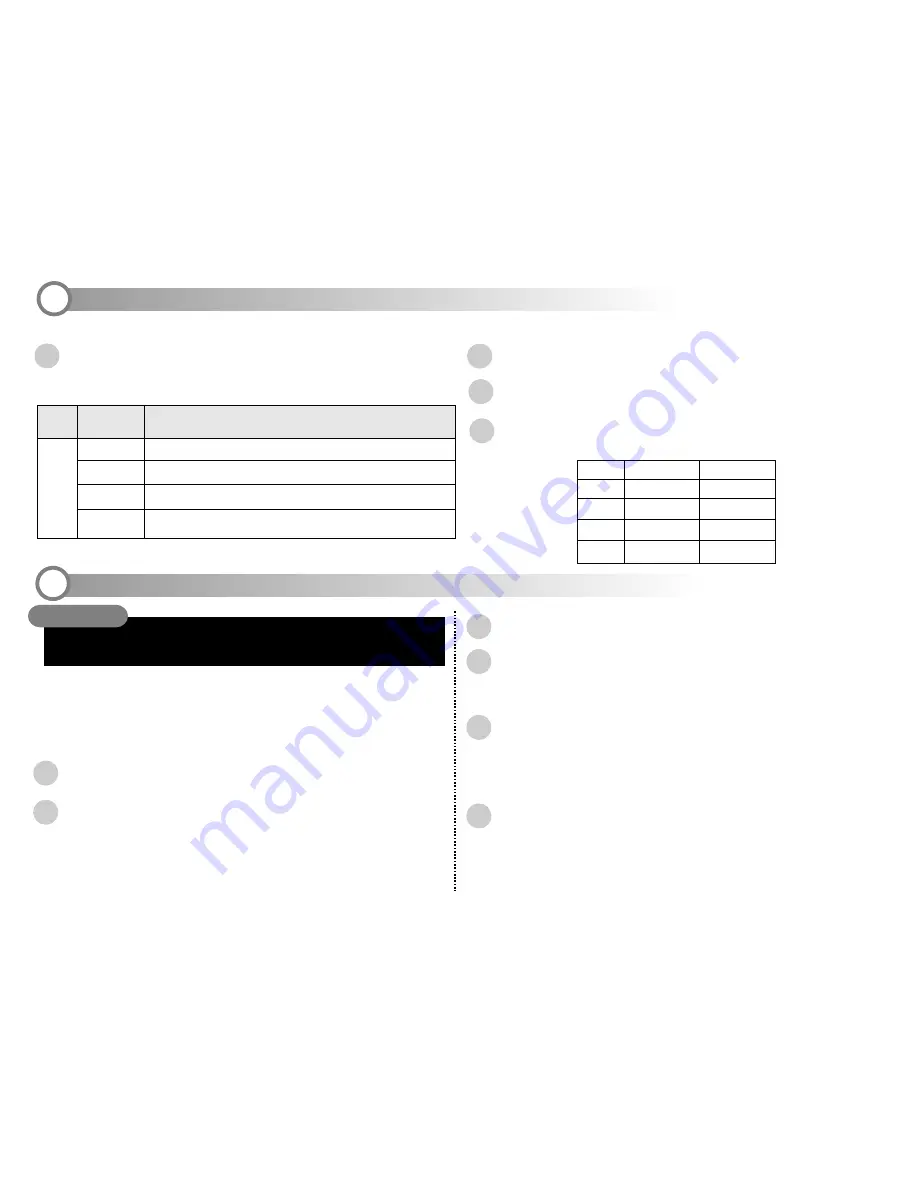
Mode
LCD
Display Icon
Preset
Mode
Meaning
Using the Preset Modes
Setting the Quality (Resolution)
Automatic White Balance automatically corrects the exposure.
AWB
SUN
FLUORESCENT
SHADE
Suitable for taking photos in shade.
Suitable for takings photos indoors under fluorescent lighting.
1
1
Press the
MENU
button to enter the menu system.
2
Press the down arrow button to scroll to Resolution and press the right arrow
button to enter the Resolution submenu.
3
Choose one of the available resolution settings. Refer to the following chart
for the resolution of each setting.
Suitable for taking photos outdoors or in brightly lit conditions.
Configuring the Camera
7
4
1
2
3
Proceed with the installation by following the instructions that appear on your
computer screen.
After the software has been successfully installed, a dialogue box asking you to
reboot appears on your screen. Restart your computer
Installing the Software Driver
Do NOT connect the digital camera to
a PC
before installing the software driver.
If you experience problems because the camera was connected to a computer before
installing the software, disconnect the USB cable, uninstall the software, and then
reinstall the software with the camera disconnected from the computer.
Start your computer and close all running applications.
Insert the included CD-ROM into your CD-ROM drive.
The installation program will start automatically and the digital camera
software driver is automatically installed on your computer.
Enable PC Camera mode before connecting the camera to the PC:
press the Menu button and enter the Setup>USB>PC Camera submenu;
then switch the camera to
Movie
mode and connect the camera to the
computer with the included USB cable. Thereafter, any time you connect the
camera in Movie mode, it will work as a PC video camera.
To finish the card reader driver installation, set your camera to any
mode
other
than Movie mode and connect the camera to the computer
with the included USB cable. Windows will find the driver and finish
the installation. (Thereafter, any time you connect the camera to the
computer in any mode other than Movie mode, it will work as a
card reader device. See the following page for details.)
Connecting the Camera for the First Time
6
5
Installing the Software
CAUTION
3
Fine
Normal
Normal
Fine
6.6M
Economic
3.0M
0.7M
Small
Photo
2976 x 2232
2048 x 1536
1024 x 768
512 x 384
2016 x 1344
NOTE:
if the installation does not begin automatically, reinsert the CD-
ROM, go to your desktop, and double click on MY COMPUTER. Then dou-
ble-click the file "Setup.exe" located on the CD-ROM.
Press the
MENU
button to enter the setup menu and select PRESET. Press
the right arrow button to enter the PRESET menu. Select one of the following
presets.


