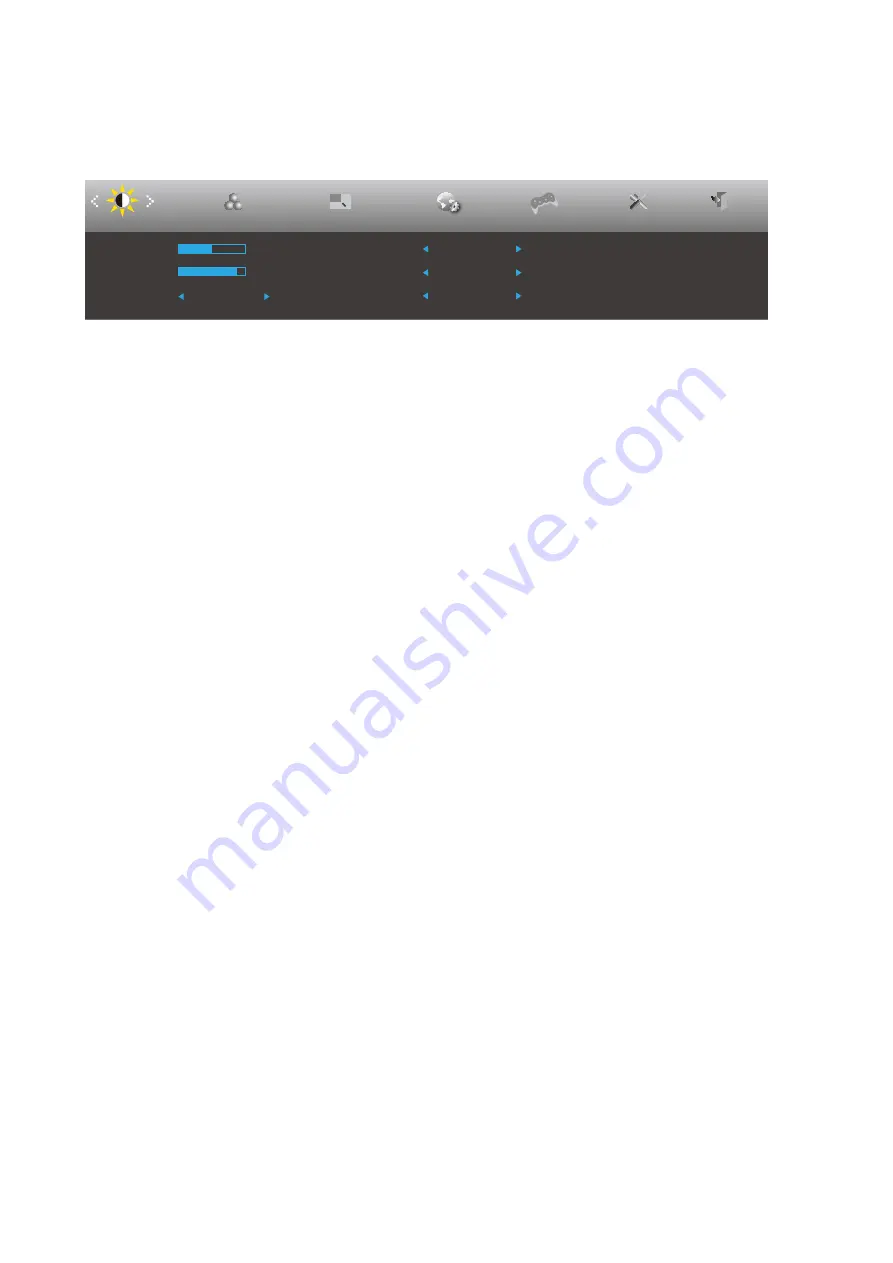
AOC Q27V5CW User Manual Download Page 18

16

OSD Setting

Basic and simple instruction on the control keys.

Luminance

Color Setup

Picture Boost

OSD Setup

Game Setting

Exit

Extra

Contrast

50

Brightness

90

Eco mode

Standard

Gamma

Gamma 1

DCR

Off

HDR Mode

Off

1). Press the 

MENU-button

 to activate the OSD window. 

2). Press 

Left

 or 

Right

 to navigate through the functions. Once the desired function is highlighted, press the 

MENU-

button

 to activate it, press 

Left

 or 

Right

 to navigate through the sub-menu functions. Once the desired function is 

highlighted, press 

MENU-button

 to activate it. 

3). Press 

Left

 or 

Right

 to change the settings of the selected function. Press 

Exit–button

 to exit. If you want to adjust 

any other function, repeat steps 2-3. 

4). OSD Lock/Unlock Function: To lock or unlock the OSD, press and hold the 

Down–button

 for 10s while OSD function 

is not active.

Notes:

1). If the product has only one signal input, the item of “Input Select” is disable to adjust.
2). ECO modes (except Standard mode), Clear vision, DCR, DCB mode and Picture Boost, for these states that only one 

state can exist. 

Summary of Contents for Q27V5CW

Page 1: ...1 www aoc com 2022 AOC All Rights Reserved LCD Monitor User Manual Q27V5CW BK...

Page 2: ...l Mounting 11 AMD FreeSync function Available for selective models 12 Adaptive Sync function Available for selective models 13 Adjusting 14 Hotkeys 14 OSD Setting 16 Luminance 17 Color Setup 18 Pictur...

Page 3: ...used as follows NOTE A NOTE indicates important information that helps you make better use of your computer system CAUTION A CAUTION indicates either potential damage to hardware or loss of data and...

Page 4: ...ctrician install the correct outlet or use an adapter to ground the appliance safely Do not defeat the safety purpose of the grounded plug Unplug the unit during a lightning storm or when it will not...

Page 5: ...the front of the product on the floor If you mount the monitor on a wall or shelf use a mounting kit approved by the manufacturer and follow the kit instructions Leave some space around the monitor as...

Page 6: ...regularly with a water dampened soft cloth When cleaning use a soft cotton or microfiber cloth The cloth should be damp and almost dry do not allow liquid into the case Please disconnect the power cor...

Page 7: ...pact conditions during operation Do not knock or drop the monitor during operation or transportation The power cords shall be safety approved For Germany it shall be H03VV F 3G 0 75 mm2 or better For...

Page 8: ...C Cable DP Cable CD Manual Warranty Card Stand Base Screwdriver Monitor Power Cable USB C C A Cable Not all signal cables will be provided for all countries and regions Please check with the local dea...

Page 9: ...7 Setup Stand Base Please setup or remove the base following the steps as below Setup Remove 3 2...

Page 10: ...hen you change the monitor s angle You are able to adjust the monitor as below 23 130mm NOTE Do not touch the LCD screen when you change the angle Touching the LCD screen may cause damage Warning 1 To...

Page 11: ...3 Connect the display signal cable to the video connector on the back of your computer 4 Plug the power cord of your computer and your display into a nearby outlet 5 Turn on your computer and display...

Page 12: ...in Windows10 is complete Refer to Windows official website for the settings https support microsoft com help 4028017 windows learn about windows hello and set it up Please note that Windows 10 system...

Page 13: ...with the holes in the back of the monitor 4 Reconnect the cables Refer to the user s manual that came with the optional wall mounting arm for instructions on attaching it to the wall Noted VESA mount...

Page 14: ...Nano series Radeon R9 Fury series Radeon R9 R7 200 series R9 270 X R9 280 X except Processors AMD Ryzen 7 2700U AMD Ryzen 5 2500U AMD Ryzen 5 2400G AMD Ryzen 3 2300U AMD Ryzen 3 2200G AMD PRO A12 980...

Page 15: ...9 Nano series Radeon R9 Fury series Radeon R9 R7 200 series R9 270 X R9 280 X except Processors AMD Ryzen 7 2700U AMD Ryzen 5 2500U AMD Ryzen 5 2400G AMD Ryzen 3 2300U AMD Ryzen 3 2200G AMD PRO A12 98...

Page 16: ...to turn off the monitor Power Press the Power button to turn on the monitor Volume Right When there is no OSD Press Volume button to active volume adjustment bar Press Left or Right to adjust volume...

Page 17: ...vate the Clear Vision Demo and a message of Clear Vision Demo on will be display on the screen for a duration of 5 seconds Press and hold Left button for 5 seconds again Clear Vision Demo will be off...

Page 18: ...t to navigate through the sub menu functions Once the desired function is highlighted press MENU button to activate it 3 Press Left or Right to change the settings of the selected function Press Exit...

Page 19: ...de Game Game Mode Movie Movie Mode Sports Sports Mode Reading Reading Mode Gamma Gamma1 Adjust to Gamma 1 Gamma2 Adjust to Gamma 2 Gamma3 Adjust to Gamma 3 DCR Off Disable dynamic contrast ratio On En...

Page 20: ...lue Gain from Digital register DCB Mode Full Enhance on or off Disable or Enable Full Enhance Mode Nature Skin on or off Disable or Enable Nature Skin Mode Green Field on or off Disable or Enable Gree...

Page 21: ...ng Bright Frame on or off Disable or Enable Bright Frame Frame Size 14 100 Adjust Frame Size Brightness 0 100 Adjust Frame Brightness Contrast 0 100 Adjust Frame Contrast H position 0 100 Adjust Frame...

Page 22: ...Adjust the OSD Timeout DP Capability 1 1 1 2 1 4 Please be noted that only DP1 2 1 4 support Adaptive Sync AMD FreeSync function H Position 0 100 Adjust the horizontal position of OSD V Position 0 100...

Page 23: ...Gamer 3 off No optimization by Smart image game Shadow Control 0 100 Shadow Control Default is 50 then end user can adjust from 50 to 100 or 0 to increase contrast for clear picture 1 If picture is t...

Page 24: ...V H Frequency 67KHz V Frequency 60Hz Extra Game Setting Input Select Select Input Signal Source Off timer 0 24hrs Select DC off time Image Ratio Wide Select image ratio for display 4 3 1 1 Movie1 Mov...

Page 25: ...23 Exit Picture Boost OSD Setup Luminance Color Setup Exit Extra Game Setting Exit Exit the main OSD...

Page 26: ...24 LED Indicator Status LED Color Full Power Mode White Active off Mode Orange...

Page 27: ...e not using an extension cable or switch box We recommend plugging the monitor directly to the video card output connector on the back Picture Bounces Flickers Or Wave Pattern Appears In The Picture M...

Page 28: ...664mm Optimal preset resolution 2560x1440 60Hz Max resolution 2560x1440 75Hz Plug Play VESA DDC2B CI Power Source 100 240V 50 60Hz 1 5A Power Consumption Typical default brightness and contrast 40W M...

Page 29: ...z 48 363 60 004 1024x768 70Hz 56 476 70 069 1024x768 75Hz 60 023 75 029 SXGA 1280x1024 60Hz 63 981 60 02 1280x1024 75Hz 79 976 75 025 WXGA 1440x900 60Hz 55 935 59 887 1440x900 60Hz 55 469 59 901 WSXGA...

Page 30: ...t 4 TMDS Data 1 12 TMDS Clock 5 TMDS Data 1Shield 13 CEC 6 TMDS Data 1 14 Reserved N C on device 7 TMDS Data 0 15 SCL 8 TMDS Data 0 Shield 16 SDA 20 Pin Color Display Signal Cable Pin No Signal Name P...

Page 31: ...SA DDC STANDARD It allows the monitor to inform the host system of its identity and depending on the level of DDC used communicate additional information about its display capabilities The DDC2B is a...

Reviews: