14
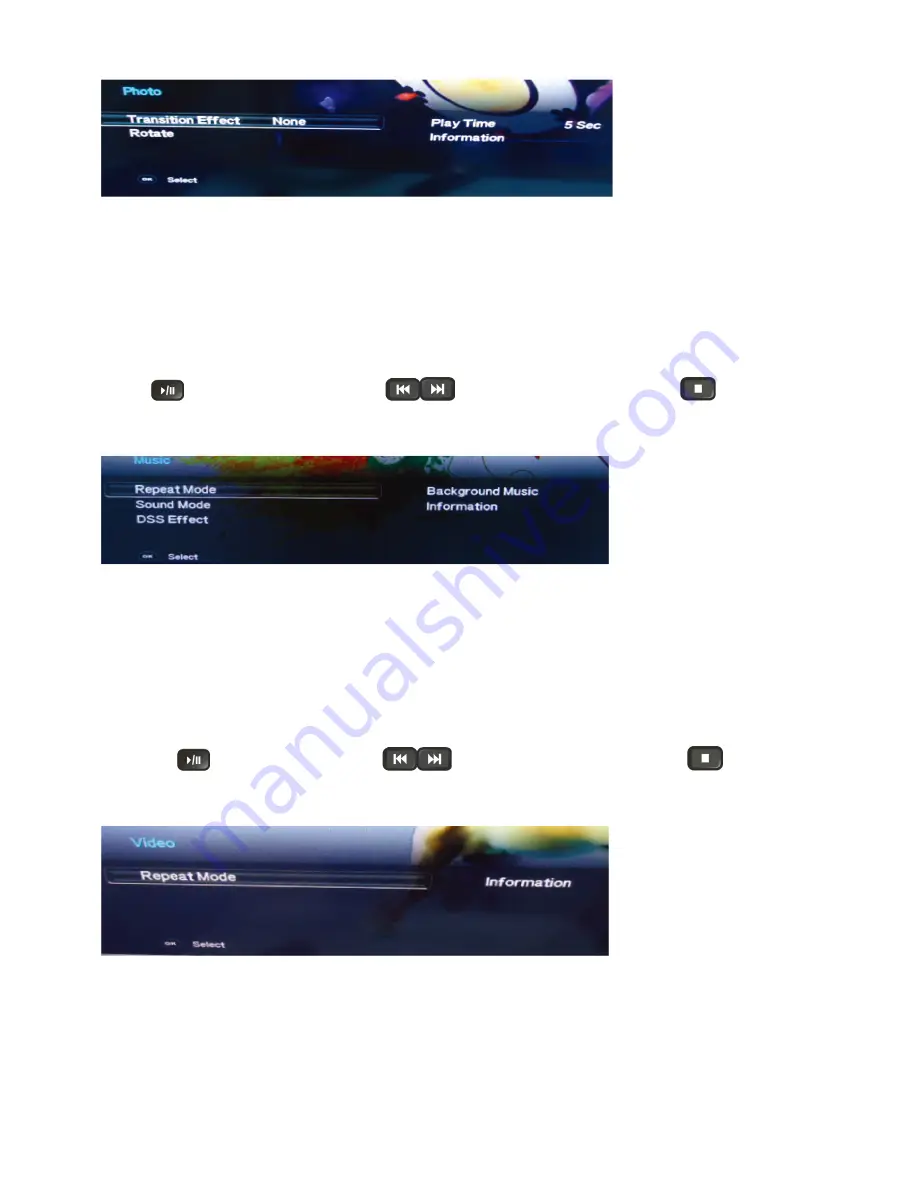
USB menu settings for Photo Slide show
Press OK key to get following Menu setup shown above.
1. [Transition Effect] : Select the slide transition as None, Top To Bottom, Bottom To Top, Left To Right, Right To
Left, Random.
2. [Rotate] : Rotate the select photo by 90° clock wise direction.
3. [Play Time] : Select the duration of time a photo is to be displayed.
4. [Information] : Display the information of the file.
Playing Music files
1. Thumbnail of the available music files will be displayed on the screen. If no files are displayed then select the
folder containing the music files.
2. To play particular music file select the required file and press OK key.
3. Press
key to play/pause music. Press
to play previous or next track. Press
key to stop
Music play.
USB menu settings for Music play
Press OK key to get following Menu setup shown above.
1. [Repeat Mode] : Select the repeat mode as None, Single,Random,All.
2. [Sound Mode] : Select sound mode like Pop,Rock,Class,Dance,Music,Personal.
3. [DSS Effect] : Turn on or off TV DSS effect.
4. [Background Music] : Select it to on to turn off display and to get only sound from TV
5. [Information] : Display the information of the file.
Playing Video files
1. Thumbnail of the available video files will be displayed on the screen. If no files are displayed then select the
folder containing the video files.
2. To play particular video file select the required file and press OK key.
3. Press key
to play/pause video. Press
to play previous or next video. Press
key to stop
video play.
USB menu settings for Video play
Press OK key to get following Menu setup shown above.
1. [Repeat mode] : Select the repeat mode as None, Single,All,Random.
2. [Information] : Display the information of the file.
Summary of Contents for LE32A3330/61
Page 5: ...5 2 Operating Instructions 2 1 The Use of Remote Control ...
Page 6: ...6 2 2 To Use the Menus Picture Setting ...
Page 7: ...7 Sound Setting Setting Menu ...
Page 8: ...8 Channel Search Note This setting is only available in TV mode ...
Page 11: ...11 Sound and OSD ...
Page 18: ...18 2 4 Front Panel Control Knobs ...
Page 22: ...22 3 Remove the screws to remove SPEAKERS MAIN BOARD and POWER BOARD 4 Remove the IR board ...
Page 23: ...23 5 Remove the screws to remove the Panel ...
Page 31: ...31 6 PCB Layout 6 1 Power Board 715G5508P01001002M ...
Page 32: ...32 ...
Page 33: ...33 ...
Page 34: ...34 6 2 Key Board 715G5298K01000004S 6 3 IR Board 715G5671R01000004X x ...
Page 40: ...40 9 Exploded View ...


