


6
3. Operating Instructions
3.1 General Instructions
Press the power button to turn the monitor on or off. The other control knobs are located at front panel of the monitor.
By changing these settings, the picture can be adjusted to your personal preferences.
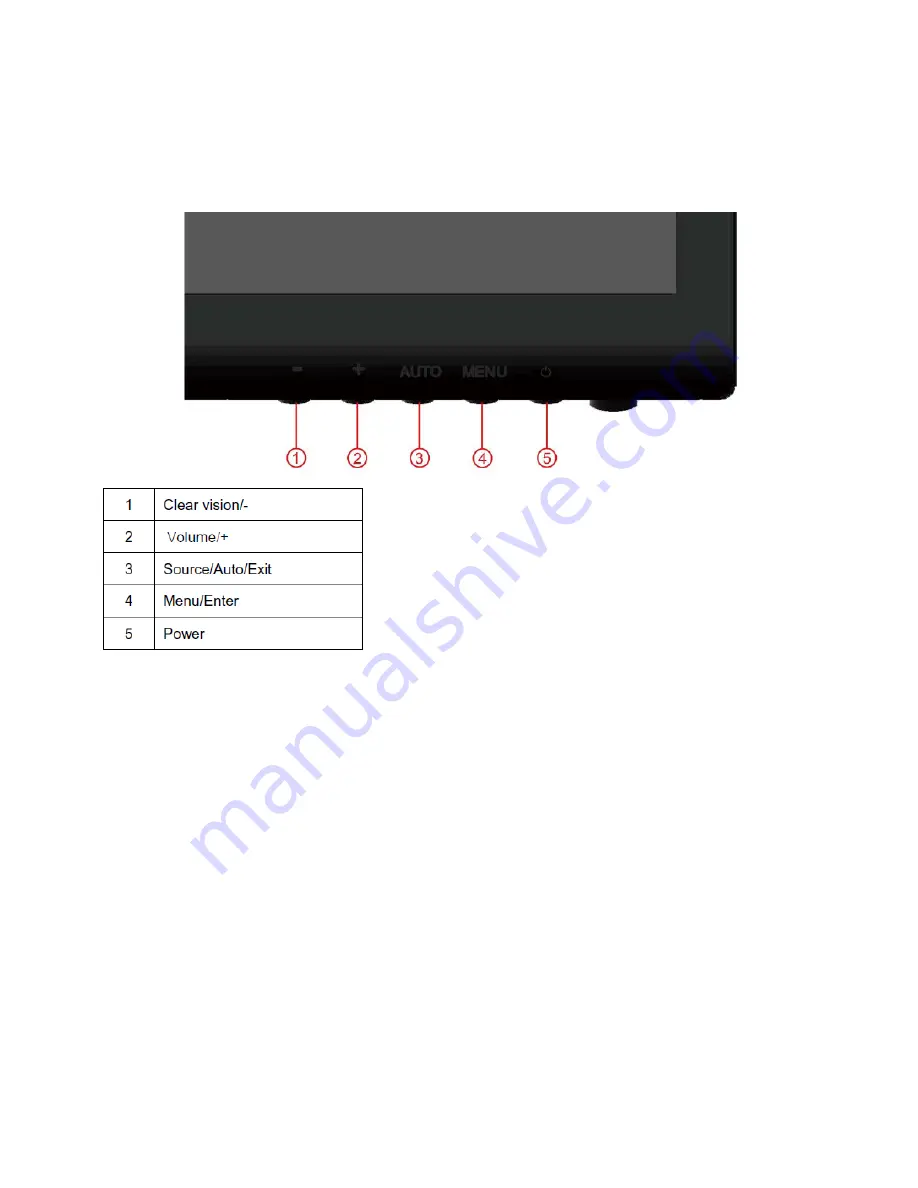
3.2 Control Buttons
Power
Press the Power button to turn on/off the monitor.
Clear vision/-
1. When there is no OSD, Press the “-” button to activate Clear Vision.
2. Use the “+” or “-” buttons to select between weak, medium, strong, or off settings. Default setting is always “off”.
3. Press and hold“-” button for 5 seconds to activate the Clear Vision Demo, and a message of “Clear Vision Demo:
on” will be display on the screen for a duration of 5 seconds, press Menu or Exit button, the message will disappear,
Press and hold “-” button for 5 seconds again, Clear Vision Demo will be off.
Clear Vision function will provides the best image viewing experience by converting low resolution and blurry images
into clear and vivid images.
When there is no OSD, press Volume button active volume adjustment bar, press - or + to adjust volume (Only for
the models with speakers).
Auto / Exit / Source hot key
When there is no OSD, press Auto/Source button continuously about 2 second to do auto configure. When the OSD
is closed, press Source button will be Source hot key function. Press Source button continuously to select the input
source showed in the message bar, press Menu/Enter button to change to the source selected.
Summary of Contents for I2352VH
Page 4: ...4 1 Monitor Specifications...
Page 8: ...8...
Page 9: ...9...
Page 10: ...10...
Page 11: ...11...
Page 12: ...12...
Page 13: ...13...
Page 14: ...14...
Page 15: ...15...
Page 16: ...16...
Page 17: ...17...
Page 18: ...18...
Page 19: ...19...
Page 20: ...20...
Page 21: ...21 4 Input Output Specification 4 1 Input Signal Connector...
Page 22: ...22...
Page 23: ...23 4 2 Factory Preset Display Modes...
Page 25: ...25 4 3 4 Optical Characteristics Ta 25 C VLCD 5V fV 60Hz Dclk 144MHz IBL 110mA...
Page 37: ...37 7 PCB Layout 7 1 Main Board 715G4641M01000004K...
Page 38: ...38 7 2 Power Board Adapter Board 715G4750P02000001S...
Page 39: ...39...
Page 40: ...40 Converter Board 715G4711P01001004S...
Page 41: ...41 7 3 Key Board 715G4851K02000001S...
Page 49: ...49 10 Monitor Exploded View...