


8
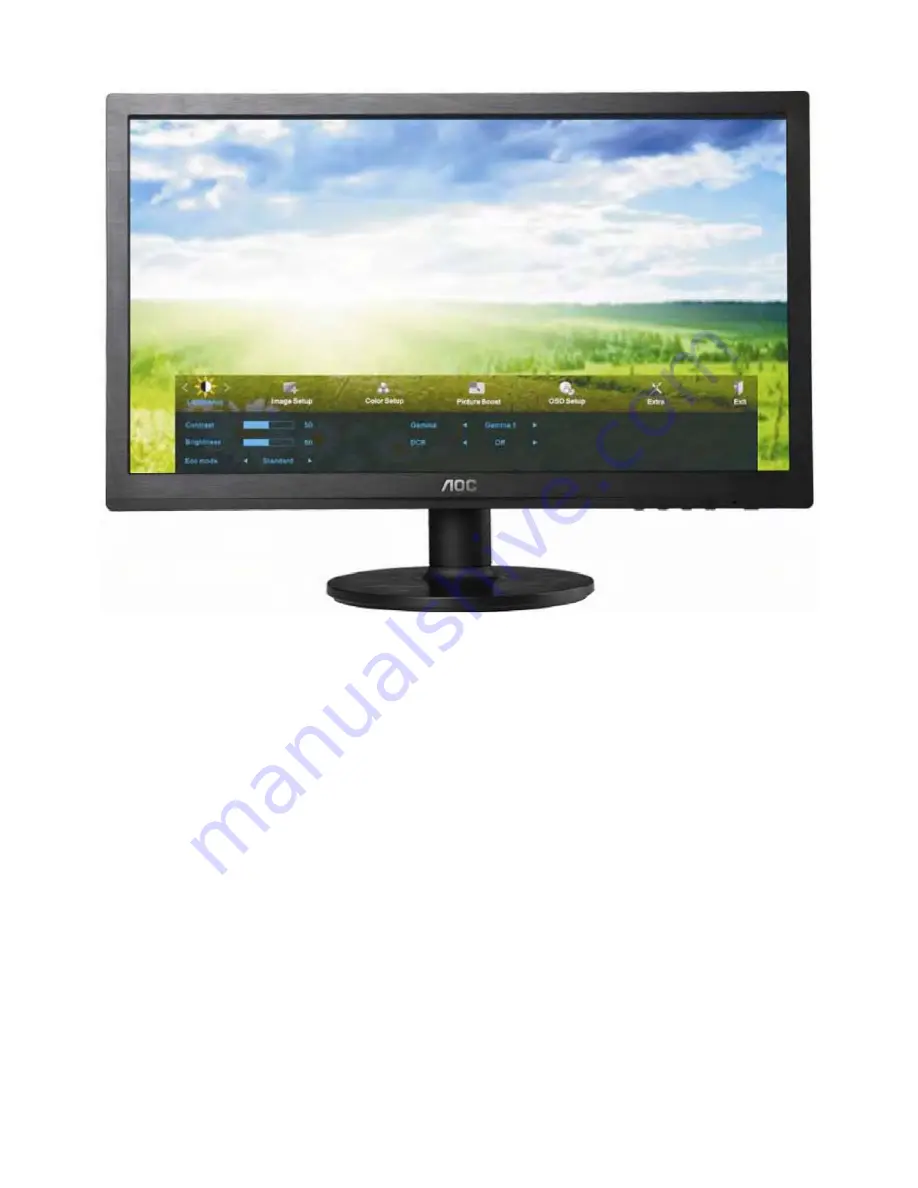
3.3 OSD Setting
1) Press the
MENU-button
to activate the OSD window.
2) Press
<or >
to navigate through the functions. Once the desired function is highlighted, press the
MENU-button
to activate it . press
<or >
to navigate through the sub-menu functions. Once the desired function is highlighted,
press
MENU-button
to activate it.
3) Press
<or >
to change the settings of the selected function. Press
AUTO
to exit. If you want to adjust any other
function, repeat steps 2-3.
4) OSD Lock Function: To lock the OSD, press and hold the
MENU button
while the monitor is off and then press
power button
to turn the monitor on. To un-lock the OSD - press and hold the
MENU button
while the monitor is
off and then press
power button
to turn the monitor on.
Notes:
1) If the product has only one signal input, the item of "Input Select" is disable to adjust.
2) If the product screen size is 4:3 or input signal resolution is wide format, the item of "Image Ratio" is disable to
adjust.
3) One of DCR, Color Boost, and Picture Boost functions is active, the other two function is turned off accordingly.
Summary of Contents for e2260Swda
Page 5: ...5 ...
Page 10: ...10 4 Press or to adjust 5 Press to exit ...
Page 11: ...11 Image Setup 1 Press Menu to display menu ...
Page 13: ...13 5 Press to exit Color Setup 1 Press Menu to display menu ...
Page 15: ...15 5 Press to exit ...
Page 17: ...17 4 Press or to adjust 5 Press to exit ...
Page 19: ...19 4 Press or to adjust 5 Press to exit ...
Page 20: ...20 Extra 1 Press Menu to display menu 2 Press or to select Extra and press to enter ...
Page 21: ...21 3 Press or to select submenu and press to enter 4 Press or to adjust ...
Page 22: ...22 5 Press to exit Exit 1 Press Menu to display menu ...
Page 23: ...23 2 Press or to select Exit and press to exit Exit Exit the main OSD ...
Page 25: ...25 4 2 Factory Preset Display Modes ...
Page 39: ...39 7 PCB Layout 7 1 Main Board 715G5270M01000004L ...
Page 40: ...40 ...
Page 41: ...41 7 2 Key Board 715G5357K0C000001S ...
Page 42: ...42 7 3 Power Board 715G4497P03000001M ...
Page 43: ...43 ...
Page 44: ...44 7 4 Power Board 715G4033P01000004I ...
Page 52: ...52 10 Monitor Exploded View ...


