AOC 24V5CW/BK User Manual Download Page 16

14

Clear Vision

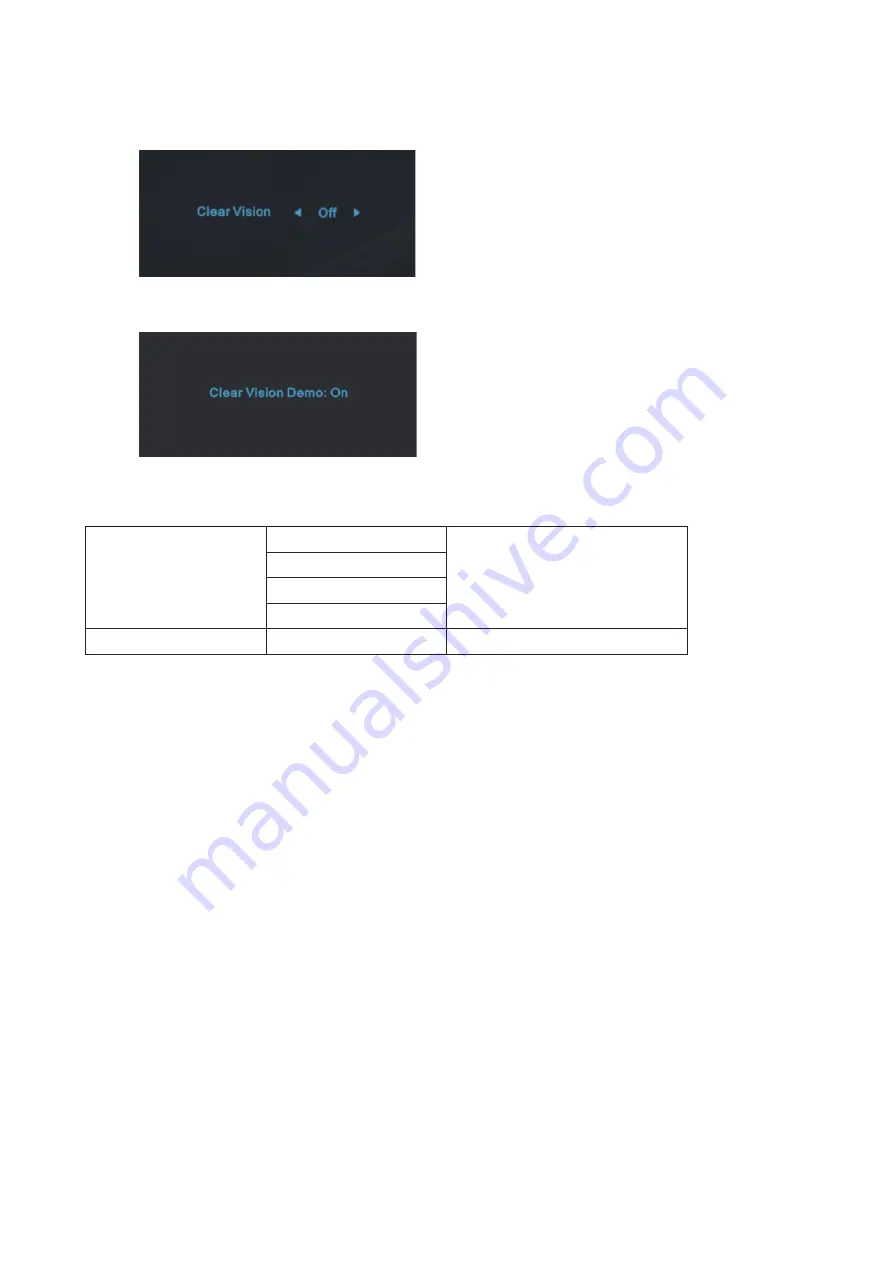
1.  When there is no OSD, Press the “Left” button to activate Clear Vision.
2.  Use the “Left” or “Right” buttons to select between weak, medium, strong, or off settings. Default setting is always “off”. 


3.  Press and hold “Left” button for 5 seconds to activate the Clear Vision Demo, and a message of “Clear Vision Demo: 

on” will be display on the screen for a duration  of 5 seconds. Press and hold “Left” button for 5 seconds again, Clear 

Vision Demo will be off. 


Clear Vision function provides the best image viewing experience by converting low resolution and blurry images into 
clear and vivid images.

Clear Vision

Off

Adjust the Clear Vision

Weak
Medium
Strong

Clear Vision Demo

On or Off

Disable or Enable Demo

Summary of Contents for 24V5CW/BK

Page 1: ...1 www aoc com 2022 AOC All Rights Reserved LCD Monitor User Manual 24V5CW BK ...

Page 2: ...ll Mounting 11 Adaptive sync function Available for selective models 12 AMD FreeSync function Available for selective models 12 Adjusting 13 Hotkeys 13 OSD Setting 15 Luminance 16 Color Setup 17 Picture Boost 18 OSD Setup 19 Game Setting 20 Extra 21 Exit 22 LED Indicator 23 Troubleshoot 24 Specification 25 General Specification 25 Preset Display Modes 26 Pin Assignments 27 Plug and Play 28 ...

Page 3: ...e used as follows NOTE A NOTE indicates important information that helps you make better use of your computer system CAUTION A CAUTION indicates either potential damage to hardware or loss of data and tells you how to avoid the problem WARNING A WARNING indicates the potential for bodily harm and tells you how to avoid the problem Some warnings may appear in alternate formats and may be unaccompan...

Page 4: ...ectrician install the correct outlet or use an adapter to ground the appliance safely Do not defeat the safety purpose of the grounded plug Unplug the unit during a lightning storm or when it will not be used for long periods of time This will protect the monitor from damage due to power surges Do not overload power strips and extension cords Overloading can result in fire or electric shock To ens...

Page 5: ... the front of the product on the floor If you mount the monitor on a wall or shelf use a mounting kit approved by the manufacturer and follow the kit instructions Leave some space around the monitor as shown below Otherwise air circulation may be inadequate hence overheating may cause a fire or damage to the monitor To avoid potential damage for example the panel peeling from the bezel ensure that...

Page 6: ... regularly with a water dampened soft cloth When cleaning use a soft cotton or microfiber cloth The cloth should be damp and almost dry do not allow liquid into the case Please disconnect the power cord before cleaning the product ...

Page 7: ...mpact conditions during operation Do not knock or drop the monitor during operation or transportation The power cords shall be safety approved For Germany it shall be H03VV F 3G 0 75 mm2 or better For other countries the suitable types shall be used accordingly Excessive sound pressure from earphones and headphones can cause hearing loss Adjustment of the equalizer to maximum increases the earphon...

Page 8: ...ble CD Manual Warranty Card Stand Base Screwdriver Monitor Power Cable USB C C A Cable USB C C Cable Not all signal cables will be provided for all countries and regions Please check with the local dealer or AOC branch office for confirmation ...

Page 9: ...7 Setup Stand Base Please setup or remove the base following the steps as below Setup Remove 3 2 ...

Page 10: ...when you change the monitor s angle You are able to adjust the monitor as below 23 130mm NOTE Do not touch the LCD screen when you change the angle Touching the LCD screen may cause damage Warning 1 To avoid potential screen damage such as panel peeling ensure that the monitor does not tilt downward by more than 5 degrees 2 Do not press the screen while adjusting the angle of the monitor Grasp onl...

Page 11: ... 3 Connect the display signal cable to the video connector on the back of your computer 4 Plug the power cord of your computer and your display into a nearby outlet 5 Turn on your computer and display If your monitor displays an image installation is complete If it does not display an image please refer Troubleshooting To protect equipment always turn off the PC and LCD monitor before connecting C...

Page 12: ...g in Windows10 is complete Refer to Windows official website for the settings https support microsoft com help 4028017 windows learn about windows hello and set it up Please note that Windows 10 system is required for setting up Windows Hello facial recognition with an edition lower than Windows 10 or Mac OS the webcam can work without the function of facial recognition With Windows 7 the driver i...

Page 13: ...m with the holes in the back of the monitor 4 Reconnect the cables Refer to the user s manual that came with the optional wall mounting arm for instructions on attaching it to the wall NOTE VESA mounting screw holes are not available for all models please check with the dealer or official department of AOC 5 0 90 Display design may differ from those illustrated Warning 1 To avoid potential screen ...

Page 14: ...on R9 295X2 AMD Radeon R9 290X AMD Radeon R9 290 AMD Radeon R9 285 AMD Radeon R7 260X AMD Radeon R7 260 AMD FreeSync function Available for selective models 1 AMD FreeSync function is working with DP HDMI USB C 2 Compatible Graphics Card Recommend list is as the below also could be checked by visiting www AMD com AMD Radeon RX 480 AMD Radeon RX 470 AMD Radeon RX 460 Radeon Pro Duo AMD Radeon R9 30...

Page 15: ...d to turn off the monitor Power Press the Power button to turn on the monitor Volume Right When there is no OSD Press Volume button to active volume adjustment bar Press Left or Right to adjust volume Source Exit When the OSD is closed press Source Exit button will be Source hot key function MIC down When there is no OSD press this button to enter MIC adjustment Then press Left or Right button to ...

Page 16: ...ivate the Clear Vision Demo and a message of Clear Vision Demo on will be display on the screen for a duration of 5 seconds Press and hold Left button for 5 seconds again Clear Vision Demo will be off Clear Vision function provides the best image viewing experience by converting low resolution and blurry images into clear and vivid images Clear Vision Off Adjust the Clear Vision Weak Medium Strong...

Page 17: ...ht to navigate through the sub menu functions Once the desired function is highlighted press MENU button to activate it 3 Press Left or Right to change the settings of the selected function Press Exit button to exit If you want to adjust any other function repeat steps 2 3 4 OSD Lock Unlock Function To lock or unlock the OSD press and hold the Down button for 10s while OSD function is not active N...

Page 18: ...er Brightness 0 100 Backlight Adjustment Eco mode Standard Standard Mode Text Text Mode Internet Internet Mode Game Game Mode Movie Movie Mode Sports Sports Mode Reading Reading Mode Gamma Gamma1 Adjust to Gamma 1 Gamma2 Adjust to Gamma 2 Gamma3 Adjust to Gamma 3 DCR Off Disable dynamic contrast ratio On Enable dynamic contrast ratio HDR Mode Off HDR Picture HDR Movie HDR Game Disable or Enable HD...

Page 19: ...EPROM User Restore Color Temperature from EEPROM DCB Mode Full Enhance on or off Disable or Enable Full Enhance Mode Nature Skin on or off Disable or Enable Nature Skin Mode Green Field on or off Disable or Enable Green Field Mode Sky blue on or off Disable or Enable Sky blue Mode Auto Detect on or off Disable or Enable AutoDetect Mode OFF on or off Disable or Enable DCB Mode DCB Demo on or off Di...

Page 20: ...ing Bright Frame on or off Disable or Enable Bright Frame Frame Size 14 100 Adjust Frame Size Brightness 0 100 Adjust Frame Brightness Contrast 0 100 Adjust Frame Contrast H position 0 100 Adjust Frame horizontal Position V position 0 100 Adjust Frame vertical Position Note Adjust the brightness contrast and position of the Bright Frame for better viewing experience ...

Page 21: ...20 Adjust the OSD Timeout DP Capability 1 1 1 2 Please be noted that only DP1 2 support Adaptive Sync AMD FreeSync function H Position 0 100 Adjust the horizontal position of OSD V Position 0 100 Adjust the vertical position of OSD USB on or off For model need to turn on off USB power during power saving Transparence 0 100 Adjust the transparence of OSD Break Reminder on or off Break reminder if t...

Page 22: ...n by Smart image game Shadow Control 0 100 Shadow Control Default is 50 then end user can adjust from 50 to 100 or 0 to increase contrast for clear picture 1 If picture is too dark to be saw the detail clearly adjusting from 50 to100 for clear picture 2 If picture is too white to be saw the detail clearly adjusting from 50 to0 for clear picture Overdrive Weak Adjust the response time Medium Strong...

Page 23: ...20 H X1080 V H Frequency 67KHz V Frequency 60Hz Extra Game Setting Input Select Select Input Signal Source Off timer 0 24hrs Select DC off time Image Ratio Wide Select image ratio for display 4 3 DDC CI yes or no Turn ON OFF DDC CI Support Reset yes or no Reset the menu to default ENERGY STAR available for selective models ENERGY STAR or no ...

Page 24: ...22 Exit Picture Boost OSD Setup Luminance Color Setup Exit Extra Game Setting Exit Exit the main OSD ...

Page 25: ...23 LED Indicator Status LED Color Full Power Mode White Active off Mode Orange ...

Page 26: ...wing Problem Adjust the Contrast and Brightness Controls Press hot key AUTO to auto adjust Make sure you are not using an extension cable or switch box We recommend plugging the monitor directly to the video card output connector on the back Picture Bounces Flickers Or Wave Pattern Appears In The Picture Move electrical devices that may cause electrical interference as far away from the monitor as...

Page 27: ...on 1920x1080 75Hz Plug Play VESA DDC2B CI Power Source 100 240V 50 60Hz 1 5A Power Consumption Typical default brightness and contrast 28W Max brightness 100 contrast 100 145W Standby mode 0 5W Physical Characteristics Connector Type HDMI DP USB C USB 2 Earphone Signal Cable Type Detachable Environmental Temperature Operating 0 40 Non Operating 25 55 Humidity Operating 10 85 non condensing Non Ope...

Page 28: ...5 XGA 1024x768 60Hz 48 363 60 004 1024x768 70Hz 56 476 70 069 1024x768 75Hz 60 023 75 029 SXGA 1280x1024 60Hz 63 981 60 02 1280x1024 75Hz 79 976 75 025 WXGA 1440x900 60Hz 55 935 59 887 1440x900 60Hz 55 469 59 901 WSXGA 1680x1050 60Hz 65 29 59 954 1680x1050 60Hz 64 674 59 883 FHD 1920x1080 60Hz 67 5 60 FHD 1920x1080 75Hz 83 894 74 973 IBM MODES DOS 720x400 70Hz 31 469 70 087 MAC MODES VGA 640x480 6...

Page 29: ...ct 4 TMDS Data 1 12 TMDS Clock 5 TMDS Data 1Shield 13 CEC 6 TMDS Data 1 14 Reserved N C on device 7 TMDS Data 0 15 SCL 8 TMDS Data 0 Shield 16 SDA 20 Pin Color Display Signal Cable Pin No Signal Name Pin No Signal Name 1 ML_Lane 3 n 11 GND 2 GND 12 ML_Lane 0 p 3 ML_Lane 3 p 13 CONFIG1 4 ML_Lane 2 n 14 CONFIG2 5 GND 15 AUX_CH p 6 ML_Lane 2 p 16 GND 7 ML_Lane 1 n 17 AUX_CH n 8 GND 18 Hot Plug Detect...

Page 30: ...ESA DDC STANDARD It allows the monitor to inform the host system of its identity and depending on the level of DDC used communicate additional information about its display capabilities The DDC2B is a bi directional data channel based on the I2C protocol The host can request EDID information over the DDC2B channel ...

Reviews: