


AT-D868UV Code Plug Installation Procedure
The term
“code plug”
originated long ago when certain parameters were actually
selected by inserting a factory-coded plug into a socket in the radio. Motorola
has used the term ever since, even though a lot more information is now
included in a computer-generated code plug. Sometimes you will see the
spelling as one word, “codeplug”.
As mentioned earlier, there is usually a new version of Computer Programming
Software (CPS) issued with each firmware update. Make sure you use the CPS
version that was released with your version of firmware.
If you have obtained your code plug from some generous soul (they require a lot
of work and expertise to create) you may need to make modifications to the
“plug” before you use it. When using a borrowed code plug in the AT-D868UV,
you MUST make sure to update the
Radio ID List
to show
your
DMR-MARC ID
number and name. Two other options that should be checked are the
information on the start-up screen and the assignment of functions to various
radio buttons.
The procedure for loading one of
your
older code plugs is the same as loading
a
borrowed
code plug. To kill two birds with one stone, the following will
demonstrate how to personalize a borrowed code plug and load it into your
radio.
Code plugs for many brands of DMR radios are saved as a
.rdt
file. Files from
different brands of radios are not interchangeable, so make sure your borrowed
file was written for an Anytone AT-D868UV. (there is software available now
that will convert from one manufacturer to another)
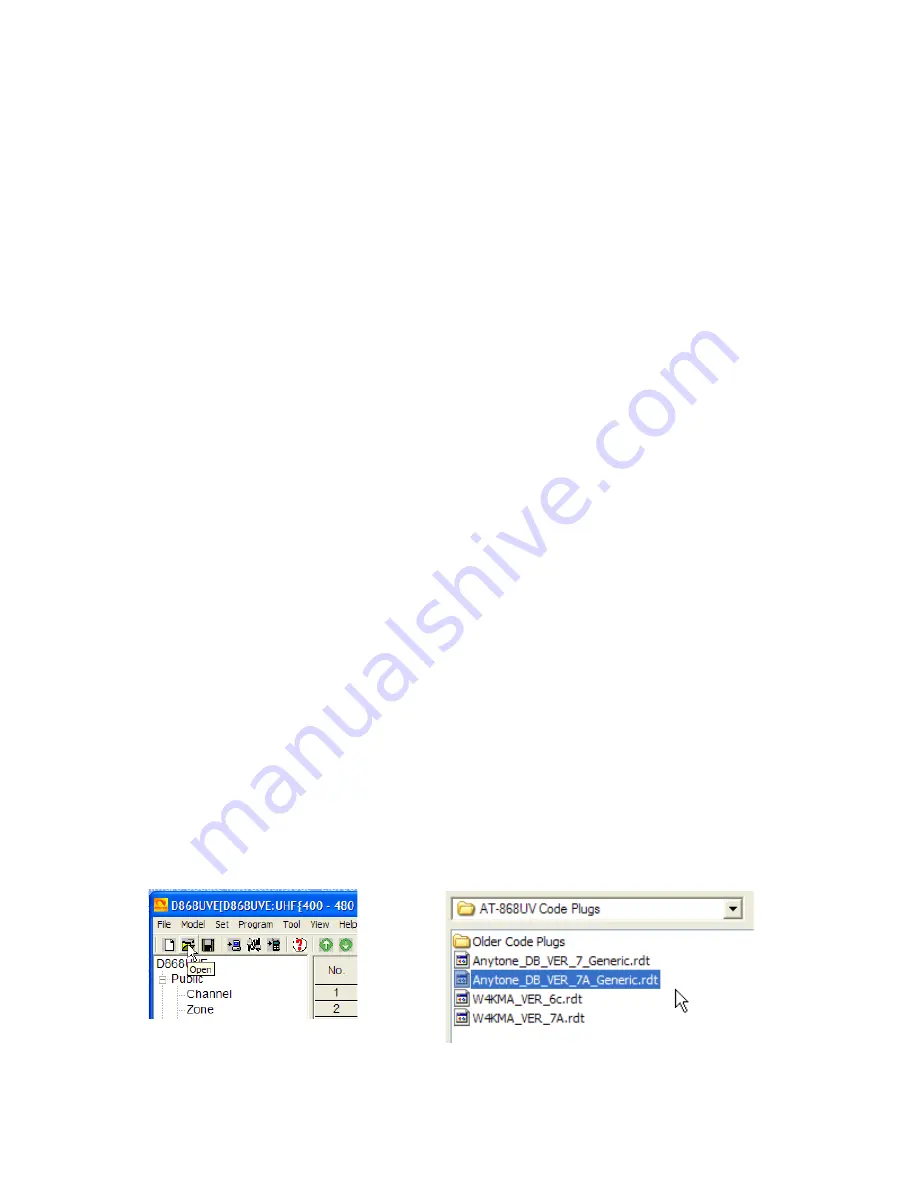
Open your latest version of CPS, computer programming software. Sometimes
it will automatically open the last file you were looking at. It is best to load (or re-
load) the file you are interested in. Click the “open file” icon and choose your
“borrowed” file and open it in the software program.


