


13
4.5 DHCP settings
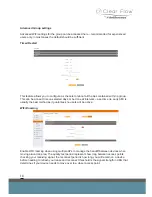
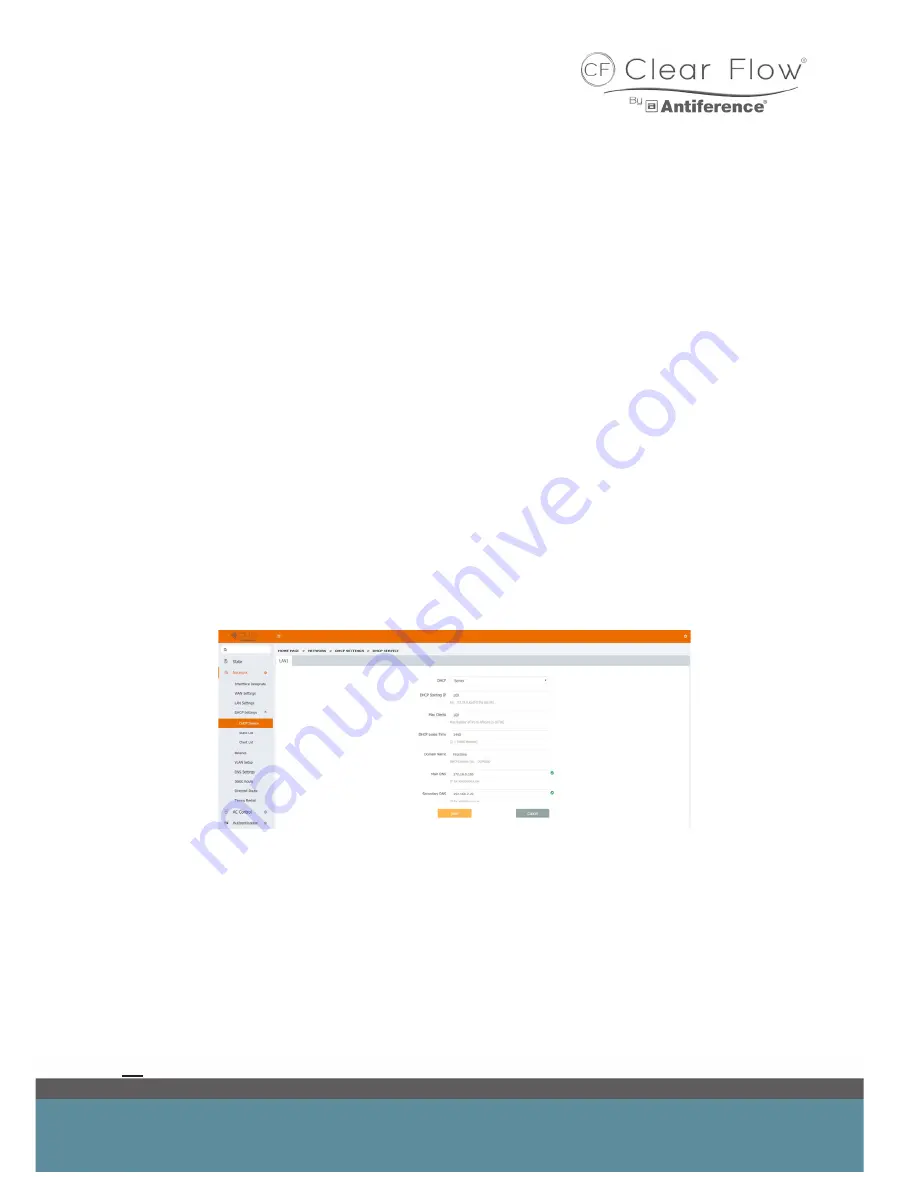
To access the DHCP settings, select ‘Network > DHCP settings’ from the options on the left hand
side.
The DHCP server configured here serves the network configured via LAN settings in part 4.1
In most situations, the DHCP server will want to be turned on as the Clear Flow Gateway is the
point at which all of the network traffic is managed. Therefore it makes sense for the Gateway to
also be responsible for assigning IP addresses to devices when they join the network.
Below we can see an example set up which allows 100 users in total, starting from 100 onwards -
with our previously entered LAN settings, this means 172.16.0.100 onwards.
The DHCP lease time is set to 1440 minutes; this means a client can connect to the network for
24 hours before needing a new IP address.
The Domain name is essentially the nickname of the DHCP server we are creating.
The main DNS should be the same as your Clear Flow Gateway LAN address while the second-
ary DNS has been set to the Modem/Modem-Router.
Check your settings and click ‘Save’ once you are done.
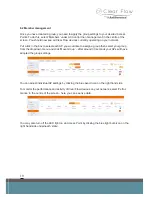
If you need to disable the DHCP server for whatever reason then use the dropdown menu next to
‘DHCP’ and select ‘Disable’ then save.


