6
How to do it
Auto-Tune EFX has been designed to make
almost everything automatic. Simply follow the
steps below:
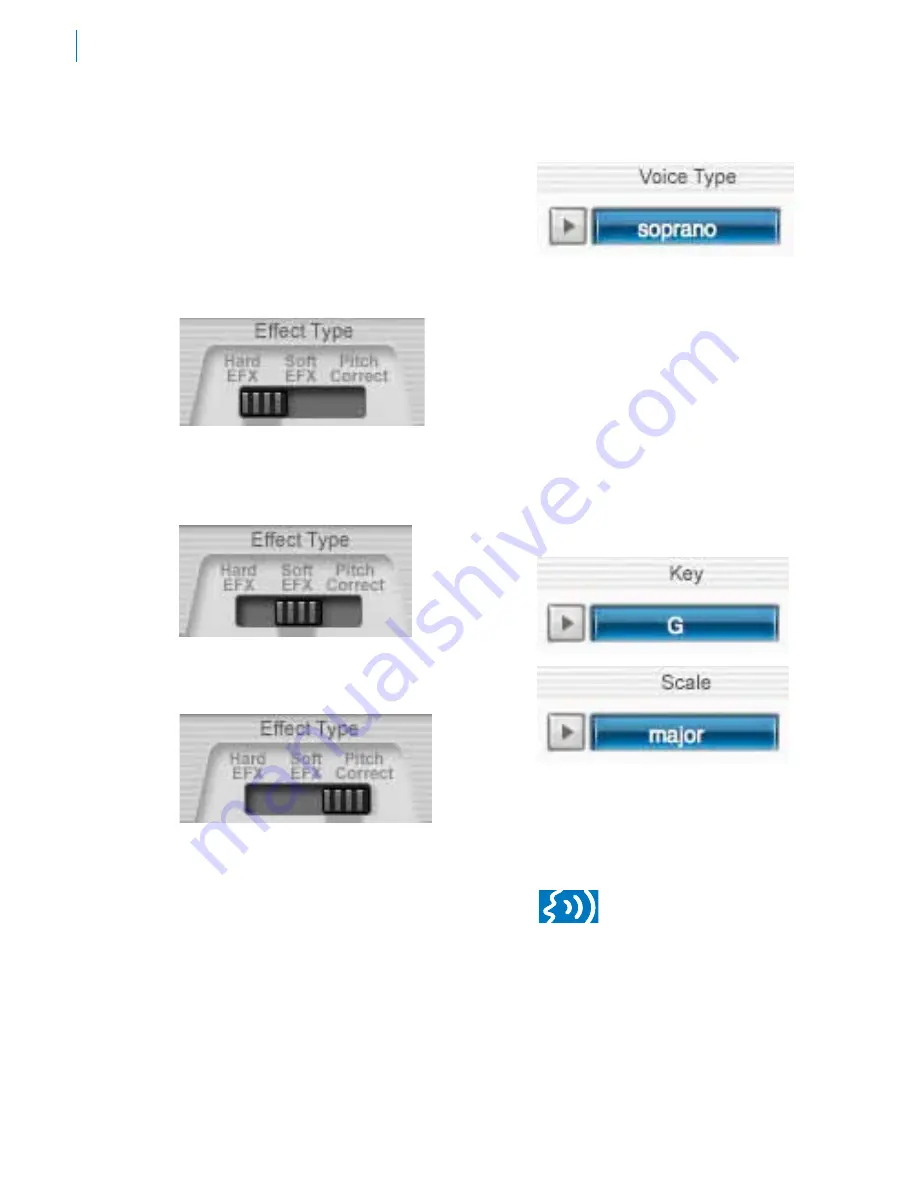
1. Select an effect type
Auto-Tune EFX provides two alternative
versions of the Auto-Tune Vocal Effect as
well as real-time pitch correction.
Hard EFX:
This is the classic Auto-Tune
Vocal Effect. Sung notes will be restricted
to the exact scale pitches and transitions
between notes will be instantaneous.
Soft EFX:
This version of the Auto-Tune
Vocal Effect allows slight pitch variations
and slightly less instant note transitions.
Pitch Correct:
This setting provides high-
quality, real-time pitch correction of your
vocal, while preserving all of the expressive
nuance of the original performance.
To select an effect, either click and
hold on the Effect Type switch and
move it to the desired setting or
simply click on the desired setting to
move the switch to that position.
2. Select Vocal Type
In order to do its magic, Auto-Tune
EFX needs to figure out exactly what
pitches are being sung. It will do its
best job of pitch detection if it knows
the general range of the vocal part. You
can help it out by clicking on the Vocal
Type popup menu and selecting your
track’s vocal type. The choices are:
•
Soprano Voice
•
Alto/Tenor Voice
•
Baritone/Bass Voice
•
Instrument (anything that
isn’t actually a voice)
3. Select Key and Scale
Use the Key and Scale popup menus to
set the Key and Scale of your track. The
appropriate Note buttons will light blue to
indicate that they are in the scale and that
the input vocal can be corrected or forced
to those notes.
A Tip:
if you don’t know the key
of your track, trial-and-error works
pretty well. Start by setting Major
or Minor and then just trying one Key after
another until one sounds good.
Summary of Contents for Auto-Tune efx
Page 1: ...Owner s Manual Real TimeAuto TuneVocalEffect andPitchCorrectingPlug in...
Page 6: ...vi...
Page 8: ...2...
Page 10: ...4...


