


4-5
Creating a New Job
Overview
This section describes creating a new job with the PC programmer. Doing this creates a job
with limited definitions for the devices (i.e., no custom labels and default device type or point
types assigned to SLCnet points). This is useful for off-site configuration of a system.
After creating a job in this manner, refer to the subsequent chapters in this book for
information on adding option cards to the job, defining system options, defining device and
point types, and adding custom control equations.
Skip this section if you used Quick CFIG to create a new job and uploaded it to the laptop.
IMPORTANT: It is strongly recommended that each job be archived and backed-up for future
reference.
Note: Network system options are not available, and are grayed on the New System dialog.
Step 1. Invoke New
System Dialog
1.
Start the programmer, as described in the previous section.
2.
At the initial Programmer Screen (Figure 4-5), click on the File menu and choose New.
The dialog shown in Figure 4-6 appears.
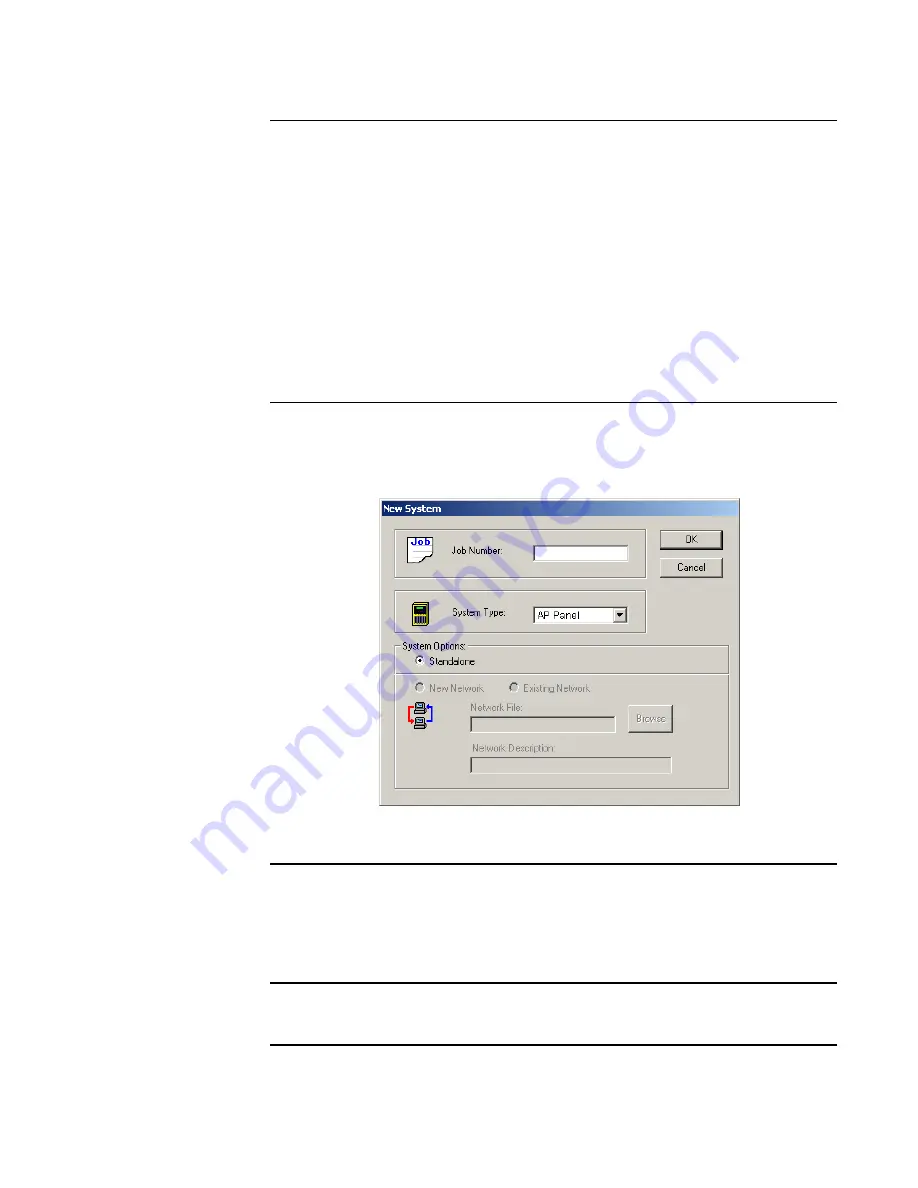
Figure 4-6. New System Dialog
Step 2. Specify Job
Number
Enter a name and/or number for the job in the Job Number field.
When you create a new job file, the Programmer places the letter "A" at the end of your seven-
character job name. Each time you open this job and make a revision, the revision letter is also
upgraded.
Step 3. Specify System
Type
Examine the entry for the System Type drop down list box. The selection must read "AP
Panel".


