Using Takenote™
197
TPI-PRO/DVI (Total Presentation Interface)
Printing Captured TakeNote Image Files
1.
Launch the AMX TakeNote Web application. If the application is already open, select
File > Refresh
to
refresh the image list.
2.
In the Thumbnail Images window, select a file that you want to print.
3.
Press the
button (FIG. 126).
Alternatively, select
Image > Print Image
from the Menu Bar.
4.
Select a target printer in the
dialog.
5.
Click
.
Deleting Captured TakeNote Image Files
1.
Launch the AMX TakeNote Web application. If the application is already open, select
File > Refresh
to
refresh the image list.
2.
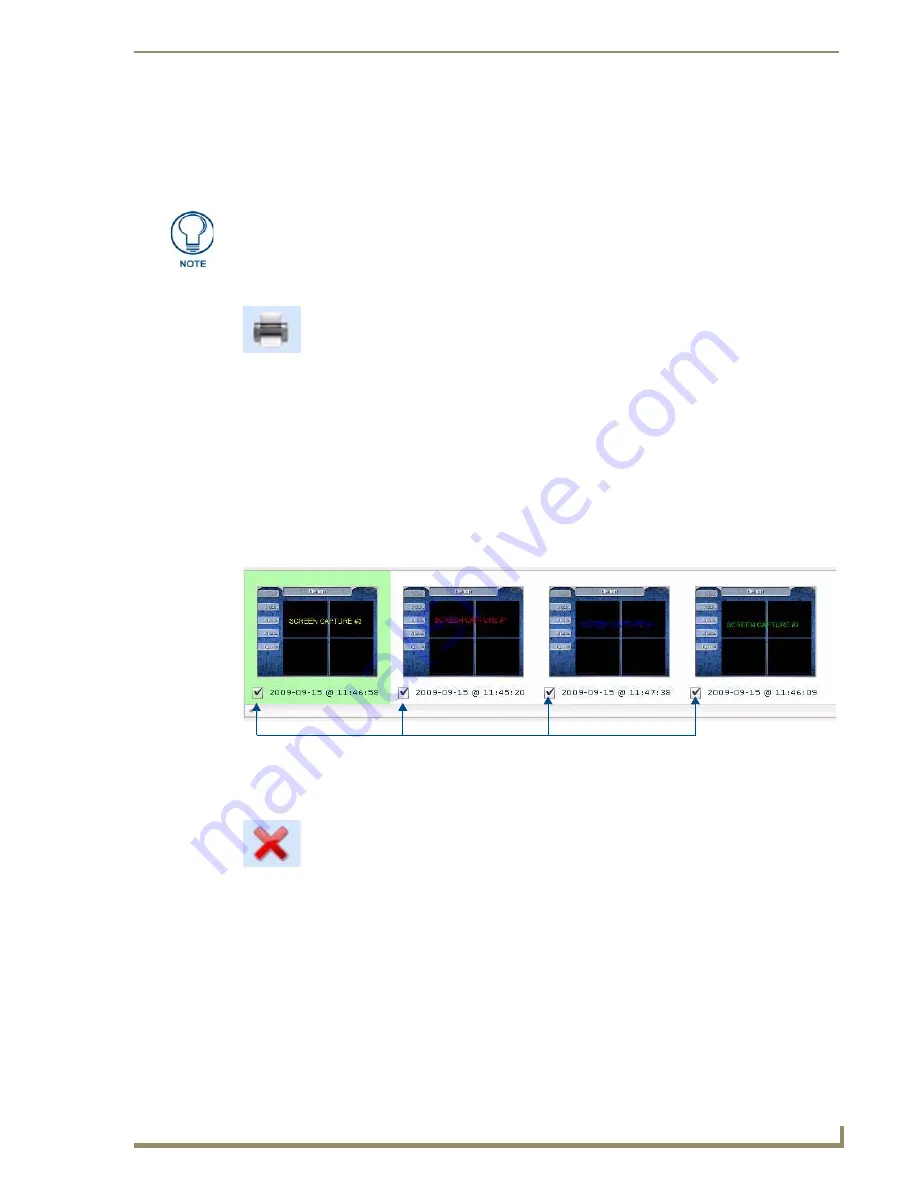
In the Thumbnail Images window, place a check in the checkbox of each image file that you want to
permanently delete from the TPI-PRO/DVI’s local disk (FIG. 130).
3.
Press the
Delete
button (FIG. 126).
Alternatively, select
Image > Delete Image
from the Menu Bar.
Image files must be printed one at a time (multi-selection is not supported for printing
files).
FIG. 129
Print button
FIG. 130
Multiple files checked for deletion
FIG. 131
Delete button
Place checkmarks on multiple files for deletion
Summary of Contents for TPI-PRO-4
Page 14: ...xii TPI PRO Total Presentation Interface Table of Contents ...
Page 76: ...TPI PRO DVI Configuration Pages 70 TPI PRO DVI Total Presentation Interface ...
Page 172: ...Terminal Telnet Commands 166 TPI PRO DVI Total Presentation Interface ...
Page 180: ...Upgrading Firmware 174 TPI PRO DVI Total Presentation Interface ...
Page 208: ...Supported Input and Output Modes 202 TPI PRO DVI Total Presentation Interface ...
Page 214: ...Appendix 208 TPI PRO DVI Total Presentation Interface ...
Page 217: ...Troubleshooting 203 TPI PRO Total Presentation Interface ...


