Operating the Control Panel
49
Instruction Manual – HDMI-UTPRO-0808
Changing the Virtual Matrix
Selecting Virtual Matrix accesses the VMs that are defined for the HDMI UTPro.
The list contains 0:All and 1:Video (unless custom VMs have been created in XNConnect).
The setting does not need to be changed as the system functions the same for either VM.
Note:
Virtual matrices are defined in XNConnect and stored in the system’s configuration file.
If you use VMs to limit control of sources with limited sink support, the VMs may need to be changed when you are
switching different inputs (for information on creating VMs for this purpose, see page 119)
.
Changing the virtual matrix does not change the default virtual matrix. The system will revert to switching on the default
virtual matrix when the power is cycled. For information on changing the default virtual matrix, see page 57.
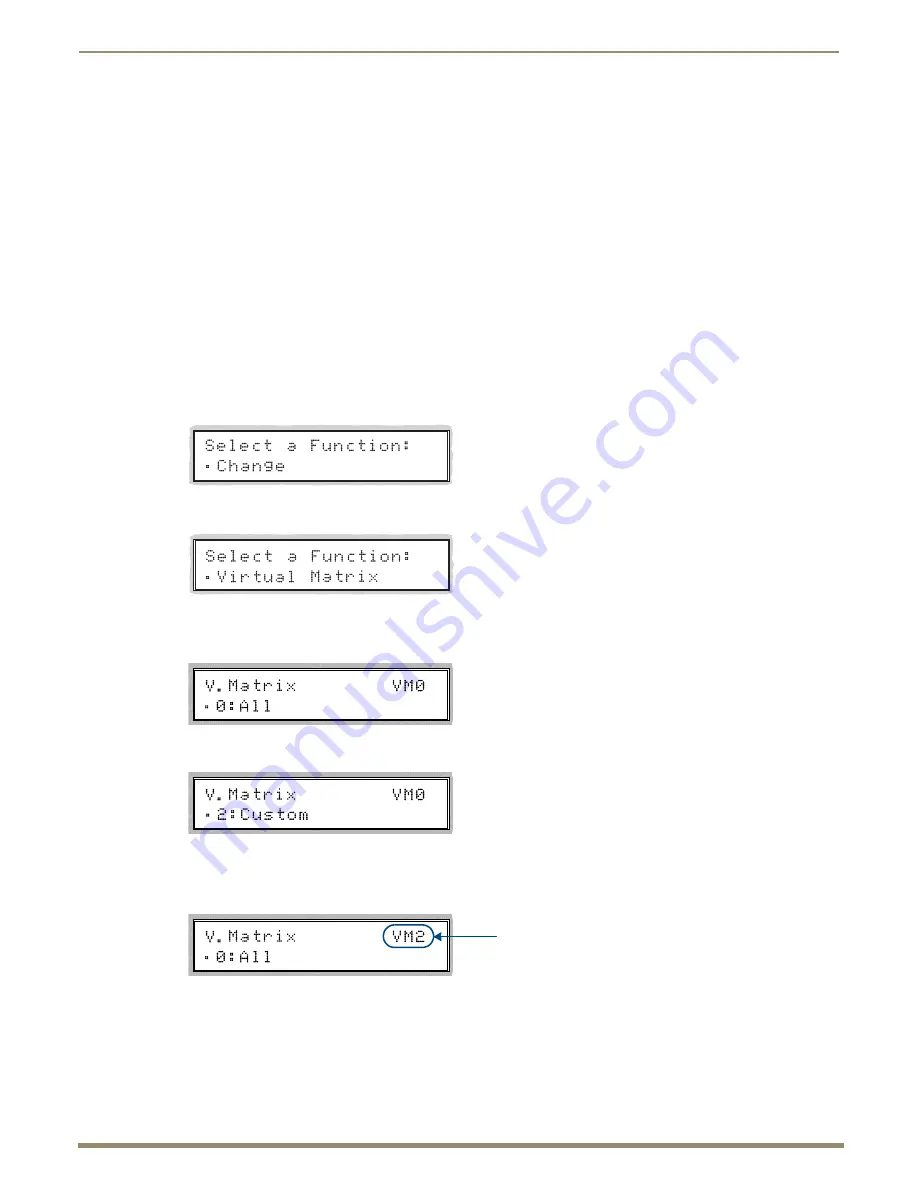
The example below assumes additional VMs have been created and provides instructions for changing from routing
signals on VM 0 to routing on VM 2, a hypothetical VM labeled “Custom.”
To change the virtual matrix:
1.
Press the Function Key.
The Function menu appears.
2.
Locate Virtual Matrix by scrolling with the Control Dial.
3.
Press the Select Key.
The V.Matrix list appears.
4.
Scroll to
2:Custom
.
5.
Press the Select Key to enter your selection.
The display returns to the top of the V.Matrix submenu.
VM 2 becomes the new virtual matrix used for all operations.
6.
Press the Function Key to return to the Function menu.
The HDMI UTPro is ready to make changes on VM 2.
The HDMI UTPro will remain on VM 2 for all operations until the virtual matrix is changed or power is cycled
(to set the virtual matrix as the default, see page 57).
VM used for all operations


