


Electroluminescent Touch Panels
Operation
9
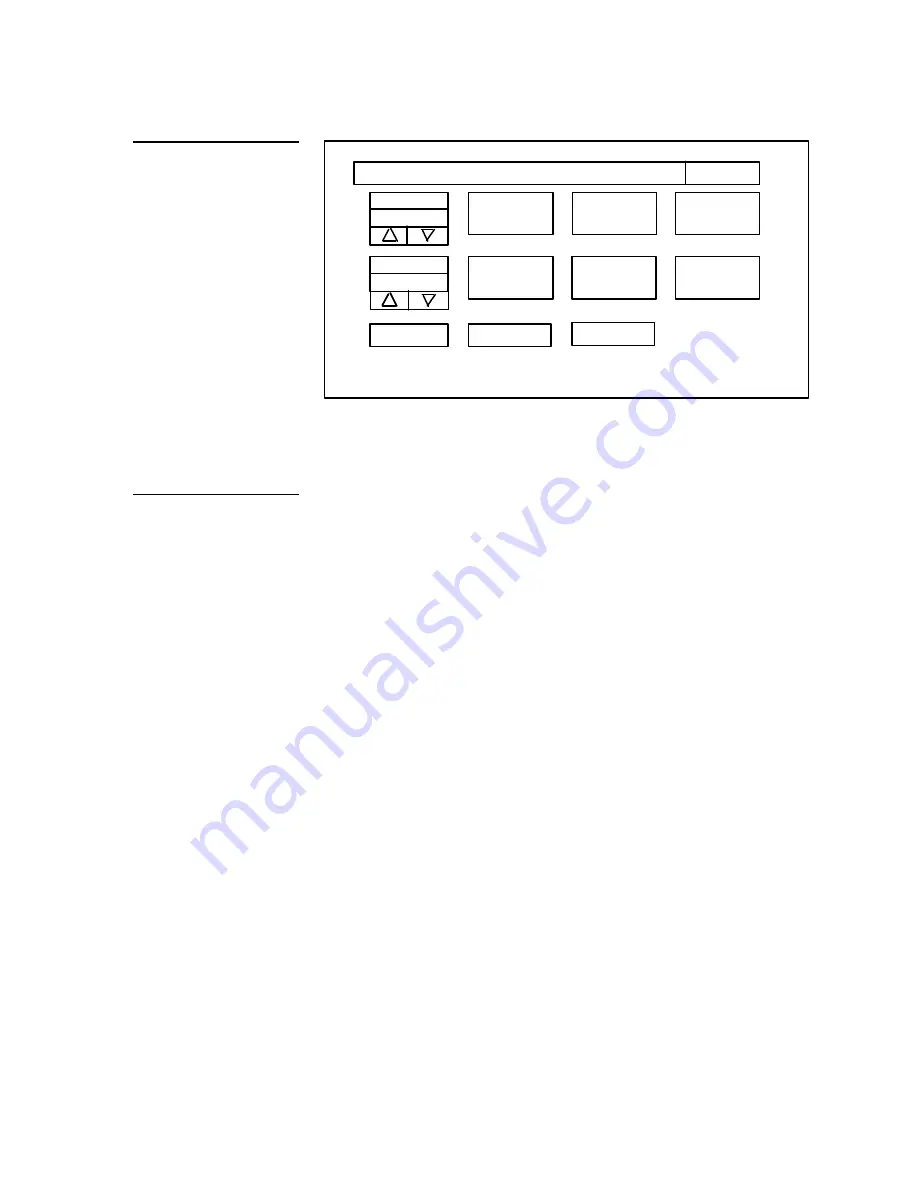
ADJUST ATTRIBUTES TO DESIRED LEVELS
EXIT
XX TIMER
5 min
BEEP
AXlink
1
vX.xx
SET TIME
AND TIME
SET
BACKGROUND
PROTECTED
SETUP
DOUBLE
BEEP
COMPARE
DEVICE
SHOW
DEVICE
SERIAL NUMBER
797 - XXXX
BEEP
changes the duration of the single beep sound in a range of 1 to 1 0 with 1
being the shortest. A value of zero turns the beep off.
EL TIMER
sets the amount of time before the screen saver mode is activated. Setting
range is 5 to 150 minutes in 5 minute increments. Selectable options for the EL
TIMER MESSAGE are available.
SET TIME AND DATE
when you touch this button, a panel of adjustment buttons
will appear. Use them to set the current time and date at your location.
SET BACKGROUND
displays a panel of additional option buttons. You can set the
pattern and change the appearance of the background, and whether the background
is on or off.
DOUBLE BEEP
turns the double beep sound on or off. The double beep lets you
know when an incorrect operation is attempted.
COMPARE DEVICE
displays an additional screen appears when you touch this
button. The screen displays a list of all devices that the Master card believes to be
missing, then a list of all the devices that are extra.
SHOW DEVICE
displays an additional screen when you touch this button. The
screen displays a list of all devices found on AXlink.
SERIAL
NUMBER, AXlink, and v2.xx
displays
the serial number of your Touch
Panel, the AXCESS communications link indicator, and the current version of the
ROM software installed in your Touch Panel. Note that the AXlink button will blink
at about a one second rate when an AXCESS system is connected and the data bus is
in use.
Figure 6
Initial Setup Page
Note
You must always have a path
to the SETUP button from the
Touch Panel pages you
create. By using page
ATTRIBUTES, the path can go
directly to a SETUP button
through another page. You can
also copy the SETUP button to
any of your Touch Panel
pages. Only the size and
position of the SETUP button
can be changed.
Summary of Contents for Electroluminescent LCD Touch Panels
Page 8: ...4 Introduction Electroluminescent Touch Panels...
Page 22: ...18 Operation Electroluminescent Touch Panels...
Page 26: ...22 Specifications Electroluminescent Touch Panels...
Page 28: ...24 Technical Support Electroluminescent Touch Panels...
Page 37: ...Electroluminescent Touch Panels Appendix Page and Function Finders 33...


