OPERATING AND INSTALLATION
INSTRUCTIONS OF
FREESTANDING
GAS DOUBLE CAVITY
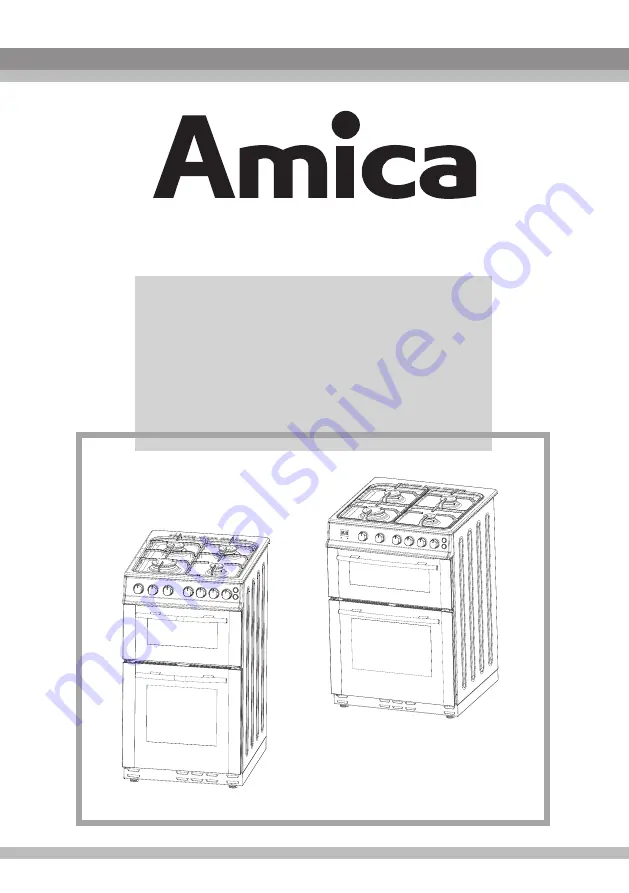
51GGTCM (W)
601GGDOTm (W)
-
+
Page 1: ...OPERATING AND INSTALLATION INSTRUCTIONS OF FREESTANDING GAS DOUBLE CAVITY 51GGTCM W 601GGDOTm W ...
Page 2: ... includes the basic information for right and safe installation maintenance and use please contact to the nearest Authorized Service for the installation of your product CE Declaration of conformity This appliance has been designed to be used only for cooking Any other use such as heating a room is improper and dangerous This appliance has been designed constructed and marketed incompliance with S...
Page 3: ... and measures 3 7 Gas conversions 4 Part USE OF YOUR OVEN 4 1 Use of gas burners 4 1 1 Control of hob burners 4 1 2 Control of oven burner 4 1 3 Control of grill burner 4 2 Accessories used in oven 5 Part CLEANING AND MAINTENANCE 5 1 Cleaning 5 2 Maintenance 6 Part SERVICE AND TRANSPORT 6 1 6 2 Information related to the transport 4 1 4 Using the Digital Minute Timer 4 1 6 Use of mechanical minute...
Page 4: ...ven Door Handle 4 Supply Leg 5 Oven Door 6 Oven Tray 7 Wire Grid 8 Grill 9 Oven Lamp 10 Semi Rapid Burner 11 Rapid Burner 12 Auxillary Burner 13 Hob Grids 14 Semi Rapid Burner 9 8 2 Rack 2 Rack 3 Rack 3 Ra 4 Rack 5 Rack 1 Rack 1 Rack MODEL DEPTH WIDTH HEIGHT cm cm cm 601GGDOTm W 51GGTCM W 60 60 90 60 50 90 1 2 3 4 5 6 7 ...
Page 5: ...ected to a combustion products evacuation device It shall be installed and connected in accordance with current installation regulations Particular attention shall be given to the relevant requirements regarding ventilation If you will not use the appliance for a long time plug it off Keep the main control switch off Also when you do not use the appliance keep the gas tap off If the supply cord is...
Page 6: ... door closed This appliance is not intended for use by persons including children with reduced physical sensory or mental capabilities or lack of experience and knowledge unless they have been given supervision or instruction concerning use of the appliance by a person responsible for their safety WARNING Ensure that the appliance is switched off before replacing the lamp to avoid the possibility ...
Page 7: ...nt where your appliance will be installed 3 2m h air per kw input 2 These air holes must have at least the effective cross section of 100cm for fresh air circulation One or more air holes can be opened This hole or holes must be opened so that they are not blocked Preferably they must be placed close to the bottom and at opposite side of the smokes of the burned gases that were emptied If it seems...
Page 8: ...thout hood Air inlet section 2 min 100cm Figure 5 Figure 3 Figure 4 3 2 Installation of oven There are some factors that must be paid attention to while installing your oven Surely be very careful to while installing your oven Pay attention to our below instructions in order to be able to prevent any problems and or dangerous situations that may occur later The appliance can be placed close to oth...
Page 9: ... is required not to move the appliance by dragging it should be moved by lifting it up The connection of the appliance should be performed in accordance with local and international standards and regulations applicable You can find the information related to appropriate gas types and appropriate gas injectors on technical data table If the pressure of used gas is different than these values stated...
Page 10: ...connections Do not use plumbing seals for gas connections Remember that this appliance is ready to be connected to gas supply in the country for which it has been produced The main country of destination is marked on the rear cover of the appliance If you need to use it in another country any of the connections in the figure below can be required In such a case contact local authorities to learn t...
Page 11: ...ins plug is unsuitable for the socket outlet in your home or is removed for any other reason then the fuse should be removed and the cut off plug disposed of safely to prevent the hazard of electric shock There is a danger of electric shock if the cut off plug is inserted into any 13 amp socket outlet IMPORTANT How to wire a 13 amp plug The wires in the mains lead on this appliance are colored in ...
Page 12: ...y catch fire on condition of extreme heating Never pour water to the flames that are caused by oil Cover the saucepan or frypan with its cover in order to choke the flame that has occured in this case and turn the cooker off The oven and heat adjustment switches must be adjusted for cooking in your oven Otherwise the oven does not operate When the door of oven is open do not leave anything on it Y...
Page 13: ...ins Remove the burner cap and the adapter Figure 8 Unscrew the injectors For this use a 7mm spanner Figure 9 Replace the injector with the ones from the gas conversion kit with corresponding diameters suitable to the type of gas that is going to be used according to the information chart which is also supplied in the gas conversion kit Oven Grill Injectors Grill Injector The oven and grill injecto...
Page 14: ...ark plug holder The injector is placed on the right side of the burner cradle Figure 13 Repeat the same procedure for both Main and Top Oven if present burners Remove the injectors with a 7mm spanner and replace the injector with the ones from the spare set with corresponding diameters suitable to the type of gas that is going to be used according to the information chart which is also supplied in...
Page 15: ...rews are accesible only when the knobs are removed With the help of a small screwdriver fasten or loosen the by pass screw around 90 degrees When the flame has a length of at least 4mm the gas is well distributed Make sure that the flame does not die out when passing from the maximum position to the minimum position Create an artificial wind with your hand toward the flame to see if the flames are...
Page 16: ... marker on the knob points at the grill sign Then keep the knob pressed and approach a match taper or another manual aid to the holes that are situated on the burner Move the ignition source away as soon as you see a stable flame Electrical Ignition Electrical ignition of gas burners can be done in two ways depending on the configuration of your appliance Ignition by Spark Button 51GGTCM W Press t...
Page 17: ...osition you can adjust the flame length between max and min positions Do not operate the burners when the knob position is between max and off positions After the ignition check the flames visually If you see yellow tip lifted or unstable flames turn the gas flow off and check the assembly of burner caps and crowns Also make sure that no liquid has flown into the burner cups If the burner flames g...
Page 18: ... hot for a prolonged period of time do not touch it and do not place any object on top of the hob Never place knives forks spoons and lids on the hob as they will get hot and could cause serious burns 4 1 2 Control of the Oven Burner After you ignite the oven burner as explained before you can adjust the temperature inside the oven as you require using the numbers on the control panel or knob ring...
Page 19: ...ing Shiny aluminum or polished steel trays reflect the heat away and give less base browning When cooking more than one dish in the oven place dishes centrally on different shelves rather than cluster several dishes on one shelf this will allow the heat to circulate freely for the best cooking results If you are cooking more than one tray of similar items for example cakes or biscuits swap the tra...
Page 20: ...urned over during cooking as required Food should be thoroughly dried before grilling to minimize splashing Brush lean meats and fish lightly with a little oil or melted butter to keep them moist during cooking Foods should be placed on the center of the grid to allow maximum circulation of air Never cover the grill pan or grid with foil as this can lead to grill fires If your appliance has a gril...
Page 21: ... oven to off position 4 1 5 Digital Timer Sound Adjustment While the timer shows the time of day if the button on the left minus button is pressed and held in for 1 2 sec the timer will give an audible signal beep After that each time the button is pressed the timer will give three different types of signal beep Do not press any further buttons and the timer will save the last selected sound 4 1 4...
Page 22: ...e on a dry kitchen cloth or dish cross ensure it to cools slowly Otherwise the glass tray or dish may be broken If you will grill in your oven we recommend you to use the grill that was given in tray together with product If your product includes this material If you will use the big wire grill put a tray onto one of the lower shelves for oils to be collected Also put some water into it for ease o...
Page 23: ...22 Removal of catalitic panel 601GGDOTm W Remove G screws on the each catalitic enamel coated panel 4 Part USE OF YOUR OVEN Figure 15 ...
Page 24: ...that had been soaked in soapy water after each use Later wipe it with a wet cloth once more and then dry it It may be required to use a liquid cleaning material from time to time and make a complete cleaning Do not clean with dry powder cleaners or steam cleaners Cleaning of Gas Cooker Hob Part Lift up the saucepan supports caps and crowns of hob burners Wipe and clean the back panel with a soapy ...
Page 25: ...ive powders or abrasive cleaning metarials Do not leave vinegar coffee milk salt water lemon or tomato juice to remain in contact with stainless steel parts long periods of time 5 2 Maintenance Change of Oven Lamp At first plug the oven off from electric supply and make sure that oven is cool Remove the bulb after removing the cover in front of lamp Assemble the new bulb resistant to 300 C to the ...
Page 26: ...ay be depleted Except these if you still have any problem with your product please call to the Authorized Service 6 2 Information related to transport If you need any transport keep the original case of product and carry it with its original case when needed to be carried Follow the transport signs on case Tape the cooker on upper parts caps and crowns and pan supports to the cooking panels Place ...
Page 27: ...ress MEDIUM BURNER Injector Diameter mm Nominal Rating kW Consumption in 1h 0 at 15 C and 1013mbar press MAIN OVEN BURNER Injector Diameter mm Nominal Rating kW Consumption in 1h 0 at 15 C and 1013mbar press TOP OVEN BURNER Injector Diameter mm Nominal Rating kW Consumption in 1h 0 at 15 C and 1013mbar press GRILL BURNER Injector Diameter mm Nominal Rating kW Consumption in 1h 0 at 15 C and 1013mb...
Page 28: ...f correctly you will help prevent potential negative consequences for the environment and human health which could otherwise be caused by inappropriate waste handling of this product For more detailed information about recyling of this product please contact your local city office your household waste disposal service or the shop where you purchased the product 52036674 10 11 R000 Service Help Lin...