ameriwoodhome.com
STEP
20
11
M
M
D
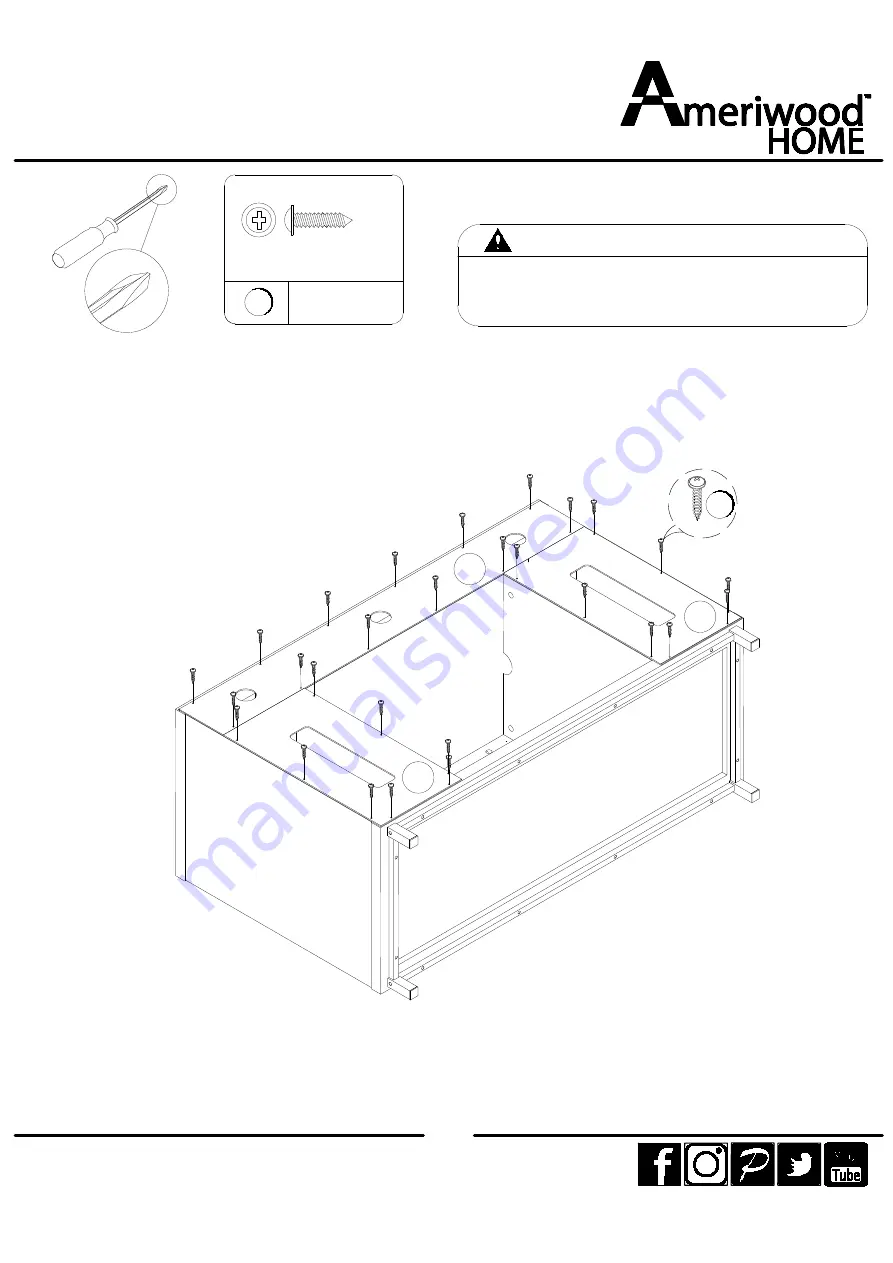
Ø3.5X14mm
2
x 28
2
Please make sure that the backs are attached securely.
All nails must be driven into the parts straight and tightened
firmly. Failure to do so could cause instability, product
collapse, and/or serious injury.
WARNING


