70
Intellex
®
Digital Video Management System Installation and Operating Instructions
Schedule Setup
MORE>>>
Live Filter Configuration
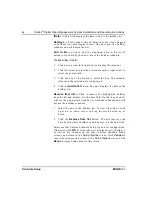
NOTE: Before following any procedures in this section, select the
live filter and click Setup (see
and
After you select a live filter, use the appropriate filter
configuration screen to configure it. This section describes how to
configure each live filter.
•
Light Change
•
Motion Detection
•
Perimeter Protection
Light Change
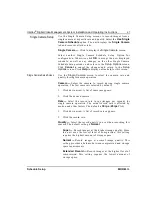
Use the
Light Change
screen to configure the target area for the
light change filter. Once configured, the filter is triggered
whenever the light level changes. The light level can change
when someone turns lights on or off, uses a flashlight or blocks
the camera lens.
After you select the
Light Change
filter and click the
Setup
button, the
Light Change
screen appears.
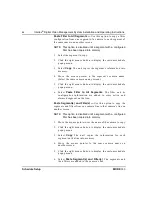
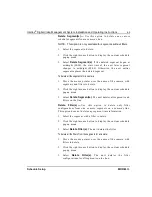
Light Change: (camera name ) —
Indicates the camera name.
Image Area —
This area of the screen displays a camera image
and provides a reference when configuring the filter.
Active Zone —
The active zone is the area in which the filter’s
targets are activated. It can be nearly any shape or size.
Restore —
Click to restore the active zone to its dimensions
when you first accessed this screen.
Clear —
Click to erase all of the targets in the active zone.
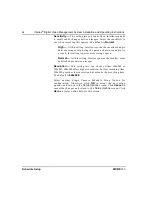
Sensitivity —
The unit uses this setting to distinguish between
valid and invalid changes in the target area. At higher settings,
small changes trigger the filter. At lower settings, larger changes
are required to trigger the filter.
1 … 100 —
Use this slide control to set the sensitivity for the
filter from minimum (
1
) to maximum (
100
). The sensitivity
number represents the area of changing video relative to the
active zone area. Maximum sensitivity (
1
) requires that a
larger fraction of the active zone change before the alarm is
generated.

