


121
Window Split
: In the
Window Split
list, select
View 1
,
View 4
,
View 8
, or other modes that are
supported by the NVR.
Add:
This button allows the user to add a channel to the tour.
Delete:
This button allows the user to remove a channel from the tour.
Move Up
: This button allows the user to move a camera up in the tour queue.
Move Down
: This button allows the user to move a camera down in the tour queue.
Click the
Default
option to set the tour settings back to default. Click the
Refresh
option to refresh the
interface. Click the
Save
option to save the tour settings.
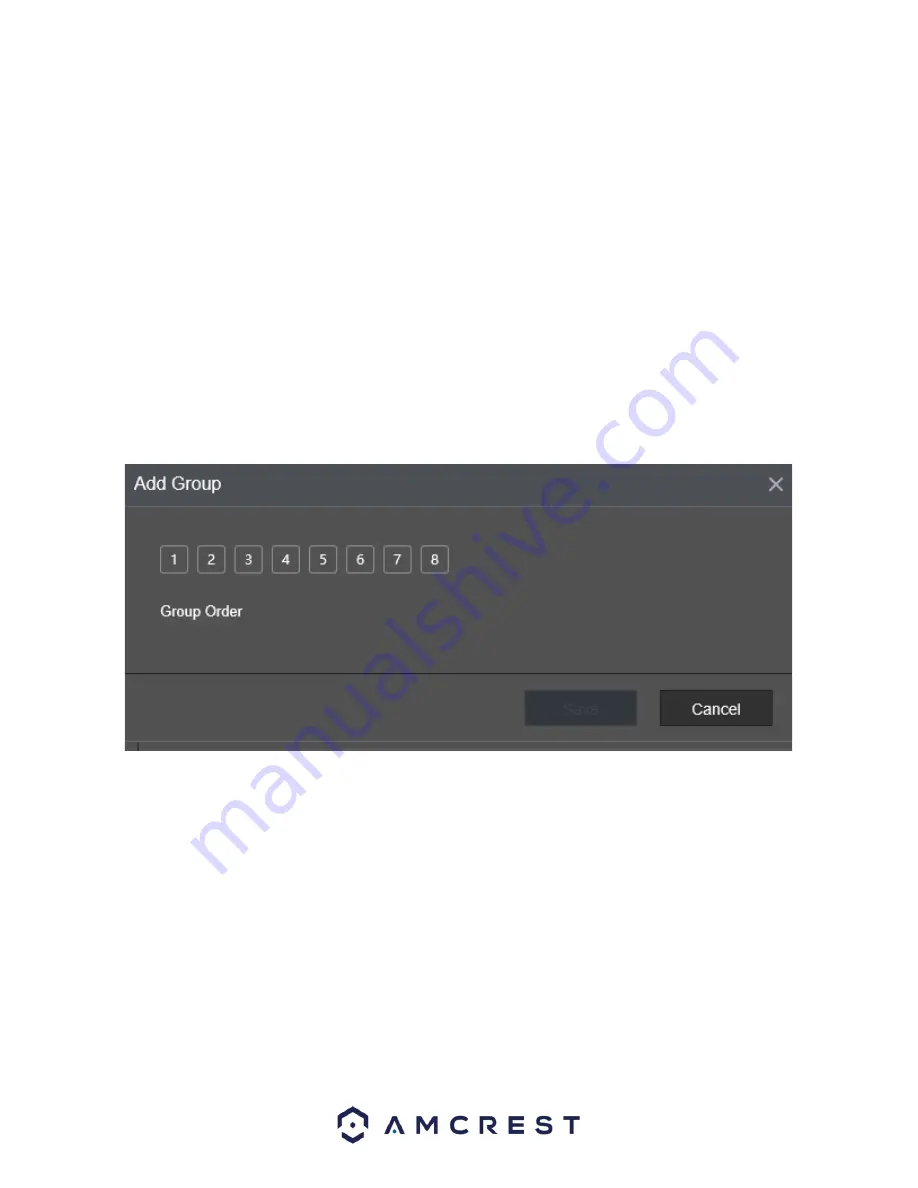
Adding a Channel Group
This function provides you the ability for grouping together channels to more efficiently use the tour
options set up on the NVR. To utilize this function, enable the
Enable
toggle switch and click on the
Add
button located in the
Main Screen
tab of the
View Cycle
menu. This will take you to the
Add Group
interface.
From the interface, select the channels that you want to group with the established tour settings.
Note:
If you want to select more than one channel, in the
Window Split
list, do not select
View1
.
When you have finished selecting the appropriate group order, click
OK
to complete the process. If you
do not wish to proceed with the group function, click
Back
to exit the add group interface.
Modifying a Channel Group
To modify an established channel group, double-click on a channel group to access the
Modify Channel
Group
interface.


