


•
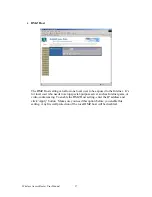
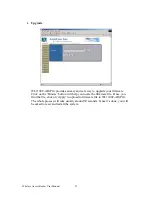
Setup
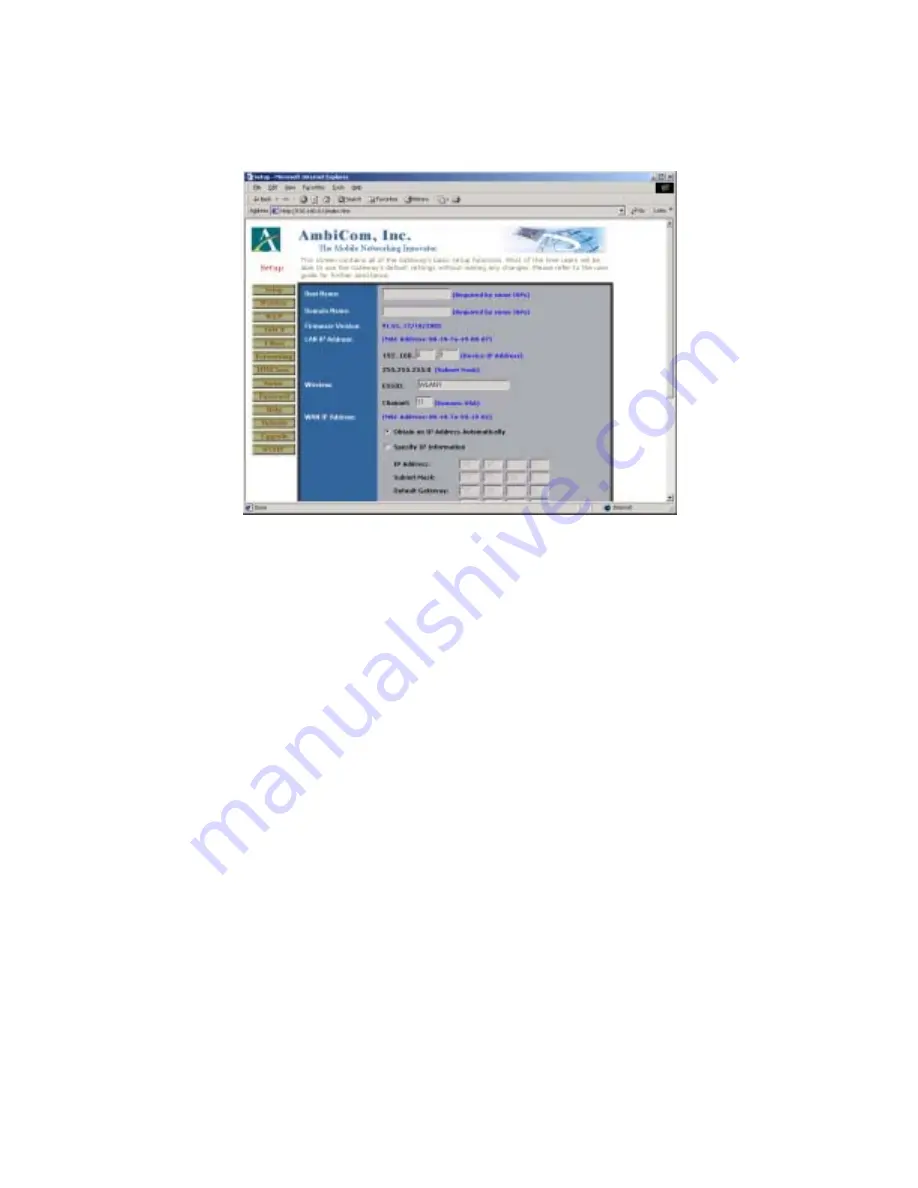
The Basic Setup screen is the first screen you see when you access the Gateway
by typing its IP address into your web browser location window. You may
configure the device and get it working properly using only the settings on this
screen. For most users, all you need to do is give the device a name and select the
‘Obtain an IP Address Automatically’ option. Some ISPs (Internet Service
Providers) will require that you enter the DNS information. These settings can be
obtained from your ISP if they are required. After you have configured these
settings, move on with the installation by setting a password or DHCP server
function of the Gateway.
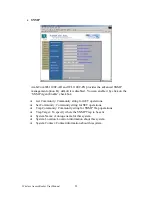
Host Name: Give your device a name. This entry is necessary for some ISPs.
♦
♦
♦
♦
♦
♦
♦
Domain Name: Specify your domain. This entry is necessary for some ISPs.
Firmware Version: This entry shows the version of the firmware you are using.
LAN IP Address: This is the IP Address and Subnet Mask of the Gateway to
be seen by internal LAN users in your home or office. The default value is
192.168.0.1 for IP and 255.255.255.0 for Subnet Mask.
Wireless SSID: This is the ESSID of the beacons that the Wireless LAN
APwill broadcast.
Channel: This is the channel number of WLAN AP will set. The available
channels are depending on your regional location. Northern America
including Canada should be from channel 1 to 11.
WAN IP Address: This is the IP Address and Subnet Mask of the Gateway to
be seen externally on the Internet. If your ISP is running a DHCP server,
check the ‘Obtain an IP Address Automatically’ option. Your ISP will assign
an IP address for you. If you have a static, or fixed IP address, Subnet Mask,
and Gateway setting, check the check box in the ‘Specify an IP address’
option.
Wireless Access Router User Manual
10


