MODEL: SM-1004SP PRODUCT CODE: 61618 07/2018
MODEL: SM-1004SP PRODUCT CODE: 61618 07/2018
11
AFTER SALES SUPPORT
1300 886 649
AUS
10
AFTER SALES SUPPORT
1300 886 649
AUS
Instructions
Using the Pie Maker
Preparation
• Prepare your pie filling; recipes start on page 16. Set the filling aside to cool.
• Prepare your pie crusts.
Unless the recipe states otherwise, we recommend
using shortcrust pastry for the pie base and puff pastry for the top.
• Let frozen, ready rolled pastry thaw for 5–10 minutes before cutting it to
shape with
the reversible pastry cutter; use the larger side for the pie base
and the smaller for the top. The slits in the base crust allow you to overlap
the dough for a better fit in the mould.
Preheating
• Place the Pie Maker on a level and stable, heat and flameproof work surface,
with enough room for ventilation all around it.
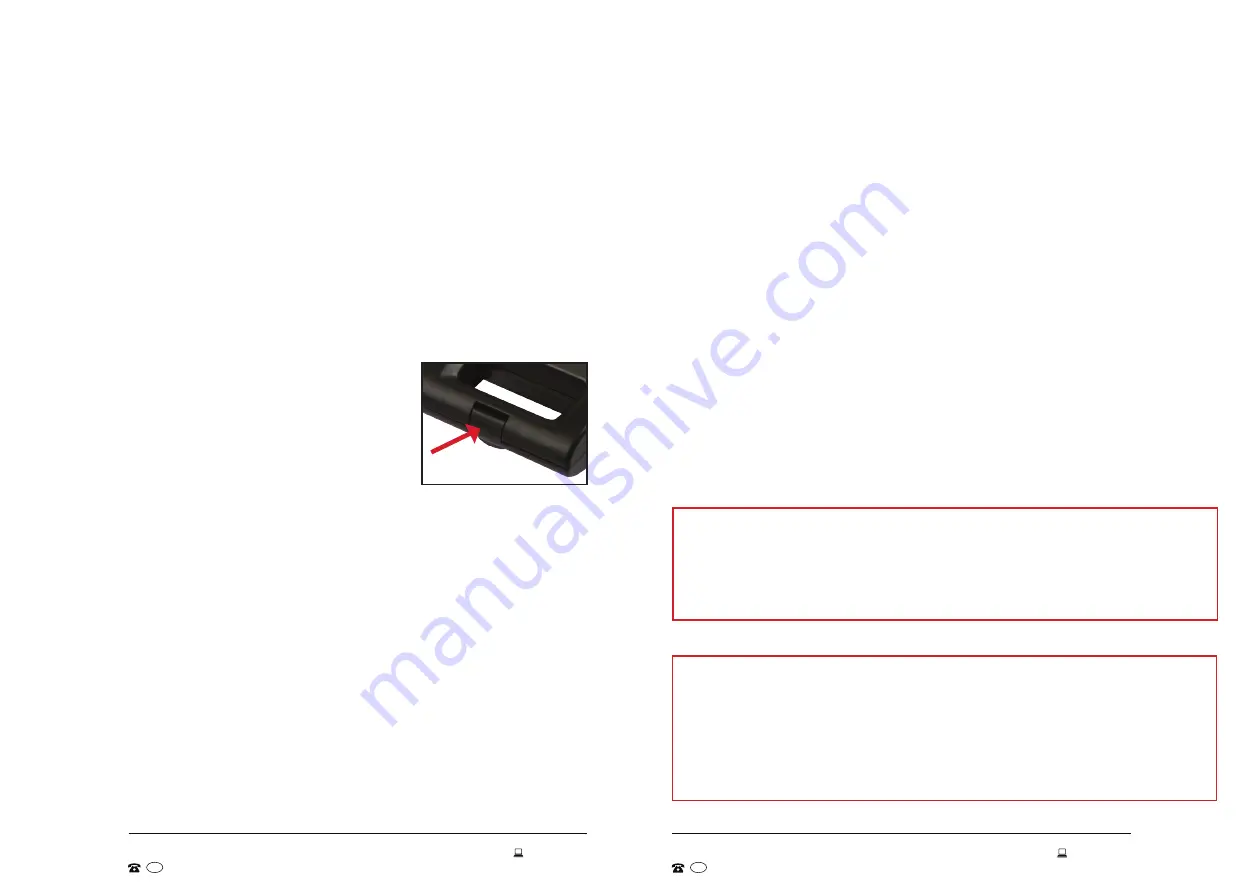
• The handle lock (Fig. 1) must be closed when
using the appliance. Close the lid and push the
latch towards the back to lock.
• Unwind the power cord, insert the plug into the
mains power supply and switch on power at the
outlet. The red Power light indicates that the Pie
Maker is powered and preheating.
• After about 3–8 minutes,
when the green Ready indicator lights up, the
Pie Maker is ready to use. The light will cycle off and on as the thermostat
in the unit maintains the correct operating temperature. Always keep the lid
closed when preheating or in-between uses.
Baking pies
• Disengage the handle lock and open the preheated Pie Maker.
Carefully
place
your (large) cut out pie base over the lower pie mould, taking care as
the mould surface will be hot. Overlap the pastry slits to ensure they are
properly joined to form the pie base.
• Add about 2 level cups of your cooled filling to 3/4 fill the mould. The weight
of the filling will cause the dough to drop down into the mould. You can also
use the bottom of a ladle to gently press the filling into the mould, however,
take care not to tear the pastry.
WARNING!
Cooking surfaces are hot. Never touch them directly with your
hands.
• Place your (small) cut out pie top over the pie filling,
close the cover and
push down the locking latch until you hear it click into place, indicating that
the handles are securely locked.
• We recommend you set a timer for 10 or 15 minutes, depending on the
filling and your desired level of browning.
During baking,
the green Ready
light will cycle on and off, indicating that the correct temperature is being
maintained.
• At the end of the baking time, pull up the handle locking latch and carefully
lift the lid. If your pie needs additional browning, simply close the lid and
cook for an extra few minutes.
• When your pie is cooked to your liking, unplug the Pie Maker from the wall
outlet. Carefully remove the pie from the mould by using a non-metallic
(silicone, nylon or wooden) spatula.
CAUTION!
Do not use metal utensils as this will damage the non-stick
surface.
• Let the Pie Maker cool down completely before cleaning and storage.
WARNING!
The Pie Maker gets hot! When in use or until it has cooled
completely, do not touch any of the metal surfaces. Use the cool-touch
handle to open and close the Pie Maker.
Instructions (Cont.)
CAUTION!
• Be careful to avoid burns! Hot steam may escape during baking and when
opening the appliance, and the pie moulds get very hot during use.
• Do not use a knife, fork or any other sharp object when removing the pie from
the moulds as this will damage the non-stick cooking surfaces.
Baking Times
• Baking a pie in the preheated Pie Maker can take between 10 and 20
minutes, depending on the desired level of browning and the filling – fruit or
vegetable pies generally take a little less time than meat pies.
• Most pies will cook in about 15 minutes. Open the lid briefly and check after
10 minutes and if the pastry looks too pale, add a little more time until golden
brown.
Fig. 1


