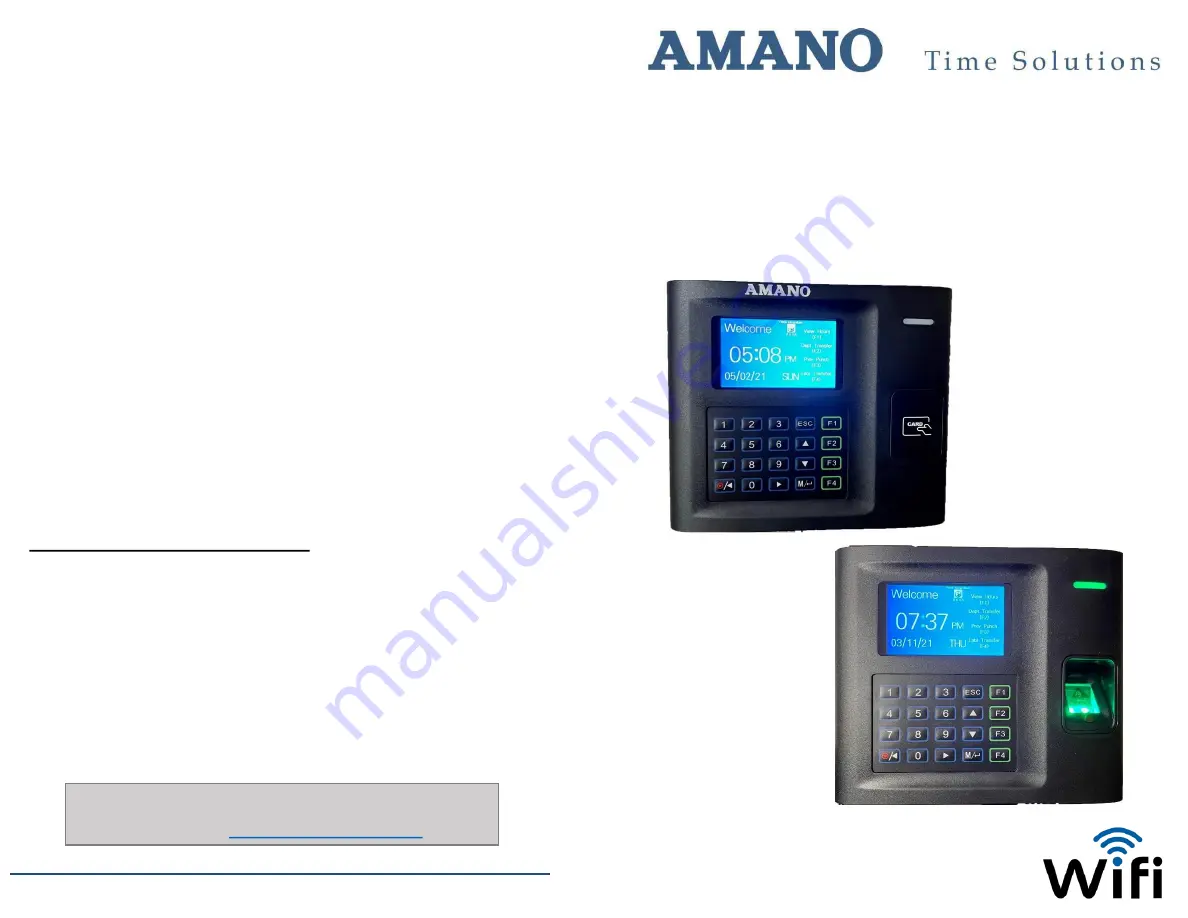
MTX-30P & MTX-30F Push WiFi Setup Guide
Page 4
For support, please call 1-800-896-7035 (option 3) or
email us at
5. With your USB still inserted into the time clock unit, choose
Upload
WiFi Password
.
6. Select the
Load Password
option using the down arrow and then
Press
OK
(
M/
)
.
The password will populate from the thumb drive
and be obscured by **********.
Use the down arrow key to highlight the “ok(
M/
)” Icon and
press
(
M/
) to enter
“Rebooting wireless device” will appear, this is normal
Wait for the unit to revert back to home screen, when
successful, the MTX-30 unit will connect to your Wi-Fi
network and show the WiFi icon in top right corner of screen.
Press the (
M/
)
Once you see the WiFi icon in the top right corner of the screen confirm it
is connected to the correct network by pressing
OK
(
M/
)
, selecting
Comm.
and pressing
OK
(
M/
)
and then selecting
Wireless Network
and pressing
OK
(
M/
).
If connected correctly, the SSID will display your WiFi name. (
Make note
of the IP address displayed for future reference, if necessary.)
Verifying & Performing Ping Test
Ping the IP address displayed using the Windows command prompt.
This is done by clicking the windows start button and typing CMD.
At the command prompt type “ping
IP address
” and press enter.
If successful, you will get 4 replies.
If ping times out please
call support at 1-800-896-7035
.
If successful, add a location (and terminal 1) to Time
Guardian and set time in
Comm.
MTX-30P and
MTX-30F PUSH
WIFI SETUP GUIDE


