


Menù operation instruction
Press button MENU (on remote control or monitor). The screen will show
these features:
PICTURE
PRESET
VOLUME (NOT AVAILABLE) OPTION
SYSTEM
Press to select other feature . Press to adjust parameter.
1.
PICTURE:
∙ Brightness Adjust 0 ~ 100
∙ Contrast Adjust 0 ~ 100
∙ Color Adjust 0 ~ 100
∙ Language
∙ Reset
2.
VOLUME:
NOT AVAILABLE
3.
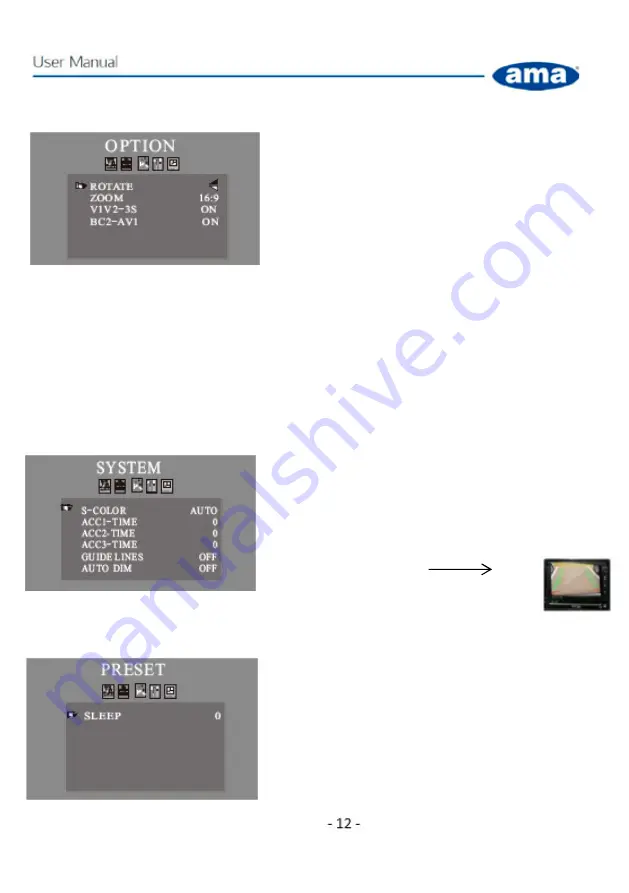
OPZIONI:
∙ Picture overturn Up/Down/Left/Right
∙ Display format 4:3 or 16:9
∙V1V2-3S : If ON, CAM1 and CAM2 are displayed
alternately for 3 seconds.
BC2-AV1 : (1) Turn on monitor (2) Turn on Trigger
starting up (BC2-AV1) in the menu of monitor, (3) Turn
off monitor, (4
When monitor in standby situation, AV2
image show on the monitor after power on trigger wire-2; (5) Then power off trigger wire-2, AV2
image will close and turn into AV1 at once, AV1 image will stay a 10 seconds before closing.
**
This function can’t work in trigger wire-3.
BC2-AV1 : (1) Turn on monitor (2) Turn off Trigger starting up (BC2-AV1) in the menu of monitor, (3)
Turn off monitor, (4)
When monitor in standby situation, AV2 or AV3 image show on the monitor
after power on trigger wire-2 or wire-3 ; (5) : then power off trigger-2or 3 wire, AV2 or AV3 image
will close at once.
4.
SYSTEM
.
S-COLOR Choose between PAL/NTSC/AUTO for screen
image. he PAL system is widespread in Europe while
NTSC is widespread in America. If you choose AUTO,
the monitor will automatically pair with the camera. . .
.ACC -TIME 0 ~ 15” Reversing image delay time .
. GUIDE LINES (stationary)
. AUTO DIM : if active (ON) it allows to
automatically adjust the image display based on external conditions.
5.
PRESET
.
Set the monitor to turn off automatically 0 ~ 240 min


