CAUTION:
Keep tool pointed in a safe direction at all times.
■
Never attempt to drive fasteners into materials too hard to penetrate, at too
■
steep an angle, or too near the edge of the workpiece. The fastener can
ricochet causing personal injury.
Disconnect tool from air supply before doing any disassembly, maintenance,
■
clearing a jammmed fastener, leaving the work area, moving the tool to
another location, or handing the tool to another person.
Clean and inspect the tool daily. Carefully check for proper operation of
■
trigger and safety mechanism. Do not use the tool unless both the trigger and
the safety mechanism are functional, or if the tool is leaking air or needs any
other repair.
2. Make sure the air pressure is within the limits mentioned in SPECIFICATIONS.
3. Hold the BODY (F, fig.1) and press DRIVER GUIDE (E, fig.1) against the work
surface, being sure the tool is perpendicular to the surface.
4. Gently squeeze the TRIGGER (A, fig.1) to drive the fastener.
5. Lift the tool off the work surface.
DAILY MAINTENANCE AND INSPECTION
CAUTION:
Disconnect tool from air supply before cleaning and inspection.
Correct all problems before putting the tool back in service.
Wipe tool clean and inspect for wear or damage. Use non-
fl
ammable cleaning
solutions to wipe exterior of tool only if necessary. Do not soak tool with
cleaning solutions. Such solutions can damage internal parts.
Inspect trigger and safety mechanism to assure system is complete and
functional: no loose or missing parts, no binding or sticking parts.
Keep all screws tight. Loose screws can cause personal injury or damage the
tool.
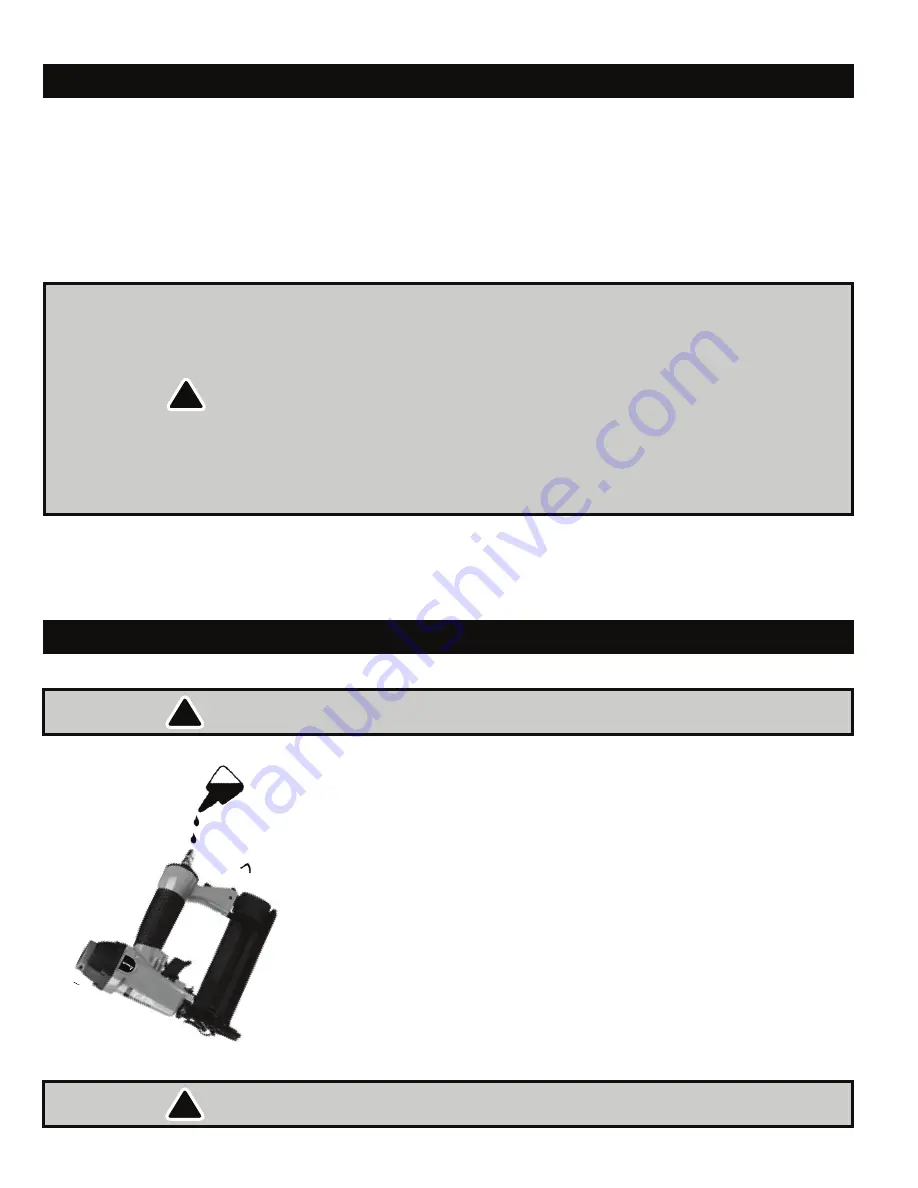
If the tool is used without an in-line oiler, place 2 drops of air tool oil in the
air inlet of the tool at the beginning of each workday and after about 1 hour
of continuous use. Frequent but not excessive lubrication is required for best
performance. Oil added through the airline connection will lubricate all internal
parts. Use only air tool oil. Do not use oil with detergents or other additives.
These can cause damage through accelerated wear to the seals in the tool.
Use a small amount of oil on all exterior moving parts and pivots.
Dirt and water in the air supply are major causes of pneumatic tool wear. See
the section on SETUP & OPERATION: AIR SYSTEM for more information.
Keep tools clean for better and safer performance. Use non
-flammable
cleaning solutions sparingly and only if necessary. Do not soak parts in the
solutions.
CAUTION:
Such solutions may damage O-rings and other parts.
!
!
!
1.
2.
3.
4.
5.
6.
7.
Push the MOVABLE MAGAZINE (C, fig.1) forward until the FIXED LEVER
4.
(B, fig.1) clicks and locks it.
The tool is ready to operate.
5.
OPERATING THE TOOL
1. The depth to which a brad is driven is determined by the supplied air pressure.
T
est fire a brad in
to a sample of the material you will be working on and check
depth. If a change is desired, adjust the regulator to supply air at a higher or
lower pressure. T
est fire another fastener and check depth again.
Adjust as
necessary.
SETUP & OPERATION
MAINTENANCE
5
Summary of Contents for 18 GA.BRAD
Page 8: ...ASSEMBLY DIAGRAM 8...


