7. REMOTE CONTROL
To operate this unit while connected to a PC, you need to download a Windows compatible DIGAN Editor program from
our website. To get a copy, please go to
http://www.altoproaudio.com/html/download.php
IMPORTANT!
In remote control, all the controls on front panel are disabled.
7.2 First steps with the PC Editor
With the DIGAN2.30 unit powered up and connected to the USB port on your PC, run the PC Editor program
by selecting the DIGAN EDITOR icon in the Windows PROGRAMS menu. Select NEW from the FILE menu,
then DIGAN2.30 and click OK, now select ON LINE from ACTION menu and the PC will scan its USB port to
verify the DIGAN2.30 unit is correctly connected. The NETWORK SCAN window should show the system
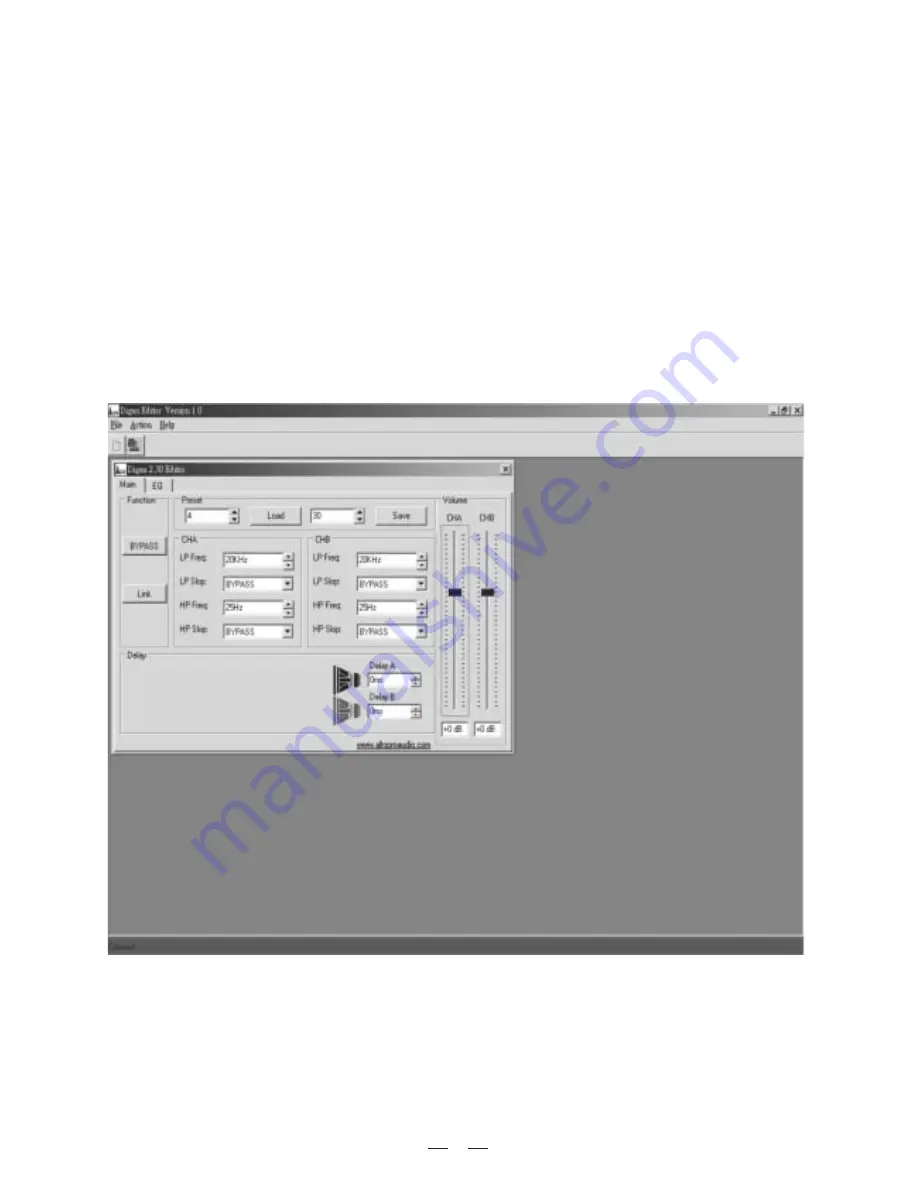
status (CONNECTED or DISCONNECTED). See following picture.
a. Main menu
- Load Preset:
This function allows to load one of the 80 available presets, the first 30 (0-29) presets are factory
configured presets, the presets (30-79) are user's programmable presets.
- Save Preset:
You can store the new preset into one of user presets (30-79).
- Bypass:
When you click BYPASS, only Load and Save preset functions are activated in the main menu, all the
rest functions are disabled. The output signal is exactly same as the input signal.
- LINK:
When you click LINK, you can operate both channels just at one operation.
7.1 Software installation
a. Install Digan Editor program: run DiganEditor100.exe (latest version may differ), then select the folder where
the program is installed and press NEXT, select the program location and press NEXT (it is suggested to use
default setting), now verify your setup information and press NEXT to finish your last step.
b. Install USB driver: run PL-2303 Driver Installer.exe, then press N for next step, at last finish your installation
and exit.
9


