background image

English   - 5 -

the TV, the following message will be displayed:  “TV 
switched to stand-by mode automatically because 
no operation was made for a long time.” 
Before the 
TV switches into standby mode a dialogue window will 
be displayed. If you do not press any button the TV 
will switch into the standby mode after a waiting period 
of about 5 minutes. You can highlight Yes and press 
OK to switch the TV into standby mode immediately. 
If you highlight No and press OK, the TV will remain 
on. You can also choose to cancel the Auto Power 
Down 
function from this dialogue. Highlight Disable 
and press OK, the TV will remain on and the function 
will be disabled. You can enable this function again by 
changing the setting of the Auto Power Down option 
from the Settings>System>More menu. 

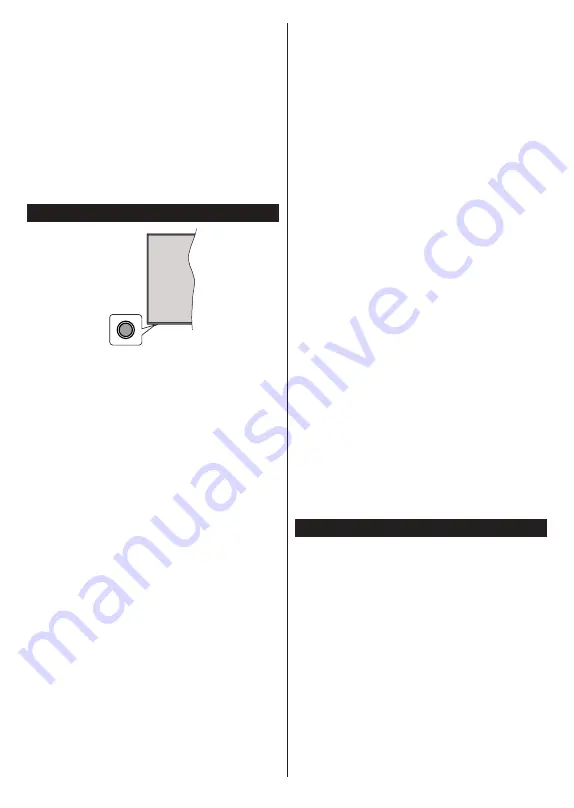
TV Control Button & Operation

Note:

 The position of the control button may differ depending 

on the model.

Your TV has a single control button. This button allows 
you to control the Standby-On / Source / Programme 
and Volume functions of the TV. 

Operating with the Control Button

• 

Press the control button to display the function 
options menu.

• 

Then press the button consecutively to move the 
focus to the desired option if needed.

• 

Press and hold the button for about 2 seconds to 
activate the selected option. The icon colour of the 
option changes when activated.

• 

Press the button once again to use the function or 
enter the sub menu.

• 

To select another function option, you will need to 

deactivate the last activated option first. Press and 

hold the button to deactivate it. The icon colour of 
the option changes when deactivated.

• 

To close the function options menu do not press the 
button for a period of about 5 seconds. The function 
options menu will disappear.

To turn the TV off:

 Press the control button to display 

the function options menu, the focus will be on the 
Standby option. Press and hold the button for about 
2 seconds to activate this option. The icon colour of 
the option changes when activated. The TV will turn 

off when the button is released.

To turn on the TV: Press the control button, the TV 
will turn on.

To change volume: Press the control button to display 
the function options menu and then press the button 

consecutively to move the focus to  or 
Volume - option. Press and hold the button for about 
2 seconds to activate the selected option. The icon 
colour of the option changes when activated. Then 
press the button to increase or decrease the volume. 

To change channel: Press the control button to 
display the function options menu and then press the 
button consecutively to move the focus to Programme 
+
 or Programme - option. Press and hold the button 
for about 2 seconds to activate the selected option. 
The icon colour of the option changes when activated. 
Then press the button to switch to the next or previous 
channel in the channel list. 

To change source: Press the control button to display 
the function options menu and then press the button 
consecutively to move the focus to Source option. 
Press and hold the button for about 2 seconds to 
activate this option. The icon colour of the option 
changes when activated. The sources list will be 
displayed when the button is released. Scroll through 
the available sources by pressing the button. TV will 
automatically switch to the highlighted source.

Note: Main menu OSD cannot be displayed via the control 
button. 

Operation with the Remote Control

Press the Home button on your remote control to 
display main menu. Use the directional buttons and 
OK button to navigate and set. Press Back/Return, 
Exit 
or Home button to quit a menu screen.

Input Selection

Once you have connected external systems to your 

TV, you can switch to different input sources. Press the 

Source button on your remote control consecutively 

to select the different sources.

Changing Channels and Volume

You can change the channel and adjust the volume 
by using the Programme +/- and /- buttons 
on the remote. 

Using Main TV Menu

When the Home button is pressed, the main TV menu 
will appear on the screen. You can navigate through 
the menu items using the directional buttons on the 
remote. To select an item or see the sub-menu options 
of the highlighted menu press OK button. When you 
highlight a menu option some of the sub-menu items 
of this menu may appear on the upper side of the 
menu bar for quick access. To use a quick access item 
highlight it, press OK and set as desired using the Left/

Right directional buttons. When finished press 

OK or 

Back/Return button to exit.

You can also see information on location, weather, 
time and date on the main TV menu screen. The green 
small icons indicate the current status for time, network 
and sync for apps. If these icons appear in green, it 
means that the time information is updated, network 
is connected and sync is successfully completed. 
Otherwise the icons will appear in white.

Summary of Contents for 4322FHDSM

Page 1: ...OPERATING INSTRUCTIONS 4322FHDSM COLOUR TELEVISION WITH REMOTE CONTROL...

Page 2: ...Content 15 General TV Operation 20 Using the Channel List 20 Configuring Parental Settings 20 Electronic Programme Guide 20 Digital Teletext 21 MHEG Teletext 21 BBC Red Button RB 21 Software Upgrade 2...

Page 3: ...shelves above the TV Do not expose the TV to direct sunlight or do not place open flames such as lit candles on the top of or near the TV Do not place any heat sources such as electric heaters radiat...

Page 4: ...al cable may in some circumstances create a fire hazard Connection to a television dis tribution system has therefore to be provided through a device providing electrical isolation below a certain fre...

Page 5: ...to your TV Press the Standby button on the remote briefly to switch your TV into standby picture mode Note that once the Standby Picture option is set as On the function of the Standby button on the r...

Page 6: ...ted option The icon colour of the option changes when activated Then press the button to increase or decrease the volume To change channel Press the control button to display the function options menu...

Page 7: ...ents that will broadcasted in different channels at the same time interval In this case you will be asked to choose one of these timers and cancel others Highlight the timer you want to cancel and pre...

Page 8: ...om DTS Licensing Limited DTS the Symbol DTS and the Symbol together Virtual X and the DTS Virtual X logo are registered trademarks or trademarks of DTS Inc in the United States and or other countries...

Page 9: ...y inappropriate waste handling of these products For more information about collection points and recycling of these products please contact your local municipal office your household waste disposal s...

Page 10: ...5 MHz CH100 CH140 200 mW Country Restrictions This device is intended for home and office use in all EU countries and other countries following the rele vant EU directive without any limitation except...

Page 11: ...lix Launches the Netflix application 11 Freeview Play Connects to the Freeview Play platform where you can access available catch up TV services 12 Coloured Buttons Follow the on screen instruc tions...

Page 12: ...r PC audio cable for audio connection When using the wall mounting kit available from a third party in the market if not supplied we recommend that you plug all your cables into the back of the TV bef...

Page 13: ...your selection later using the Mode option in the Settings Picture menu Depending on the model of your TV and the country selection Privacy Settings menu may appear at this point Using this menu you c...

Page 14: ...press OK to display or play it back You can access the content of the connected USB device any time later from the Sources menu You can also press the Source button on the remote and then select your...

Page 15: ...supported only via the HDMI2 input System Audio Control Allows anAudioAmplifier Receiver to be used with the TV The volume can be controlled using the remote control of the TV To activate this featur...

Page 16: ...lly towards the top or bottom of the screen Dot Clock Dot Clock adjustments correct the interference that appear as vertical banding in dot intensive presentations like spreadsheets or paragraphs or t...

Page 17: ...t this menu item is set to Headphone Only If it is set to Lineout the output from the headphone socket will be set to maximum which could damage your hearing If HDMI ARC option is selected CEC feature...

Page 18: ...d on the screen when finished Advanced Settings Change the IP and DNS configurations of your TV Networked Standby Mode Enable or disable this feature by setting it as On or Off Note For detailed infor...

Page 19: ...effect only applies to TV loudspeaker output Spoken Subtitles Default preference of spoken subtitles is selected with this setting option To make spoken subtitles priority higher than normal ones this...

Page 20: ...On This option is set as Off by default Software Upgrade Ensures that your TV has the latest software Press OK to see the menu options Application Version Displays current software version Auto Power...

Page 21: ...ck If this option is set to On the TV can only be controlled by the remote control In this case the control button on the TV will not work Internet Lock If this option is set to ON the internet using...

Page 22: ...played on the digital teletext screen When the Text button is pressed again the TV returns to television broadcast MHEG Teletext With digital terrestrial broadcasting DVB T in addition to pictures and...

Page 23: ...is an illustration of some of the typical video display modes Your TV may not support all resolutions Index Resolution Frequency 1 640x480 60Hz 2 640x480 75Hz 3 800x600 56Hz 4 800x600 60Hz 5 800x600 7...

Page 24: ...MPEG1 2 H 263 MPEG4 H 264 mkv MPEG 1 2 MPEG4 H 264 flv Sorenson Sp MPEG4 H 264 asf wmv MPEG4 WMV3 VC1 webm VP9 VP8 mp4 mov 3gpp 3gp ts trp tp mkv HEVC H 265 Picture File Formats Extension Specificati...

Page 25: ...n mkv VOBSub mkv ASS SSA TEXT dat mpg mpeg vob DVD Subtitle mp4 DVD Subtitle TEXT Supported DVI Resolutions When connecting devices to your TV s connectors by using DVI converter cable DVI to HDMI cab...

Page 26: ...ated item in the drop down menu and enter the new values using the numeric buttons of the remote Highlight Save and press the OK button to save settings when complete Wireless Connectivity To Connect...

Page 27: ...haring software on your mobile device Then select files that you want to share with your TV If the connection is established correctly you will be able to access the shared files installed on your mob...

Page 28: ...dio Video Sharing mode or while browsing viaAudio Video Sharing feature Invalid Domain Ensure that you have already logged on to your PC with an authorised username password and also ensure that your...

Page 29: ...the address search bar the Speed Dial and the Vewd buttons are available To add a desired website to the Speed Dial list for quick access move the cursor to the top of the page The browser bar will ap...

Page 30: ...t Center features connections have to be done properly To be able to use internet based features your modem router must be connected to the internet IMPORTANT Make sure the TV and mobile device are co...

Page 31: ...s not supported Smart Remote Feature You can use your mobile device as a remote control for your TV once it has connected to the TV To use smart remote s full features tap on the Up arrow on the botto...

Page 32: ...rn to the first screen of the setup wizard when you press OK In that case press Exit or highlight Setup Later and press OK in order to exit the setup Once the setup is complete you will be able to con...

Page 33: ...inal which is marked with the letter E or by the earth symbol or coloured green or green and yellow The wire which is coloured blue or black must be connected to the terminal which is marked with the...

Page 34: ...gth X min mm 7 max mm 8 Thread Y M4 W H Hereby VESTEL Elektronik Sanayi ve Ticaret A declares that the radio equipment type TFT IDTV is in compliance with Directive 2014 53 EU The full text of the EU...

Page 35: ...50640717 Hughes TV Audio Limited Mobbs Way Lowestoft NR32 3AL...

Reviews: