REV 1
9
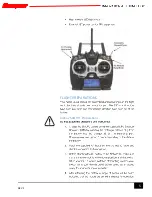
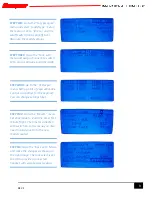
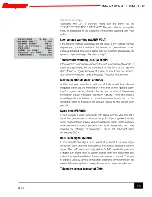
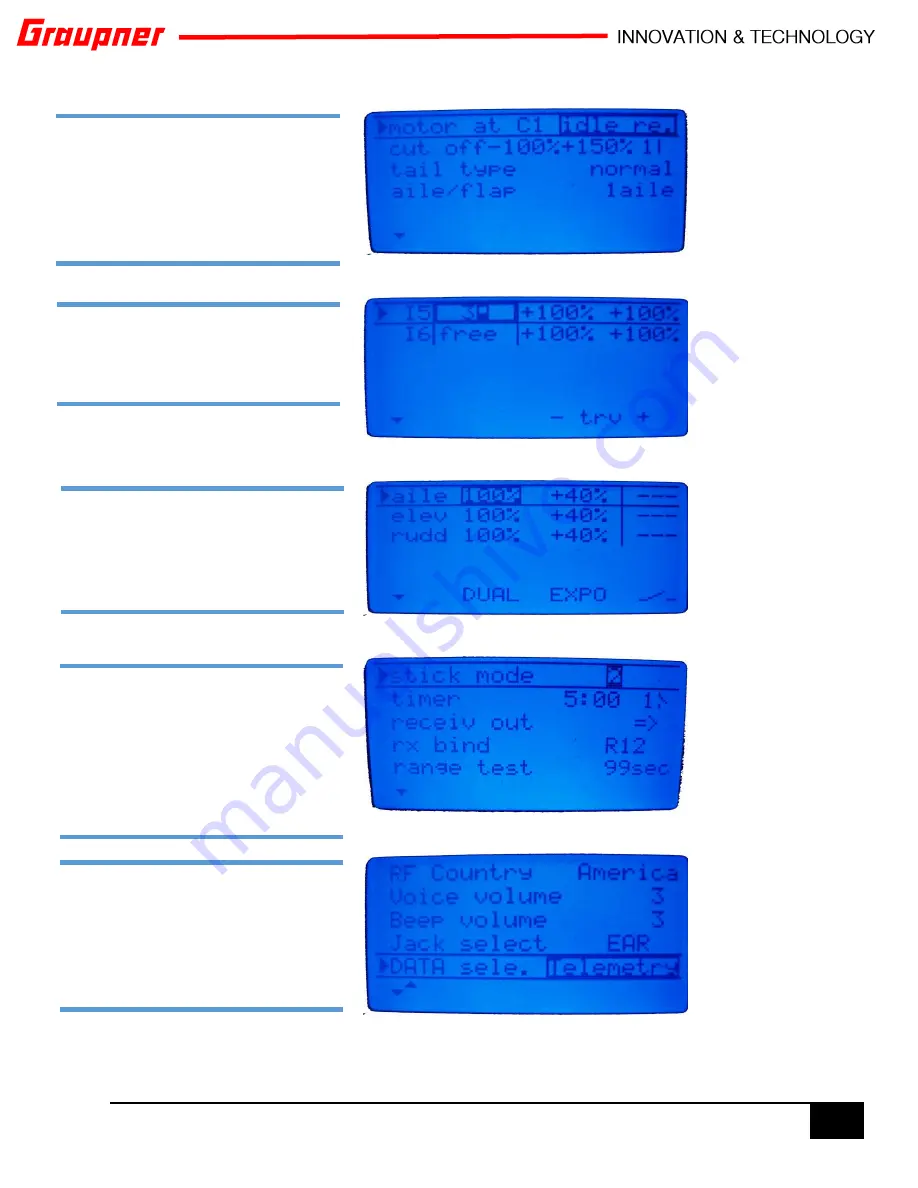
STEP TWO:
Go to the “m.type+quick”
menu and select “model type”. Setup
the motor at C1 to “idle re.” and the
cutoff switch (motor on/off) to S1.
Also note the model settings
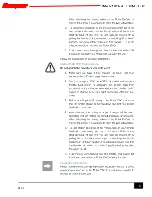
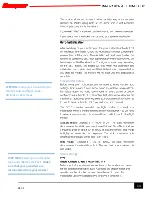
STEP THREE:
Go to the “cont. sett.”
menu and assign channel 5 to switch
S3 to control attitude and rate mode.
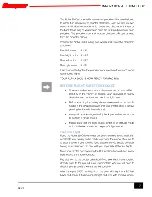
STEP FOUR:
Go to the “D/R expo”
menu. Setting a bit of expo will make
control a smoother for the beginner.
You can change settings later.
STEP FIVE:
Go to the “RF sett.” menu.
Set stick mode to 2 and the timer for 5
minute flight. The timer is activated
with switch S1. In this menu you also
need to bind your RX to the new
model created.
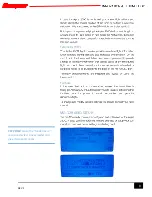
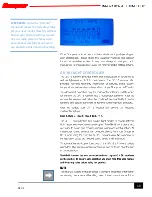
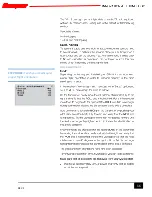
STEP SIX:
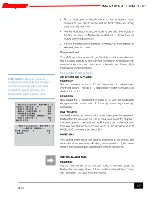
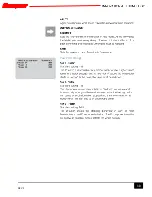
Go to the “basic sett.” Menu
and make the changes as shown on
the right image. The Jack select is set
to EAR to provide a connected
headset with voice telemetry data.
Summary of Contents for 250q race copter
Page 1: ......
Page 3: ...REV 1 2 INTRODUCTION SERVICE CENTRES SYMBOLS EXPLANATIONS Safety notes...
Page 4: ...REV 1 3...
Page 6: ...REV 1 5 FLIGHT PREPARATIONS Alpha 250Q RTF Preparations...
Page 7: ...REV 1 6 Alpha 250Q RFH Preparations Propeller Installation...
Page 8: ...REV 1 7 BEFORE FLIGHT SAFETY CHECKLIST Your First Flight...
Page 12: ...REV 1 11 Intended Use MULTICOPTER Installation...
Page 13: ...REV 1 12 Features Technical Data Operating voltage 2 5 3 6 8 4 V Connections...
Page 14: ...REV 1 13 Receiver settings...
Page 16: ...REV 1 15...
Page 17: ...REV 1 16 Axis assignment STEP THREE Teach your multicopter proper flight orientation...
Page 19: ...REV 1 18 Yaw PID settings...
Page 20: ...REV 1 19 GR 18 Firmware Update...
Page 21: ...REV 1 20...


