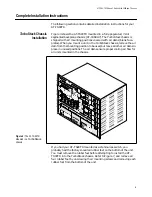
Installation
12
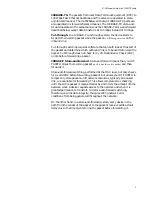
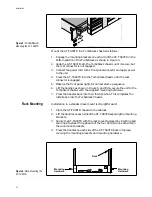
Mount the AT-TS90TR in a TurboStack chassis as follows:
1.
Engage the mounting brackets on each side of the AT-TS90TR in the
bottom position of the TurboStack as shown in Figure 4.
2.
Slide the AT-TS90TR into the TurboStack chassis until it secure, but
the rear connector is not engaged.
3.
Connect the power cord to the front panel connector and apply power
to the unit.
4.
Press the AT-TS90TR into the TurboStack chassis until the rear
connector is engaged.
5.
Observe the front panel lights for normal start-up sequence.
6.
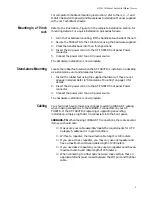
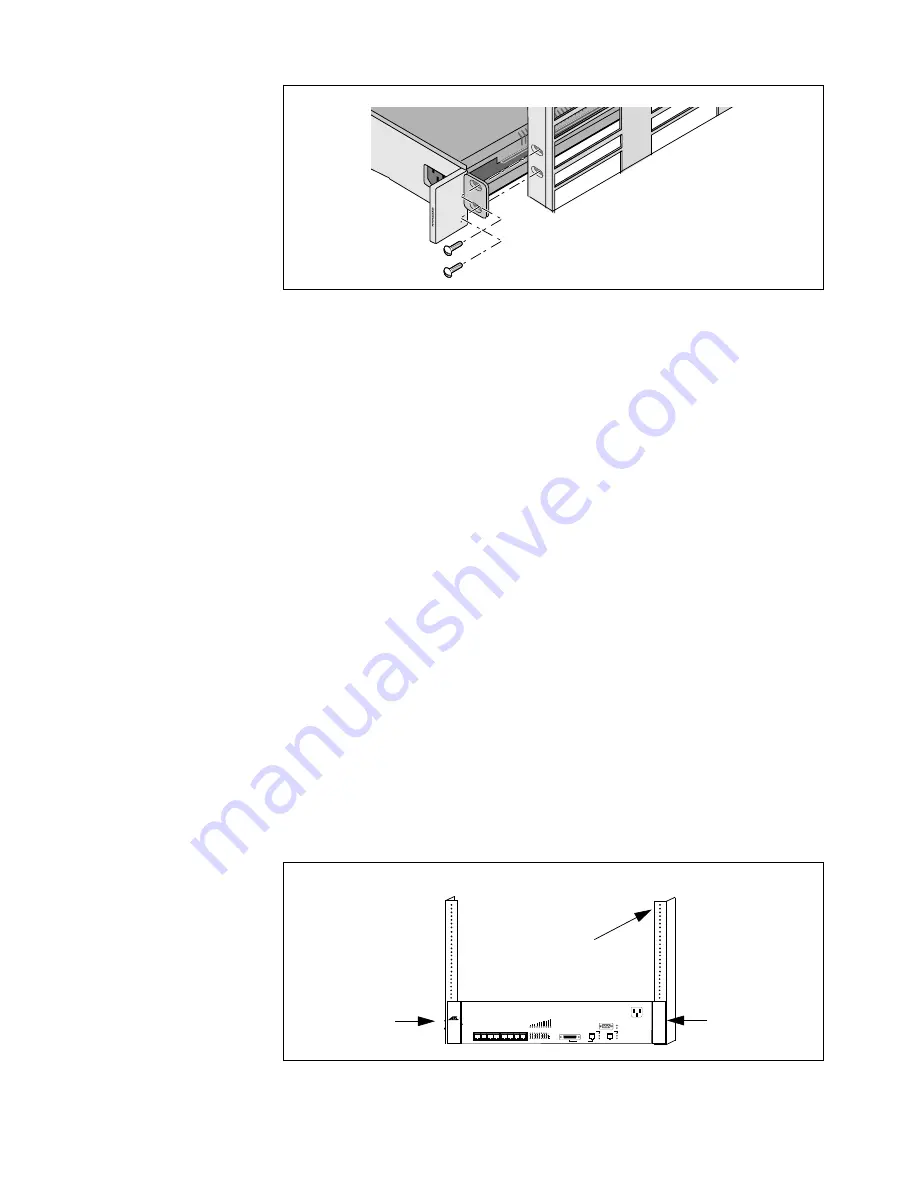
Lift the handles, as shown in Figure 5, and firmly secure the unit to the
TurboStack chassis with the supplied mounting hardware.
7.
Press the handles back into their flush position. This completes the
installation into the TurboStack Chassis.
Rack Mounting
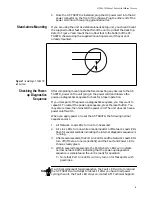
Installation in a standard rack mount is straightforward:
1.
Place the AT-TS90TR chassis in the cabinet.
2.
Lift the handles on each side of the AT-TS90TR exposing the mounting
brackets.
3.
Secure the AT-TS90TR with the rack-mount fasteners by inserting and
securing a fastener through each of the four slots (two on each side) in
the rack-mount brackets.
4.
Press the handles on each side of the AT-TS90TR back into place,
covering the mounting brackets and mounting hardware.
Figure 5:
TurboStack
-
Mounting the AT-TS90TR
Figure 6: Rack-Mounting the
AT-TS90TR
Mounting
Rack
Mounting
RESET
100 BASE-TX
NETWORK LOAD
10BASE-T NETWORK PORTS (MDI-X)
ETHERNET SWITCH
with FAST ETHERNET
1
2
3
4
5
6
7
8
1
2
3
4
5
6
7
8
RS-232
TERMINAL PORT
LINK
RCV
COL
LINK
RCV
COL
MII
POWER
GREEN - RECEIVE
TS90TR
100 BASE-TX
AMBER - COLLISION
TurboStack
FAULT
PORT A
PORT B
GREEN - LINK
Hardware
Hardware


