AT-x950-28XSQ Switch and VCStack Installation Guide
85
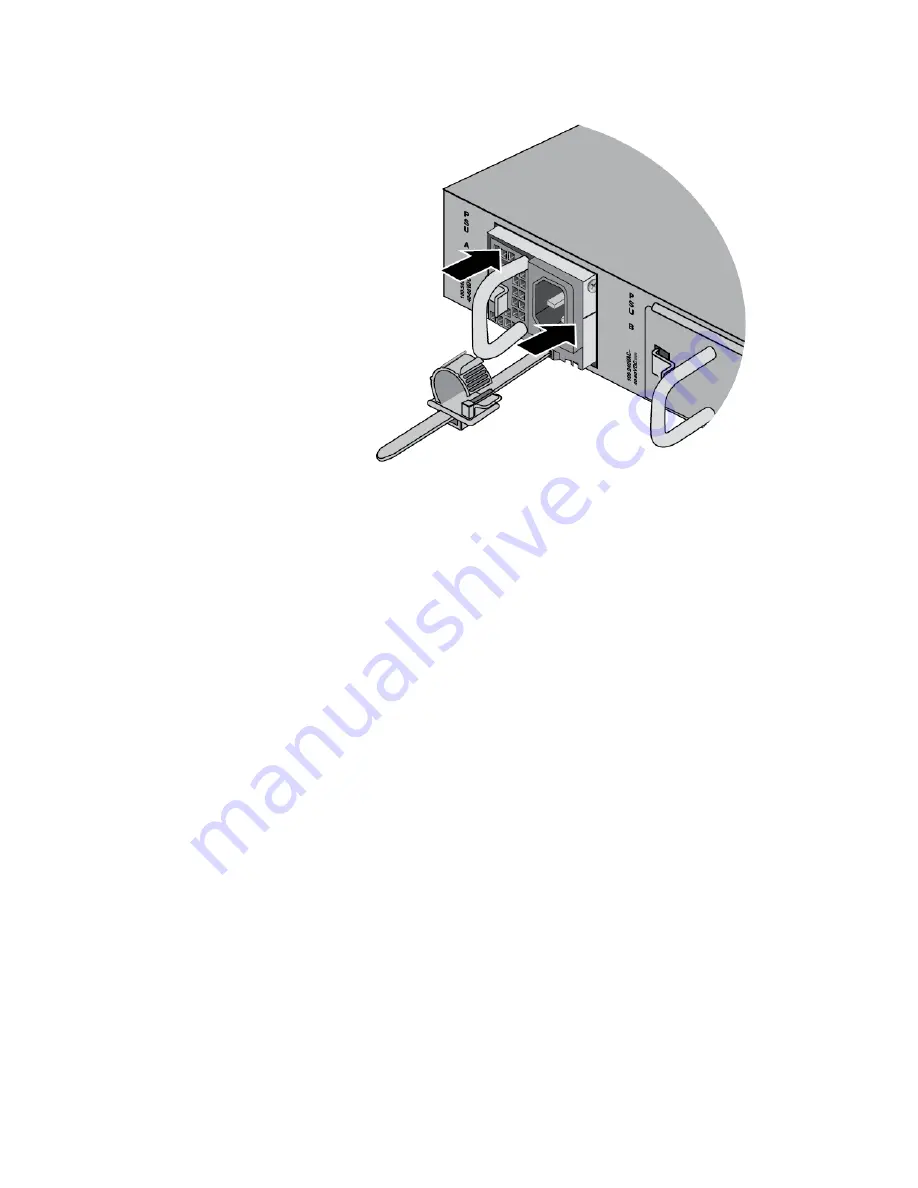
Figure 49. Seating the Power Supply on the Internal Connector
5. Visually inspect the power supply to be sure that its faceplate is flush
against the rear panel of the chassis.
6. If you purchased two power supplies for the switch, repeat this
procedure to install the second unit.
7. To install an optional XEM2 Ethernet Line Card, go to “Installing an
Optional XEM2 Ethernet Line Card” on page 86.
8. .After installing the power supplies and optional XEM2 Line Card, go to
one of the following chapters:
Chapter 5, “Installing the Switch on a Table” on page 91
Chapter 6, “Installing the Switch in an Equipment Rack” on page 95
Summary of Contents for AT-x950-28XSQ
Page 8: ...Contents 8 ...
Page 12: ...Tables 12 ...
Page 16: ...Preface 16 ...
Page 62: ...Chapter 2 Virtual Chassis Stacking 62 ...
Page 80: ...Chapter 3 Beginning the Installation 80 ...
Page 90: ...Chapter 4 Installing Power Supplies and Optional XEM2 Line Card 90 ...
Page 102: ...Chapter 6 Installing the Switch in an Equipment Rack 102 ...
Page 118: ...Chapter 7 Installing the Switch on a Wall 118 ...
Page 146: ...Chapter 8 Configuring Switches for Stacking 146 ...
Page 158: ...Chapter 9 Cabling the Networking Ports 158 ...
Page 180: ...Chapter 11 Troubleshooting 180 ...


