TurboStack Chassis and Backplanes
15
7. Slide the master hub module along the chassis guides in slot 1 but do not
push it all the way in.
8. Plug in the master hub’s power cord and check the front panel indicators to
ensure the unit is operational.
The “Master” LED illuminates and remains a solid amber.
9. Push gently to seat its interrepeater bus connector into the backplane.
10. Repeat Steps 7 through 9 to install each remaining module in slots 2
through n.
If you are using the 7-slot segmented backplane configuration, do not
install modules in slots 7 and 8 because both slots are reserved for the
switch.
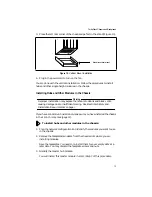
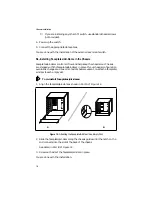
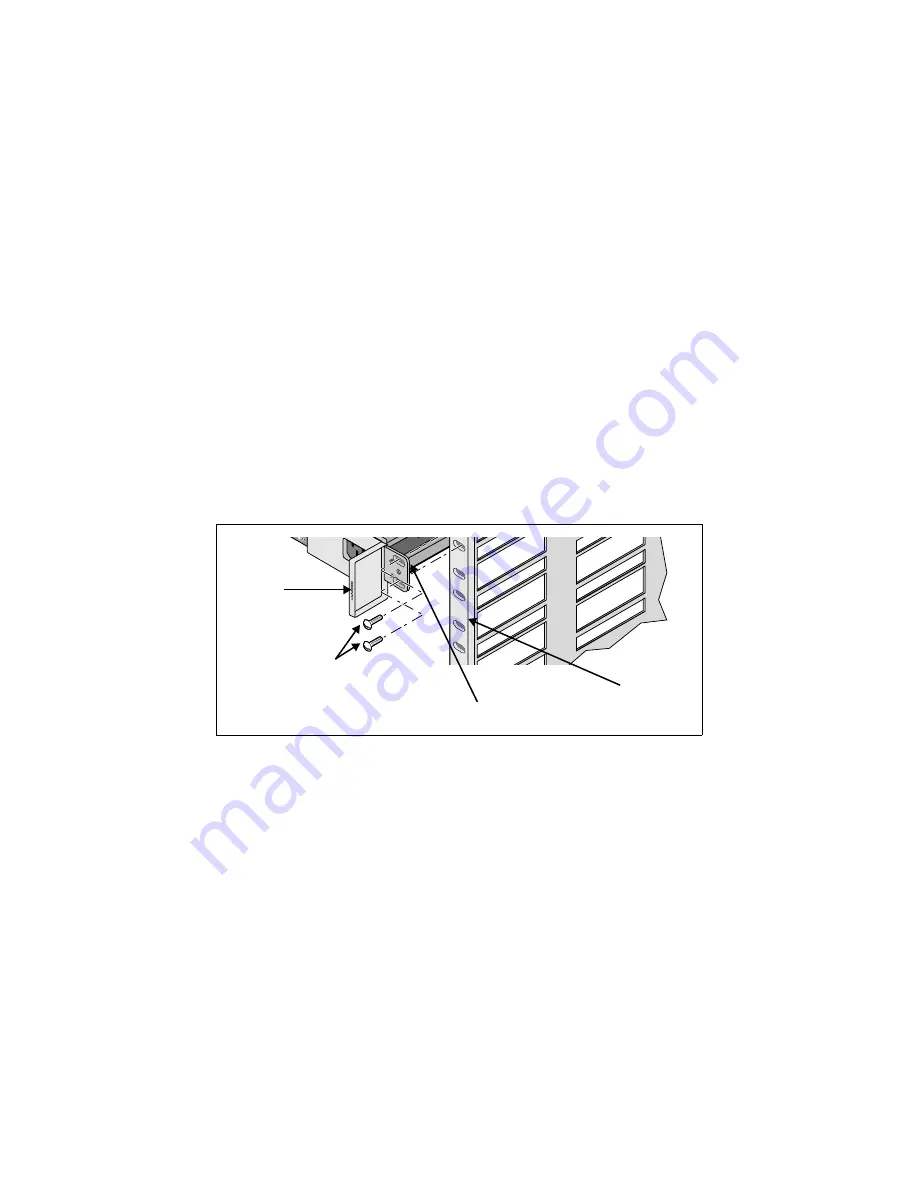
11. Pull the handles on the left and right side of each module to expose the
mounting brackets.
See Figure 13 for the location of the handle.
Figure 13: Attaching the Front of the Module to the Rackmount Chassis
12. Attach the mounting brackets of each module to the chassis frame with the
screws provided, as shown in Figure 13.
❑
For rackmount installations, insert two module screws in the top and
bottom holes of the mounting bracket.
❑
For desktop installations, insert one module screw in the center hole
of the mounting bracket.
This ensures each module remains stable in the chassis.
13. Press the handles back into their flush position.
Mounting bracket
Handle
(right side)
Module screws
Chassis frame

