Chapter 10: Powering On the Chassis
198
Section II: Installing the Chassis
Powering On AT-SBxPWRPOE1 Power Supplies
If you have not already installed the AT-SBxPWRPOE1 Power Supplies,
refer to “Installing AT-SBxPWRPOE1 PoE Power Supplies” on page 131
for installation instructions. To power on the power supplies, perform the
following procedure:
1. Identify AC sockets A and B in the recessed panel on the back panel
of the chassis, shown in Figure 116 on page 195. The sockets are for
the AT-SBxPWRPOE1 Power Supplies in slots A and B on the front
panel of the chassis.
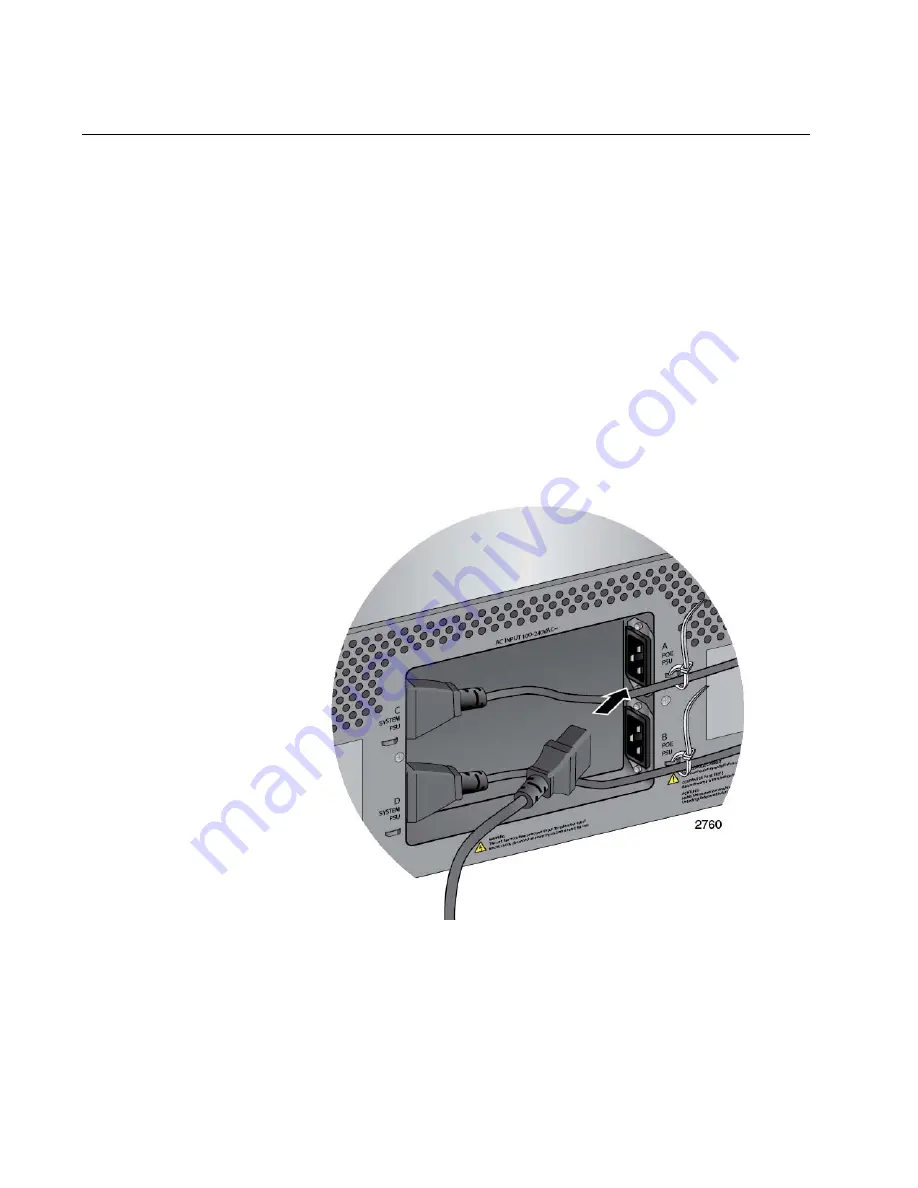
2. Plug the AC power cord that comes with the power supply into one of
the plugs, as shown in Figure 119.
The plug should have a power supply in the corresponding slot in the
front panel. If the chassis has two AT-SBxPWRPOE1 Power Supplies,
you may power on either supply first.
Figure 119. Connecting the AC Power Cord for the AT-SBxPWRPOE1
Power Supply
Summary of Contents for AT-SB*81CFC960
Page 20: ...20...
Page 34: ...Chapter 1 Chassis and Power Supplies 34 Section I Hardware Overview...
Page 94: ...Chapter 3 AT SBx81CFC960 Controller Fabric Card 94 Section I Hardware Overview...
Page 96: ...96...
Page 142: ...Chapter 6 Installing the Power Supplies 142 Section II Installing the Chassis...
Page 230: ...Chapter 10 Powering On the Chassis 230 Section II Installing the Chassis...
Page 254: ...Chapter 12 Troubleshooting 254 Section II Installing the Chassis...
Page 298: ...Chapter 14 Upgrading the Controller Fabric Card 298 Section II Installing the Chassis...
Page 300: ...300...
Page 314: ...Chapter 15 VCStack Plus Overview 314 Section III Building a Stack with VCStack Plus...


