4
1756 GuardLogix Controllers
Rockwell Automation Publication 1756-PC022A-EN-P - March 2016
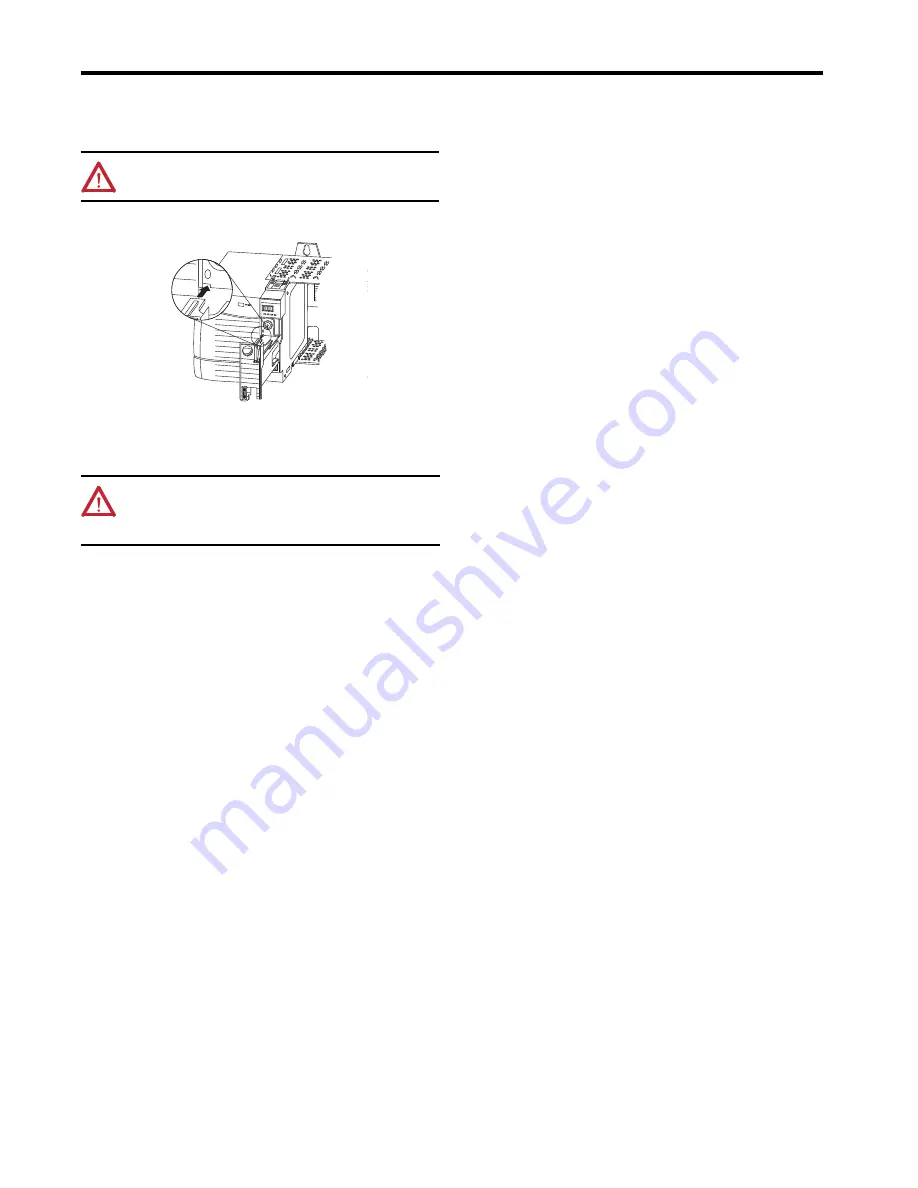
Install the ESM
To install an ESM in the 1756-L7
x
controller, complete these steps.
1. Align the tongue-and-groove slots of the ESM and controller.
2. Slide the ESM back until it snaps into place.
The ESM begins charging after installation. Charging status is indicated by one of these status messages:
• ESM
Charging
• CHRG
After you install the ESM, it may take up to 15 seconds for the charging status messages to display.
ATTENTION:
To avoid potential damage to the product when inserting the ESM, align it in the track
and slide forward with minimal force until the ESM snaps into place.
ATTENTION:
Allow the ESM to finish charging before removing power from the controller. Failure to
do so can result in the loss of the application program. A type 1, code 40 major fault is logged on
power up.
To verify that the ESM is fully charged, check the status display to confirm that messages CHRG or
ESM charging are no longer indicated.
Logix 55xx
RUN FORCESD OK


