


5
www.observint.com
© 2019 Observint Technologies. All rights reserved.
DNR (Digital Noise Reduction): Use DNR function to decrease the noise in the image, especially when
capturing moving images in poor light conditions, to produce a sharper image. You can set the DNR value
from 1 to 9.
MIRROR: This feature is used to reflect the image. MIRROR can be set to OFF, H, V, and HV.
OFF: The mirror function is disabled.
H: The image flips 180° horizontally.
V: The image flips 180° vertically.
HV: The image flips 180° both horizontally and vertically.
FACTORY DEFAULT
Click
Iris+
to enter the submenu, and click
OK
to reset all the settings to the factory default. Click
Cancel
to return to the menu without resetting the camera.
EXIT
Move the cursor to EXIT and click Iris+ to exit the menu without saving.
SAVE & EXIT
Move the cursor to
SAVE & EXIT
, and click
Iris+
to save the settings and exit the menu. If new settings are
not saved, they remain in effect only until the camera is powered off or reset.
Specifications
Camera
Image Sensor
8.29 MP progressive scan CMOS sensor
Frame Rate
TVI: 8MP @ 12.5 fps, 8MP @ 15 fps, 5MP @ 20 fps, 4MP @ 25 fps, 4MP @ 30 fps, 2MP @ 25 fps,
2MP @ 30 fps
CVI: 8MP @ 12.5 fps, 8MP @ 15 fps
AHD: 8M @ 12.5 fps, 8M @ 15 fps
CVBS: 960H P/N
Effective Pixels
3840 (H) × 2160 (V)
Min. illumination
Color: 0.01 Lux @ (F1.2, AGC ON), 0 Lux with IR
Shutter Time
PAL: 1/12.5 s to 1/50,000 s
NTSC: 1/15 s to 1/50,000 s
Lens
2.7 mm ~ 13.5 mm motorized varifocal lens with 108.1° to 45.6° horizontal field of view
Lens Mount
φ14
Day & Night
IR cut filter
Angle Adjustment
Pan: 0° ~ 360°; Tilt: 0° ~ 75°; Rotate: 0° ~ 360°
Synchronization
Internal Synchronization
Digital Wide Dynamic
Range (DWDR)
105 dB
Menu
AGC
Yes
D/N Mode
Auto / Color/ BW (Black and White)
White Balance
Auto / Manual
BLC
Yes
DWDR
Yes
Functions
Brightness, Sharpness, Digital noise reduction, Mirror, Smart IR, HLC
Interface
Video Output
1 HD analog output (75Ω / BNC)
Switch button
TVI / AHD / CVI / CVBS
General
Operating Conditions
-40°F
~
140°F (-40°C
~
60°C), Humidity 90% or less (non-condensing)
Power Supply
9 Vdc to 15 Vdc
Power Consumption
Max. 8.6 W
Protection Level
IP67
Material
Metal
IR Range
Up to 200 ft
Communication
Up the coax
Dimensions
5.29” × 4.88” × 4.34” (34.3 mm × 123.9 mm × 110.24 mm)
Weight
1.28 lb (580 g) approx.
Cleaning
Clean the camera with an approved glass cleaning solution and a lint free cloth.
•
Dust can be removed from the unit by wiping it with a soft damp cloth. To remove stains, gently rub
the surface with a soft cloth moistened with a mild detergent solution, then rinse and dry it with a
soft cloth.
•
Remove all foreign particles, such as plastic or rubber materials, attached to the camera housing.
These may cause damage to the surface over time.
CAUTION
Do not use benzene, thinner or other chemical products on the camera assembly; these may
dissolve the paint and promote damage of the surfaces. Before using any chemical product,
carefully follow the accompanying instructions.
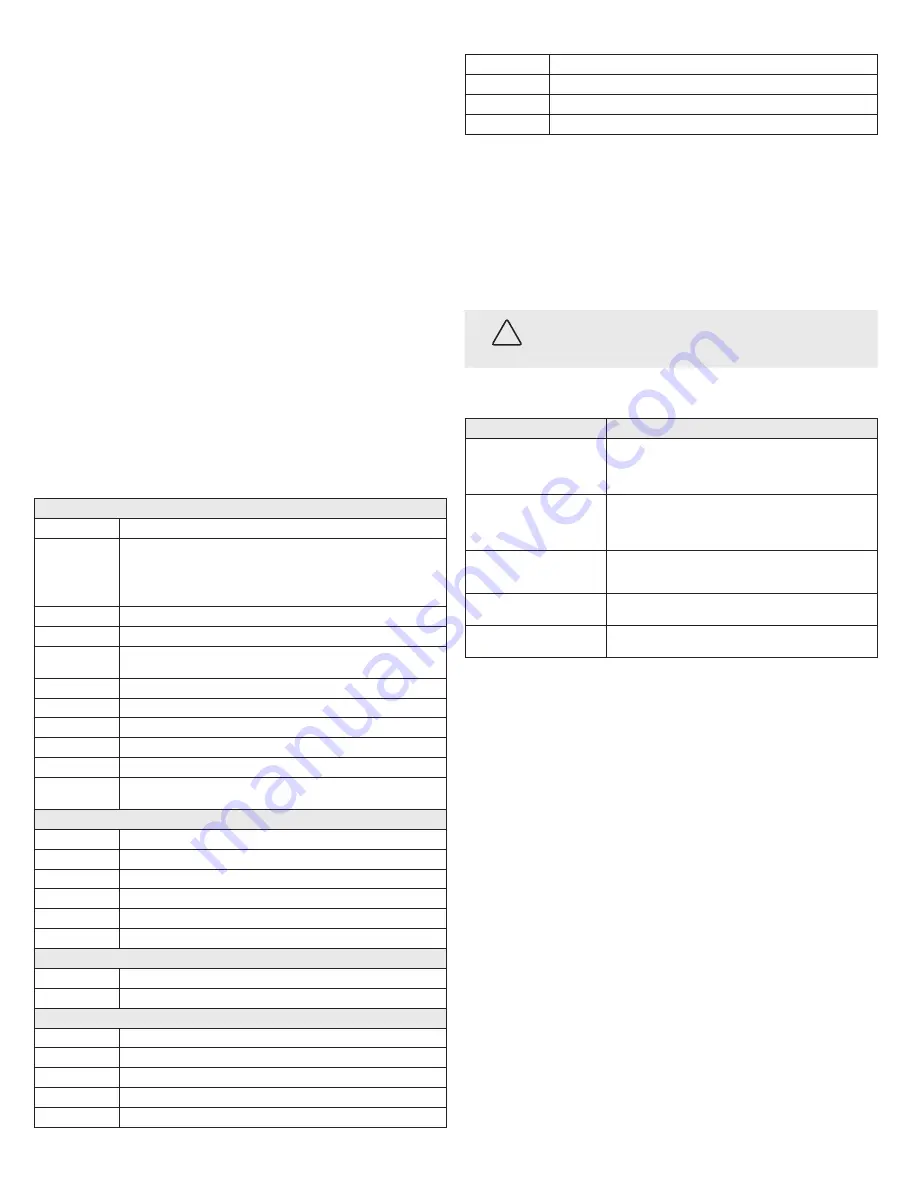
Troubleshooting
Problem
Possible Cause
Nothing appears on the screen
- Check the power connection.
- Check the video signal cable connection to the monitor.
- Check recorder camera settings to verify the video resolution mode of the
camera and recorder match
The video image is dim or not clear.
- If the camera lens is dirty, clean it with a soft, clean cloth.
- Adjust the monitor controls, if necessary.
- If the camera is facing a very strong light, change the camera position.
- Adjust the lens focus.
The screen is dark.
- Adjust the contrast control of the monitor.
- If you have an intermediate device, set the impedance (75 Ω /Hi-Z)
properly, and check the cable connections.
The camera is not working properly and
the surface of the camera is hot.
- Verify that the camera is correctly connected to an appropriate regulated
power source.
The image on the monitor flickers
- Make sure that the camera isn’t facing direct sunlight or fluorescent light.
If necessary,change the camera position.


