7
Basic Operation
Below is some basic information so you can get started quickly using your Strike Performance
Drum Module. Remember to download the complete user guide from
alesis.com
to learn
about all of its great features.
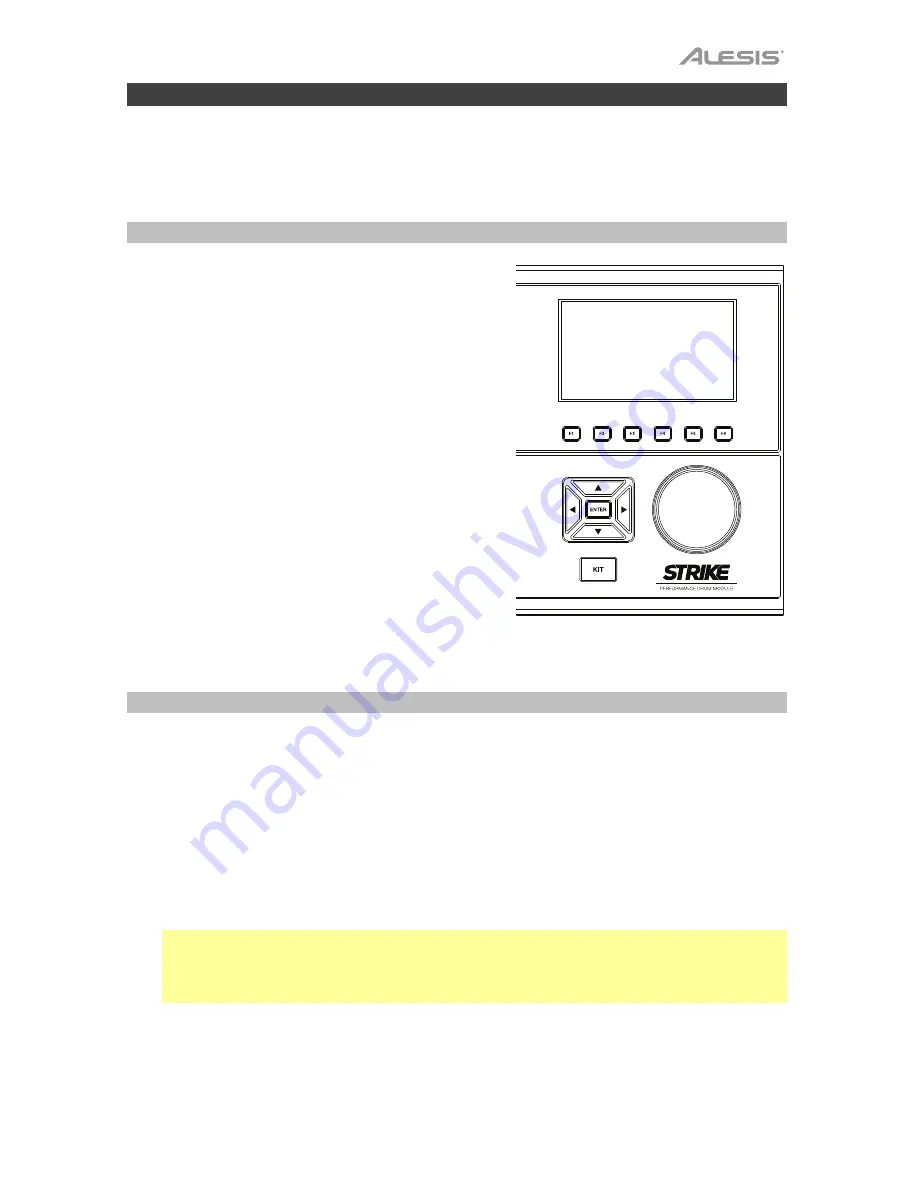
Using the Display
The Strike module’s display shows information about
its current mode and operations. You can navigate its
different modes, pages, etc. by using the following
controls:
•
Data Dial
: Use this dial to scroll through a menu
or to change the selected parameter value,
setting, etc. in the display.
•
Cursors
: Use these buttons to select different
areas shown in the current page in the display.
•
Enter
: Press this button to confirm a selection
shown in the display.
•
Function Buttons
(
F1
–
F6
): Press one of these 6
buttons to select the corresponding tab shown
above it (at the bottom edge of the display).
•
Mode Buttons
(not shown): Press one of these
buttons to enter its mode:
Kit
,
Mixer
,
Sample
,
Utility
,
Save
,
Kit
FX
,
Voice
, or
Triggers
. When
you power on the drum module, it will always
start in Kit Mode.
Kits
Selecting Kits
To select a kit
:
1.
Press
Kit
to enter Kit Mode (the default view when you power on the drum module).
2.
Turn the
data dial
to scroll through the available kits. The name of each kit will appear in
the display.
3.
When you reach the desired kit, stop turning the
data dial
for a second to load the kit.
Important
: Your Strike module can load large amounts of high-quality samples—and you
don’t have to wait until it’s done loading to start playing. You can start playing
immediately as the drum module continues to load samples “in the background,” shown
by the
Streaming
indicator.


