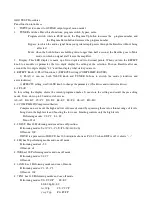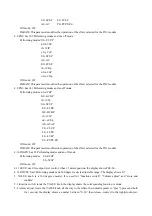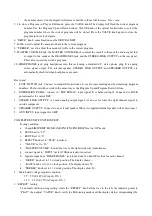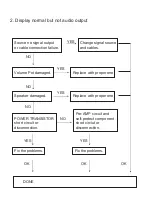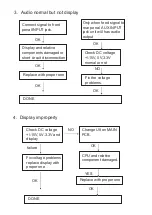
the number showed on the display will increase and the volume will increase. Vice versa.
5.3 to store a Program: in Play or Edit mode, press the VALUE knob. The display will flash the current program
number. Use the Program Up and Down buttons, VALUE knob or the optical footswitches to select the
program number where the current program will be stored. Press the VALUE knob again to store the
program in the selected place.
6 “DRIVE” knob: same functions as the DRIVE of DIST
7. BASS: used to adjust the amount of bass in the current program.
8. “TREBLE”: used to adjust the amount of treble in the current program.
9. MASTER VOLUME knob: the MASTER VOLUME knob controls the overall volume of the audio signal that
is output to the speaker, the HEADPHONES jack and the STEREO LINK OUTPUT on the rear panel.
This value is not stored with a program.
10. HEADPHONES jack: plug headphones into this jack using a standard 1/4” stereo phone plug. It is analog
stereo signal output. The internal speaker, STEREO LINK OUTPUT and SPEAKER OUTPUT are
automatically disabled when headphones are used
Rear panel
1.
FOOT SWITCH jack. Connect to standard footswitches to use for incrementing and decrementing program
numbers. The footswitches work in the same way as the Program Up and Program Down buttons.
2.
EXPRESSION PEDAL: connect to “EXP PEDAL” input signal. It is balanced input. Connected to B50K
potentiometer to control DSP.
3.
STEREO LINK OUTPUT: is a mono analog output signal, it can use for route the right channel signal to
outside equipment
4.
SPEAKER OUTPUT: Connects to an external speaker. When it is applied internal speaker will be disconnect.
5.
AUX INPUT: input signal for AMP.
COMPLETED UNIT FUNCTION TEST.
Testing condition:
a.
Comp/LIMIT/DIST/EQ/NR/CAB/FX1/FX2/FX3/DIGFX set on“OF”mode.
b.
LEVEL set to “30”.
c.
ROUTE set to “0”
d.
EFFECT knob set to “PLAY” position.
e.
“VALUE” set to “30”
f.
“MASTER VOLUME” turn all the way to the right(clockwise) (maximum)
g.
connect signal to “INPUT” jack.( 470Kohm resistor in series)
h.
Signal output from “HEADPHONES” jack loaded one 32 ohm/1W resistor for each channel.
i.
“DRIVE” knob set to 12 o’clock position. The display shows --
j.
“BASS” knob set to 12 o’clock position. The display shows 50.
k.
“TREBLE” knob set to 12 o’clock position. The display show 50.
1.
Main board voltage required condition:
5V 5V±0.18V(AC input +10%)
3.3V 3.3V±0.15V(AC input +10%)
2. “EFFECT” testing
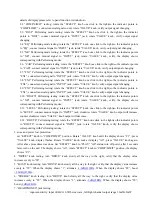
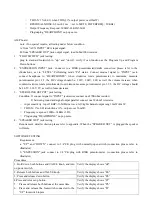
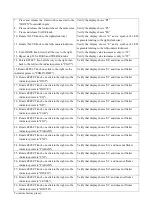
2.1 normal condition using testing: rotate the “EFFECT” knob all the way to the left, the indicator points to
“PLAY”, then adjust “VALUE” knob, verify the Performing modes and the display status corresponding.(the
Summary of Contents for BASSFIRE 60
Page 5: ......
Page 6: ...Confidential Alesis Service Manual 8 31 0159 A ALESIS BassFire 60 GB0 Test Procedures...
Page 17: ...Confidential Alesis Service Manual 8 31 0159 A ALESIS BassFire 60 GB0 SCHEMATIC AND PCB FILES...
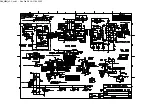
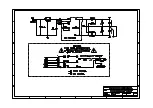
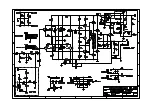
Page 18: ...GAX_MAIN_V1 1 sch 1 Mon Feb 28 16 17 24 2005...
Page 19: ...GAX_MAIN_V1 1 sch 2 Mon Feb 28 16 17 26 2005...
Page 20: ......
Page 21: ......
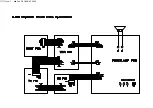
Page 22: ...sch 1 Mon Feb 28 16 08 43 2005...
Page 23: ...sch 1 Mon Feb 28 16 07 56 2005...
Page 24: ......
Page 25: ......
Page 26: ......
Page 27: ......
Page 28: ......
Page 29: ......
Page 30: ......
Page 31: ......
Page 32: ......
Page 33: ......
Page 34: ......
Page 35: ......
Page 36: ......
Page 37: ......
Page 38: ......
Page 39: ...Confidential Alesis Service Manual 8 31 0159 A ALESIS BassFire 60 GB0 BOM...


