12
Join Home AP:
(only available when using an internal Wi-Fi network connection)
When you open this menu all the Wi-Fi access points will appear on the screen.
Choose your own Wi-Fi network and log in with the correct password for the network.
Now change the camera from pairing mode to link mode using the switch located on the back of the
camera. Now you can use your own network to connect to the camera.
Camera Setting:
(only available when using an internal Wi-Fi network connection)
The frame rate and resolution of the image can be adjusted in this menu.
The frame rate can be set to 15fps (15 frames per second) or 25fps (25 frames per second). 25fps
gives a smoother image but has a larger bandwidth.
The resolution of the image can be set as QVGA (320 x 240) or VGA (640 x 480). VGA provides a
picture with more pixels but has a greater bandwidth.
Notifi cation settings:
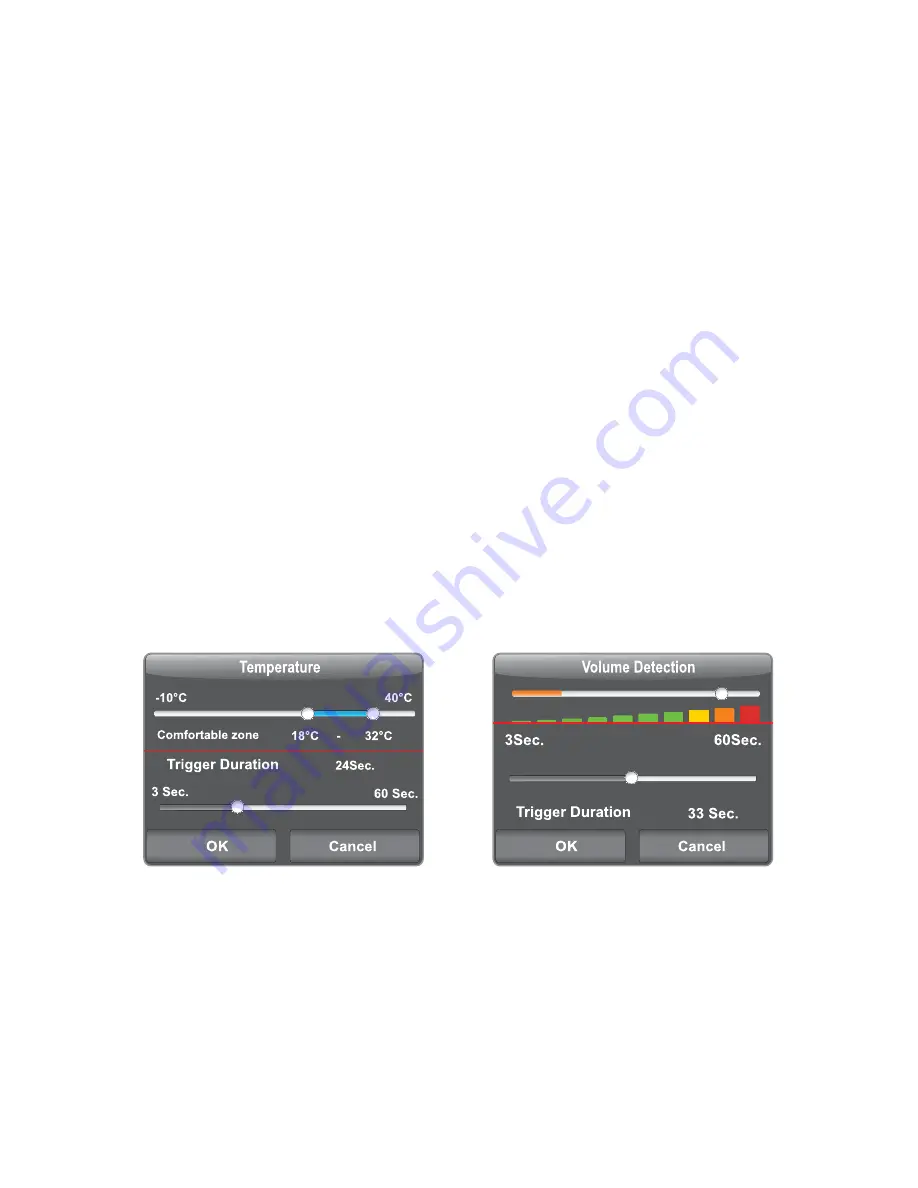
In this menu you are able to set up the alert and notifi cation messages. There are two types of alarms
that can be set up, the fi rst is if the room temperature goes below a certain level, and is if the sound
indicator of the camera picks up sound over a certain volume.
Temperature Detection:
The low and high temperature limits can be set separately from each other.
If the temperature goes outside of these limits then an alarm notifi cation will be sent.
The option to send a notifi cation should be enabled (see paragraph 2.2).
You can set how often an alert message is sent (3-60sec.) during the alarm period.
If the trigger time is set to 29sec. then an alarm notifi cation will be sent every 29 sec. during the alarm
period.


