


Design • Print • Trace
07/07/2011
●
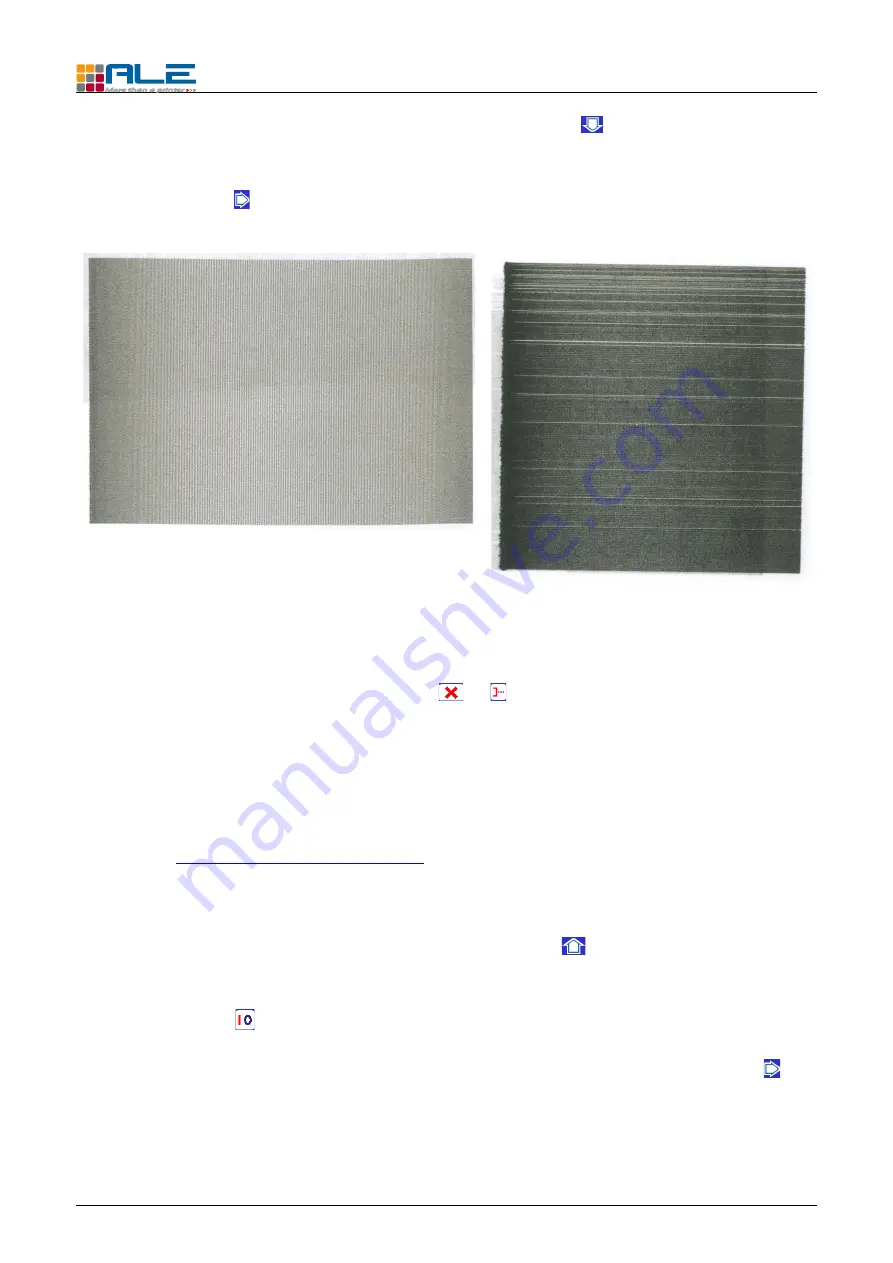
Check that all dots are operating : press arrow down whilst moving a sheet of
paper in front of the print-head. You should print a solid black rectangle (Fig. 18),
with no white lines across. Otherwise (Fig. 19)prime again using the “Norm” option
(Right arrow in the “Prime” menu) and a bucket (Fig. 13) and check again if all dots
are operating.
●
When the printing is correct, the collecting bucket can be removed (Fig. 13).
●
carefully clean the print-head (Fig. 17).
●
Exit the prime menu of the controller (
or ).
●
Set the system for printing back on your production line.
Prime the system using the prime switch :
Alternatively, you can use the prime switch to prime the print-head instead of using the
controller keyboard. This can be useful if the print-head is too far away from the controller.
See chapter
To make a test print :
–
On the controller keypad, press the “arrow up”
to select the test message
(message 00).
–
Press the key : the screen will then show PRINT OFF.
–
Hold a piece of paper in front of the print-head. Briefly press right arrow and
simultaneously pass the piece of paper across right to left. The result should be
similar to Fig. 21.
TC series print-heads Operator Manual
10
Fig. 18: Correct black pad
Fig. 19: Incomplete black pad