


REF: Alcolizer HH4 Alcohol Tester User Manual V1
Page 1
© Alcolizer Technology
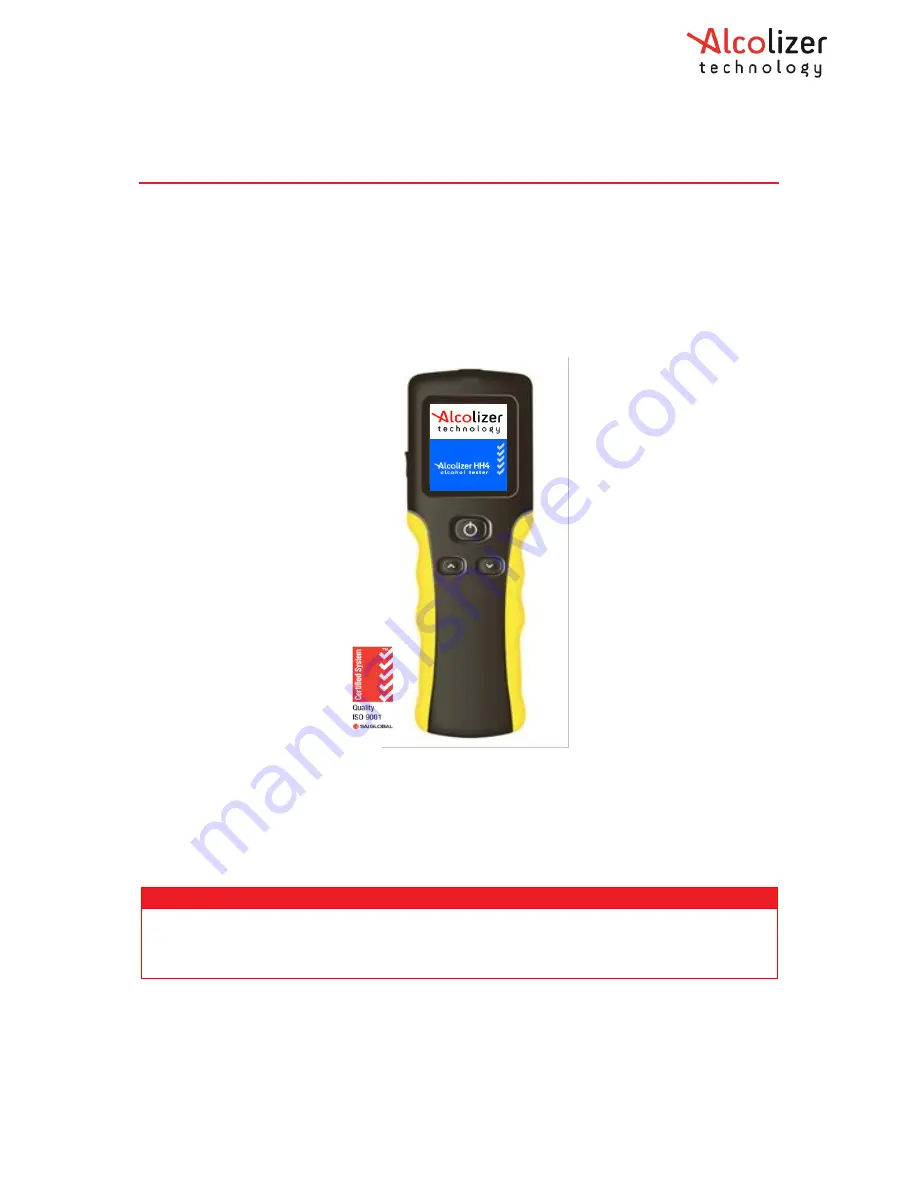
Alcolizer HH4 Alcohol Tester User Manual
User Manual
Di
Disclaimer
–
External Documents note to reader
The BAC reading obtained by correct use of this device is only considered accurate at the time of testing.
Great care has been taken to ensure the accuracy of each reading.
Neither the manufacturer, the distributor, nor the owner accepts liability or responsibility due to any action
or claim arising from the reading produced by this device, whether used correctly or incorrectly.