User Instructions
www.albrechtgmbh.com
21
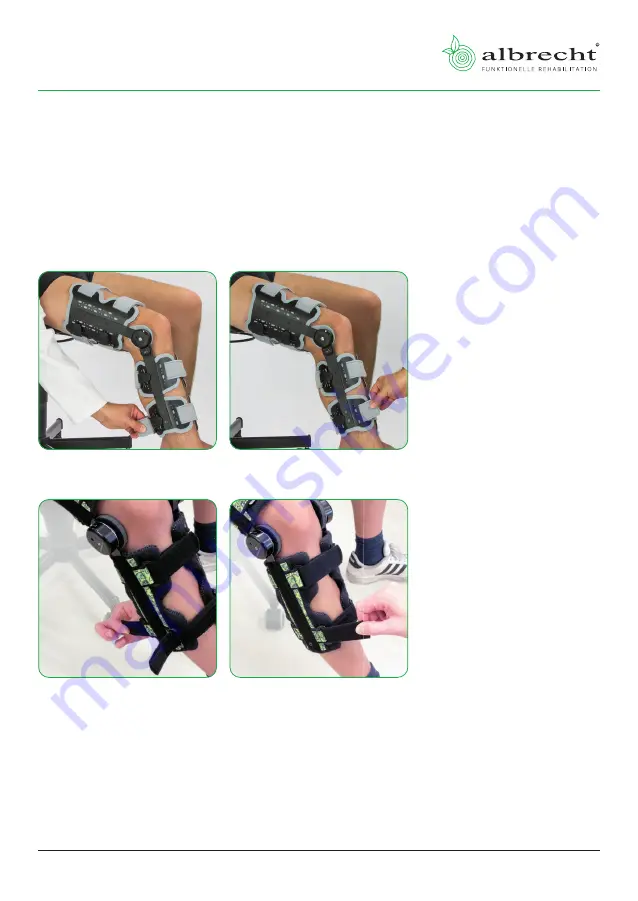
7
Fasten the lower calf strap.
8
Fasten the lower shin strap.
If necesssary, the additional strap padding supplied with the product can be
attached under the straps.
Size L/L, L/M, L/S, M/S
7
7
8
8
Size S/S, XS/XS, XXS
7
7
8
8


