background image


14 

PC MODE SETTING 

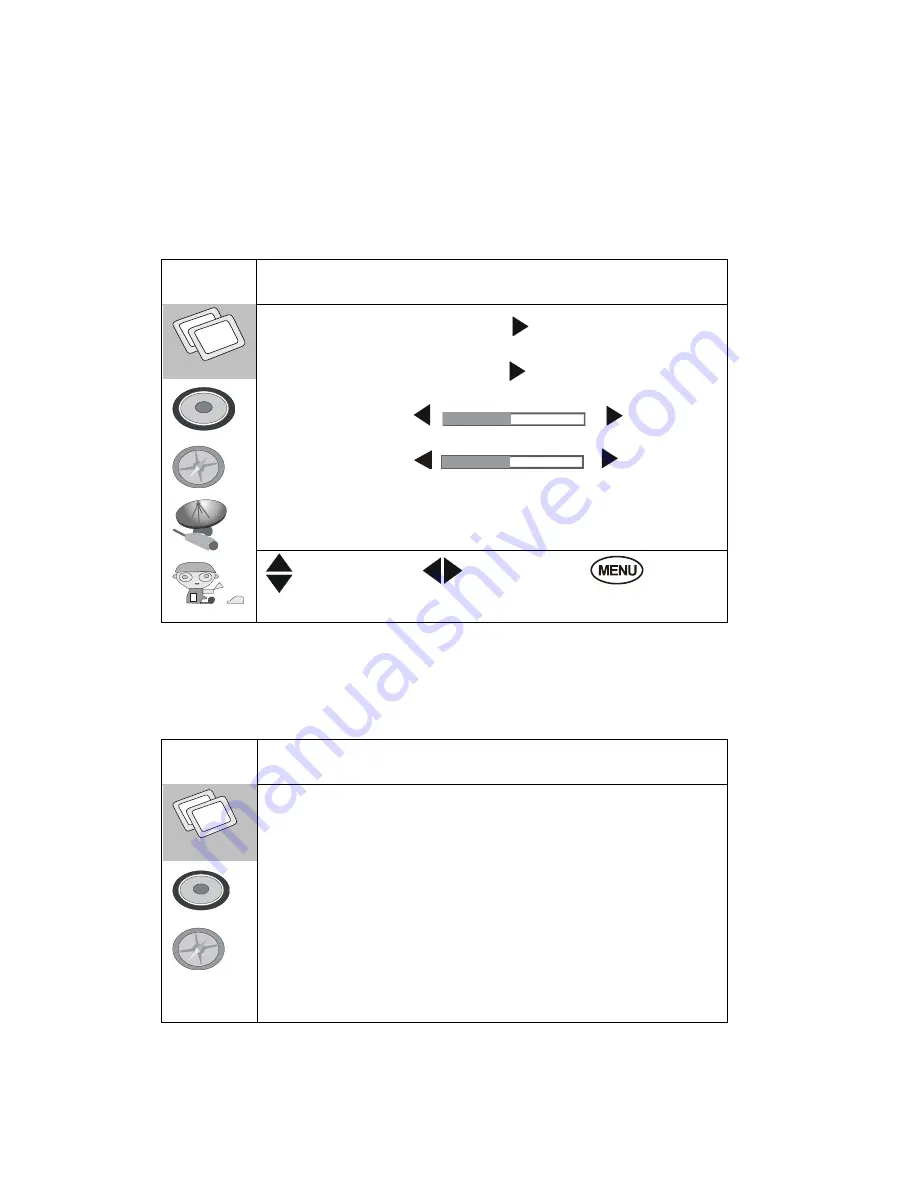
Under PC mode, after connect VGA cable, press the 

MENU

 button on the 

remote  control,  then  select  video  setting.  Use 

P+/P-

  to  select  the 

“Advanced”  menu,  press  the 

V+ 

button,  the  below  will  display  on  the 

screen: 


                                          Image 


Auto Config. 

Image Position 

Phase: 

Clock: 


30   

1344 


        Move                          Select                              Exit 


1.

The  cursor  will  on  the  line  of    “Auto  Config”,  press  the 

V+

  button,  the 

following  will  be  displayed  on  the  screen,  then  select  Yes  to  enter  into 

auto configuration as followed: 


                                        Auto Config. 


Auto Config. : 


                      Yes       


  No 


Summary of Contents for TFT LCD TV/Monitor

Page 1: ...DC adapter corresponds to the local electrical supply If you are unsure about your power supply please ask the local power company Caution To avoid electric shock never touch the inside of the LCD TV...

Page 2: ...r or sold with the apparatus 2 An appliance and a cart combination should be moved with care Quick stops excessive force and uneven surfaces may cause the appliance and cart combination to overturn 3...

Page 3: ...ver use the unit on a bed sofa rug or other uneven surfaces Doing so may block the ventilation openings in the bottom of the unit If you place the LCD TV Monitor in a bookcase or some other enclosed p...

Page 4: ...____________ Please make sure that the following items are included with your LCD TV Monitor If any item is missing please contact your dealer TFT LCD TV Monitor Remote control Operation manual DC ada...

Page 5: ...Basic operation 2 View of the TV plays 3 View of the AV signal sources 4 View of the TELETEXT program Optional if the unit has this function 5 PC screen V Menu setting and adjustment 1 Video mode sett...

Page 6: ...RIGHT direction button 7 VOL down LEFT direction button 8 Menu button 9 TV AV button Function switch button 10 Power button 11 DC input jack Car Cord input jack 12 VGA jack 13 SCART jack 14 S video ja...

Page 7: ...p 15 Direction button Left 16 DVD system setup button 17 ANGLE button 18 Direction button Down 19 RANDOM play button 20 SUBTITLE function button 21 TELETEXT buttons 22 Key lock button 23 ZOOM function...

Page 8: ...nu display Screen zooming Page display or cancel RED Display red screen GREEN Display green screen YELLOW Display yellow screen BLUE Display blue screen 2 Remote control battery installation and cauti...

Page 9: ...remote control 2 Do not spill water on the remote control 3 Do not use the remote control for other equipments at the same time 4 If the TV does not operate even when operating the remote control from...

Page 10: ...S VIDEO input jack of the monitor by the S video cable Pretended the video source has S video output jack 6 Insert the AC power to the DC adapter then connect 12V input jack of the monitor to it s DV...

Page 11: ...or the remote control to select the TV function mode The TV will appear the initial channel 1 on the top right corner when the function is on Press the P or P button to select the previous or next cha...

Page 12: ...lete the TV channel searching 2 Press button to enter into picture showing mode The button can allow you 3 Press the P or P button to select the previous page or the next page use the 0 9 numerical bu...

Page 13: ...e the V button firstly the cursor will be on the line of Picture Mode Standard And then press the V or V button repeatedly to select the video mode from Standard Mild Dynamic or User After select the...

Page 14: ...the Advanced menu press the V button the below will display on the screen Image Auto Config Image Position Phase Clock 30 1344 Move Select Exit 1 The cursor will on the line of Auto Config press the V...

Page 15: ...l position as followed Image Position Move Select Exit After the setting press the MENU button to return to the root menu or exit the setting 2 AUDIO MODE SETTING Press the MENU button on the remote c...

Page 16: ...h item from 0 to 100 or Balance from 50 to 50 for each sound Mode After the setting press the MENU button to return to the root menu or exit the setting menu 3 TIME MODE SETTING Press the MENU button...

Page 17: ...tton to return to the root menu or exit the setting menu 4 TUNER CHANNEL MODE SETTING FOR TV MODE ONLY Press the MENU button firstly to display the menu and then use the P button to select the Tuner C...

Page 18: ...ect the item of Auto Search and then press the V V button As shown on the menu the TV will automatically search stations When searching press the MENU button to cancel searching After the searching th...

Page 19: ...ion number Swap To means the destination station and 1 is the station number The TV is playing the current station 6 Press P button to keep the cursor on the line of Swap To you can enter into a stati...

Page 20: ...or set each item select Language firstly press V or V button it can be set at English France German Spanish Portuguese or Italian etc The Blue screen can be set at ON or OFF mode OSD Timeout can be se...

Page 21: ...ease press the number button 2 directly And press ENTER PLAY button to play HOW TO PAUSE PLAYBACK STILL PLAYBACK Press the PAUSE STEP button one time only during playback Press the ENTER PLAY button t...

Page 22: ...magnifies in the center or the picture at 2x 3x 4x 1 2 1 3 1 4 of the normal picture In the ZOOM mode you can use buttons to move the picture for optimum viewing d REPEAT PLAY You can use the REPEAT...

Page 23: ...ng Press the same button again to resume playing with sound Caution Do not increase volume of the TV or amplifier when the system is on MUTE There are chances of the speakers getting damaged when the...

Page 24: ...10 15 20 PREV Exit Start NEXT 2 Input the numbers to select the title and chapter track you want and pressing the buttons to move the cursor then input the next one 3 By pressing buttons to move the c...

Page 25: ...TING SUBTITLES This DVD video player allows you to display the subtitles form those included on the disc on to your TV screen Press the SUBTITLE button during playback you have the option to select a...

Page 26: ...a file name indicates that this is a MP3 file During MP3 playback you cannot access to PLAY MODE folder or songs n CUSTOMIZING THE FUCTION SETTINGS This DVD video player allows you to customize the p...

Page 27: ...5 Screen saver if screen saver on there will be saver display when there is no operation for several minutes 2 AUDIO SETUP You could choose AUDIO OUT mode as SPEAKER SETUP AUDIO SETUP could setup to g...

Page 28: ...ion please check the system according to this table to find out the possible problem If you still can t solve the problem please ensure the product is repaired by qualified service personnel a DVD pla...

Page 29: ...1 Increase the volume value 2 Check whether the TV is at MUTE mode 3 Make sure that the sound system setting is proper 4 Ensure the AV audio signal input cable is connected properly Color distortion...

Page 30: ...qualified service personnel Don t take apart it by yourself 6 Because of a sudden change in temperature or humidity or when warm air comes into contact with any cold parts in the unit condensation may...

Page 31: ...t solution Do not use a solution containing alcohol spirits ammonia or abrasives 2 Cleaning discs When a disc becomes dirty clean it with a cleaning cloth Wipe the disc from the centre outwards Do not...

Page 32: ...tems PAL NTSC3 58 NTSC4 43 SECAM TV FUNCTION TV Standard PAL BG I DK SECAM L DK BG TV tuning system Auto Preset tuning Tuner Integrated and frequency synthesis CATV optional S1 S41 ch Hyper Band Numbe...

Page 33: ...3 5 60 1280x1024 SXGA 80 0 75 1 Modes which are not listed in the above table may not be supported For an optimal picture it is recommended to choose a mode listed in the table 2 You have 13 available...

Page 34: ...ot a problem no need to concern about it 5 To extend the service life of the product we recommend that you use your computer s power management function Note Design and specifications are subject to c...

Reviews: