background image

SAFETY INRORMATION

1

Before using the unit,be sure to read all
operating instruction carefully.Please note
that these are general precautions and may
not pertain to your unit.

1.Read instrucion

All the safety and operating instrcions
should be read before the product is
operated.

2.Retain instructions

The safety and operating instructions
should be retained for future reference.

3.Heed warnings

All warnings on the product and in the
operating instructions should be adhered to.

4.Follow instructions

All operating and use instructions should
be followed.

5.Cleaning

Unplug this product from the wall outlet
before cleaning.Do not use liquid cleaners
or aerosol cleaners.Use a dry cloth for
cleaning.

6.Attachments

Do not use attachments not recommended
by the product s manufacturer as they may
cause hazards.

,

7.Water and moisture

Do not use this product near water-for
example: near a bathtub, washbowl, kithen
sink or laundry tub; in a wet basement; or
near a swimming poll.

8.Accessories

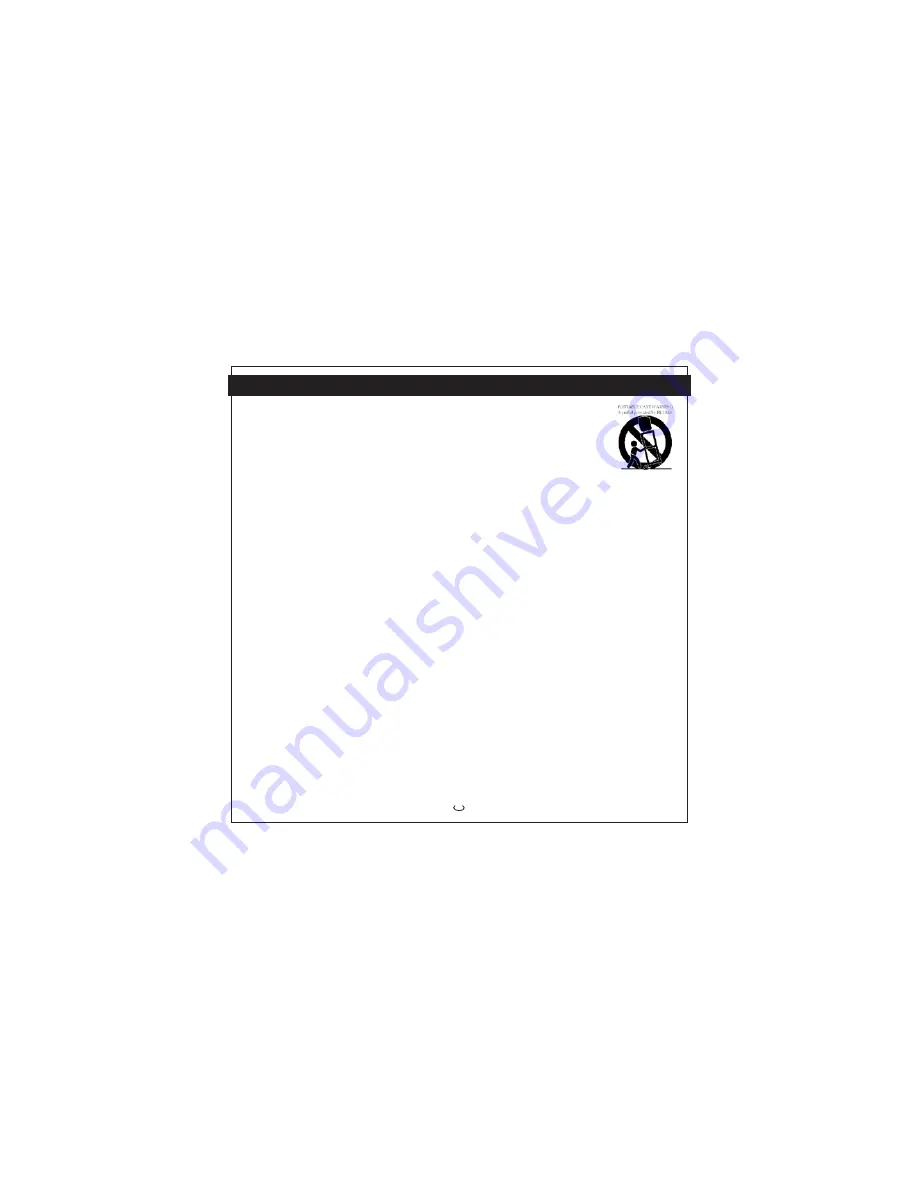
Do not place this product on an unstable
cart, stand, tripod, bracket or table. The

product may fall, causing
serious injuryand serious
damage to the product.
Useonly with a cart, stand,
tripod, bracket or table
recommended by the
manufacturer or sold with
the product. Any mounting of the product
should follow the manufacturer s
instructions, and should use a mounting
accessory recommended by the
manufacturer.

,

8A.An appliance and cart combination
should be moved with care. Quick stops,
excessive force and uneven surfaces
may cause the appliance and cart
combination to overturn.

9.Ventilation

Slots and openings in the cabinet and
in the back or bottom are provided for
ventilation, to ensure reliable operation
of the product and to protect it from
overheating. These openings must not
be blocked or covered. The openings
should never be blocked by placing the
product on a bed, sofa, rug or other
similar surface. This product should
never be placed near or over a radiator
or heat source.This product should not
be placed in a built-in installation such
as a bookcase or rack unless proper
ventilation is provided or the
manufacturer s instructions have been
adhered to.

10.Power sources

This product should be operated only from
the type of power source indicated on the

Summary of Contents for PDAB3600

Page 1: ...DAB MP3 PLAYER PLEASE READ BEFORE USE PDAB3600 OWNER S MANUAL...

Page 2: ...ION 5 6 6 INTERFACE AND OPERATION 9 27 4 CONNECT TO COMPUTER 7 5 OUT OF BOX BEHAVIOUR 8 6 1 Display 6 2 Keys 6 3 Default settings 9 9 12 6 4 General operation 12 6 5 DAB Mode 6 6 Audio Player Mode 6 7...

Page 3: ...le cart stand tripod bracket or table The product may fall causing serious injuryand serious damage to the product Useonly with a cart stand tripod bracket or table recommended by the manufacturer or...

Page 4: ...safety feature If you are unable to insert the plug fully into the outlet try reversing the plug If the plug should still fail to fit contact your electrician to replace you obsolete outlet Do not de...

Page 5: ...overs may expose you to dangerous voltage or other hazards Refer all servicing to qualified service personnel 19 Replacement parts When replacement parts are required be sure the service technician us...

Page 6: ...t to Part 15 of the FCC Rules These limits are designed to provide reasonable protection against harmful interference in a residential installation This equipment generates uses and can radiate radio...

Page 7: ...menu OK Local scan Full scan save to presets Local scan AMUSEER Mp3 2 Battries Logosilk Info button REC button PREV button POWER NEXT button MENU button Func button EQ Logosilk Lable P D HYSICAL ESCR...

Page 8: ...and FM radio so in order for these modes to function headphones must be fitted Use only the size and type of battery specified Be sure to follow the correct polarity when installing the battery as in...

Page 9: ...B Flash Cover and insert the USB Flash Drive plug into the USB port on the computer The unit will turn on automatically 7 Computer USB jack USB cable When connect PC the MP3 is ON state already not ne...

Page 10: ...g screen the frequency being scanned the number of station found and a progress scanning bar will be displayed AMUSSER DAB Scanning 225 648MHz If no stations are found the unit will return to Station...

Page 11: ...key Mode DAB MP3 FM Mic record Voice playback Menu sub Menu DAB MP3 FM Mic record Voice playback Menu sub Menu DAB MP3 FM Mic record Voice playback Menu sub Menu Left 5 way Navigator Right 5 way Navi...

Page 12: ...me Navigate the menu items Pause Resume playback Select the menu items Enter the DAB menu Pause Resume recording Pause Resume playback Toggle speaker on off Pause Resume recording Enter the FM menu En...

Page 13: ...p recording Mic record Press hold Power key for 3 sec to turn off the unit Press briefly to stop recording DAB MP3 Press hold Power key for 3 sec to turn off the unit Press briefly to stop playback Po...

Page 14: ...ack mode Power saving tba Flat Cleared none set From 1st power on set to DAB Set to mid normal DRC Set to tba 1 The unit is supplied with the following default settings which on a factory reset being...

Page 15: ...Delete files Info DAB version FM Go to Scan Settings Delete files Info Audio Player Go to EQ Play Mode Settings Delete files Info Voice Playback Go to EQ Play Mode Settings Delete files Info Mic Recor...

Page 16: ...t One Repeat All Shuffle Shuffle Repeat and Normal As the mode is changed the corresponding icon for the selected play mode will appear on the top line For normal mode there will be no icon Play all t...

Page 17: ...2 Power Savings In the settings menu navigate by UP DOWN key until POWER SAVINGS option is highlighted Press SELECT to enter POWER SAVINGS adjusting screen Press UP DOWN to adjust the power saving set...

Page 18: ...s UP DOWN to adjust the backlight off time Press SELECT or NAV RIGHT to change the level The levels for selection are infinity 50 40 30 20 10 5 seconds Press NAV LEFT to return to menu 6 4 2 3 5 Facto...

Page 19: ...ys can used when key lock is set to the lock position 6 4 4 VOLUME When listening in any mode volume is controlled using NAVIGATE UP and DOWN key When the volume level is changed a volume icon will be...

Page 20: ...option in the DAB menu This is found by pressing the MENU key 6 5 4 Navigating DAB Services To access to service list press the NAVIGATE RIGHT button the service list will be shown as below The servic...

Page 21: ...by UP DOWN key until SETTINGS option is highlighted Press RIGHT or OK to enter Settings menu In the DAB settings menu navigate until Station Order is highlighted and RIGHT key to enter the Station Or...

Page 22: ...et In the normal screen of DAB Press PRESET key to toggle between Preset save and Preset select mode Preset the preset key once to enter preset save 6 5 6 1 Preset Save Preset LEFT RIGHT to change the...

Page 23: ...ed automatically and a warning screen will be shown to indicate memory full After a 5 seconds timeout or LEFT key is pressed it will return to the normal screen of DAB 6 6 Audio Player Mode Press RECO...

Page 24: ...re Sort the audio files according to the alphabetical order of genres For songs that belong to the same genre they will be further sorted by the artist name then the album title and then the track num...

Page 25: ...n of FM Radio will be shown If it is the first time to turn on the radio default frequency 87 5MHz will be tune to The tuned frequency is shown on the second line 6 7 FM Radio 6 7 1 Tune to Other Freq...

Page 26: ...ed preset location is shown Press OK to save the current FM frequency to the desired preset location 6 7 2 2 Preset Select Mode A message will be shown to indicate the FM frequency is saved successful...

Page 27: ...e files will be named as F002 mp3 F003 mp3 etc If the memory is full during recording the recording will be terminated automatically and a warning screen will be shown After a 5 seconds timeout or LEF...

Page 28: ...he voice recordings files are listed as below Use the NAV UP and DOWN to select to file to listen to and press OK or NAV RIGHT to play the file Whilst listening to a recording use the NAV RIGHT and LE...

Page 29: ...The USB cable is not securely connected Make sure USB cable is securely connected No buttons work HOLD switch is in the hold position Slide switch to the Unlock position 6 9 Trouble Shooting If you e...

Reviews: