


Record Operations
Before using the record operations, please check the two tuner(TV/PVR tuner)
connections in connection pages.
Watch One Channel While Recording Another
The recording will receive the digital TV signal from the PVR tuner and the watching
will receive the digital TV signal from TV tuner, this makes it possible to watch one
channel while recording another channel.
There are 2 ways to start a recording:
1).Press the RECORD key while watching the live TV, the recording of the current
channel will start in several seconds, you can press the RECORD key again while
recording started to set the duration of the recording, the default duration is 2 hours.
2).Schedule Recording in full EPG menu, press the RECORD button to booking a
recording once you selected a valid programme event.
Once recording takes effect, the user can changing the current viewed channel as
they want while the system is doing recording at the background.
Changing the viewed channel while recording
Press the CH+/- keys to change the watching channel while the PVR is doing
background recording.
The RECORD button.
Pressing the
RECORD
button, the record will start using the PVR tuner, you can press
the CH+/- keys to change your viewing channel while the first recording in background.
A second record will start using the TV tuner if you pressed the RECORD button again.
If you did 2 recordings at the same you cannot change the channel unless you stop one
of it.
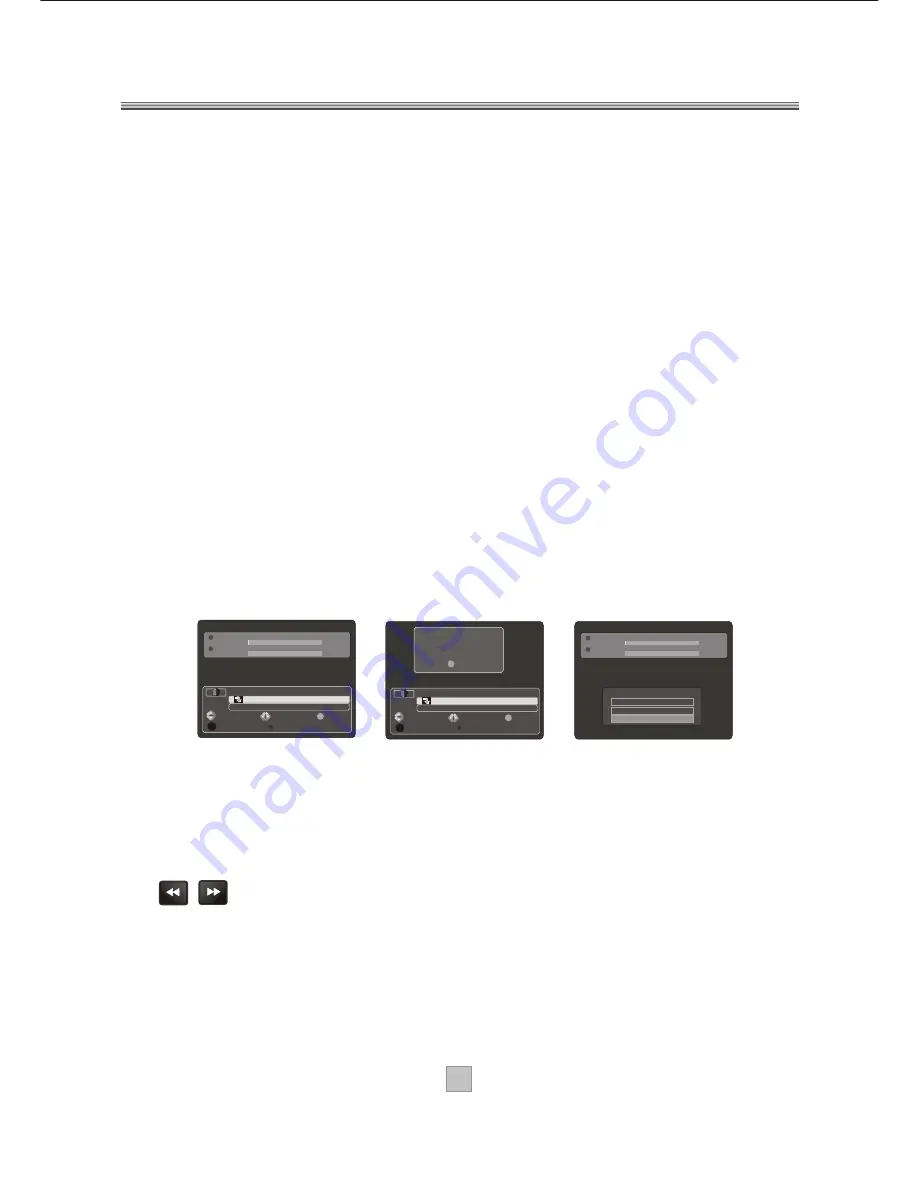
The STOP button
Press the
STOP
button will stop the current time shift or confirm to stop the recording.
The PVR INFO button
Press this button, the detailed time information and progress bar will be displayed
while recording or playback the program.
The button , SLOW and PAUSE button.
If the Time Shift enabled by pressing the PAUSE button one, you can use these
buttons to do time shifting feature.
21
21
Recording 1 18. StarDate
Recording 2 21. TMF Top 10
0:01:44
0:00:27
Stop Recording
Stop recording 1
Stop recording 2
,
Dont stop recording, exit
Warning
There are two recordings, can
not change channel.
Exit
Exit
21 TMF
Switch Event
Switch Channel
Exit
View
Record
Exit
OK
16:00 - 16:59 TMF Top 10
17:00 - 17:59 Matchmaker
16:02
18 The HITS
Switch Event
Switch Channel
Exit
View
Record
Exit
OK
16:00 - 17:59 StarDate
18:00 - 19:59 Classic Hits Weekend
16:00
Recording 1 21. Skools Out!
Recording 2 18. StarDate
0:01:08
0:00:01
Summary of Contents for AMTDT3502
Page 27: ......