19
CONNECTIONS
a n d c o p y i n g
To the TV via antenna cable (if you are not using a RCA cable)
◆
If you are using a RCA cable
, select the AV
input on the TV to see the picture from the video.
◆
If you are not using a RCA cable,
select the
button number on the TV reserved for video input
to see the picture from the video.
If you are not using a RCA cable, your video can transmit pictures and sound to the TV via the
coax aerial cable. Just tune the TV to the video's transmitting channel (factory set to UHF CH
26). Tune the TV carefully to ensure the best pictures and sound.
Once you have carried out the steps in
"Connecting up the video recorder" (page 4),
switch on your TV.
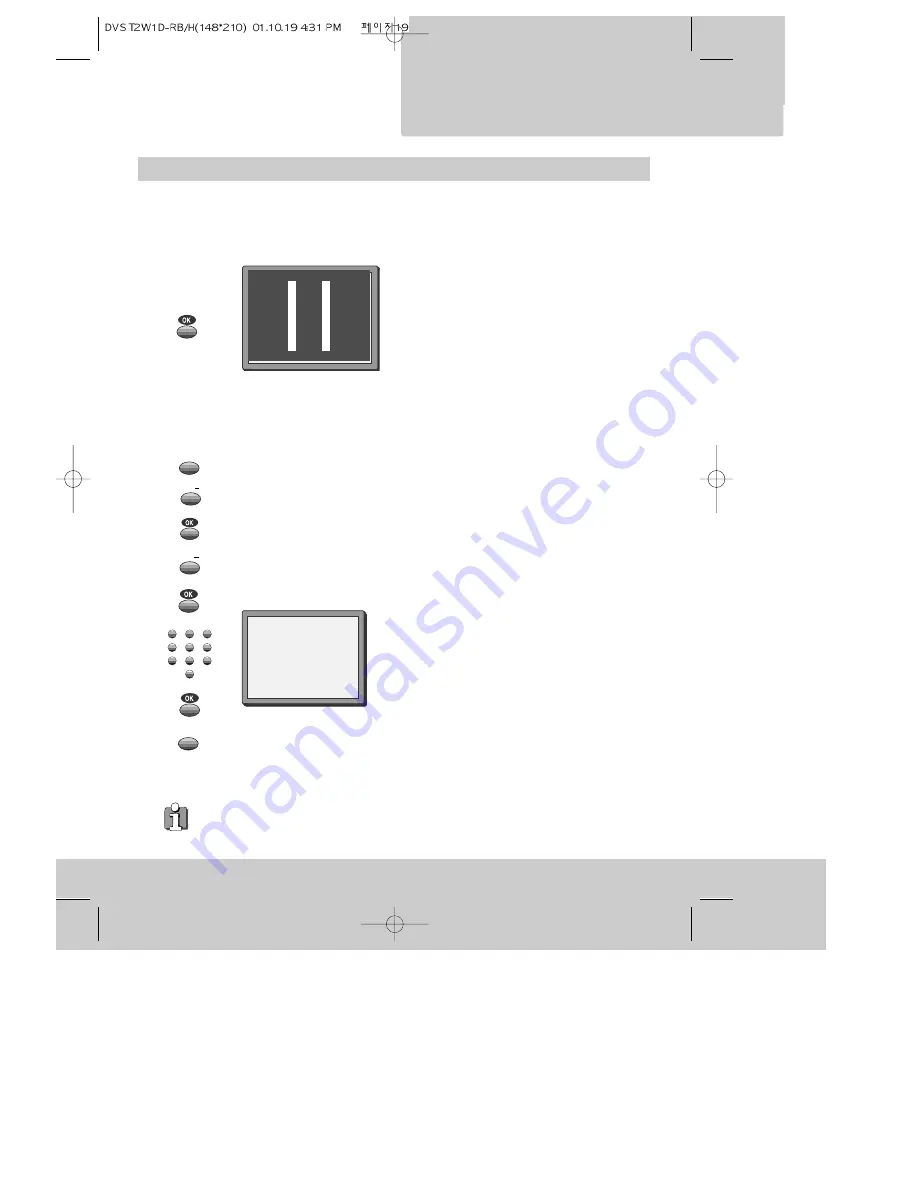
Press the OK button of the video’s remote control
longer than 5 seconds to call the video´s test
picture.
Tune the TV to the test picture using the channel
pre-set functions of your TV as described in its
manual.
Once you have found the test picture, follow this
instructions within your television manual to store
this new channel into a programme location.
Press the OK button of the video’s remote control
again longer than 5 seconds to release the test
picture.
Call the video’s "MAIN MENU" choose
"VCR Setup" then "RF Output Set".
Type in the free channel.
Store and exit.
If the
quality of the test picture
transmitted to the TV is poor due to interference
caused by a station transmitting on channel 26, you can tune the video to a different
transmitting channel. Find a free channel between 21 and 69 on your TV.
RF OUTPUT SET
0-9:SELECT (21-69)
OK:CONFIRM MENU:END
PR
26
◆
If the quality of the test picture transmitted to the TV is poor, fine-tuning on the TV may help
(refer to the TV manual).
5 sec.
2x
2x
MENU
MENU
PR
PR
1
2
3
4
5
6
7
8
9
0


