DISASSEMBLY INSTRUCTIONS
2.
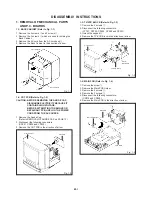
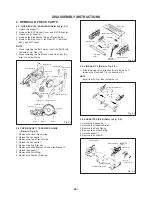
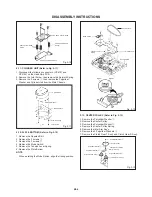
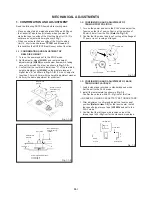
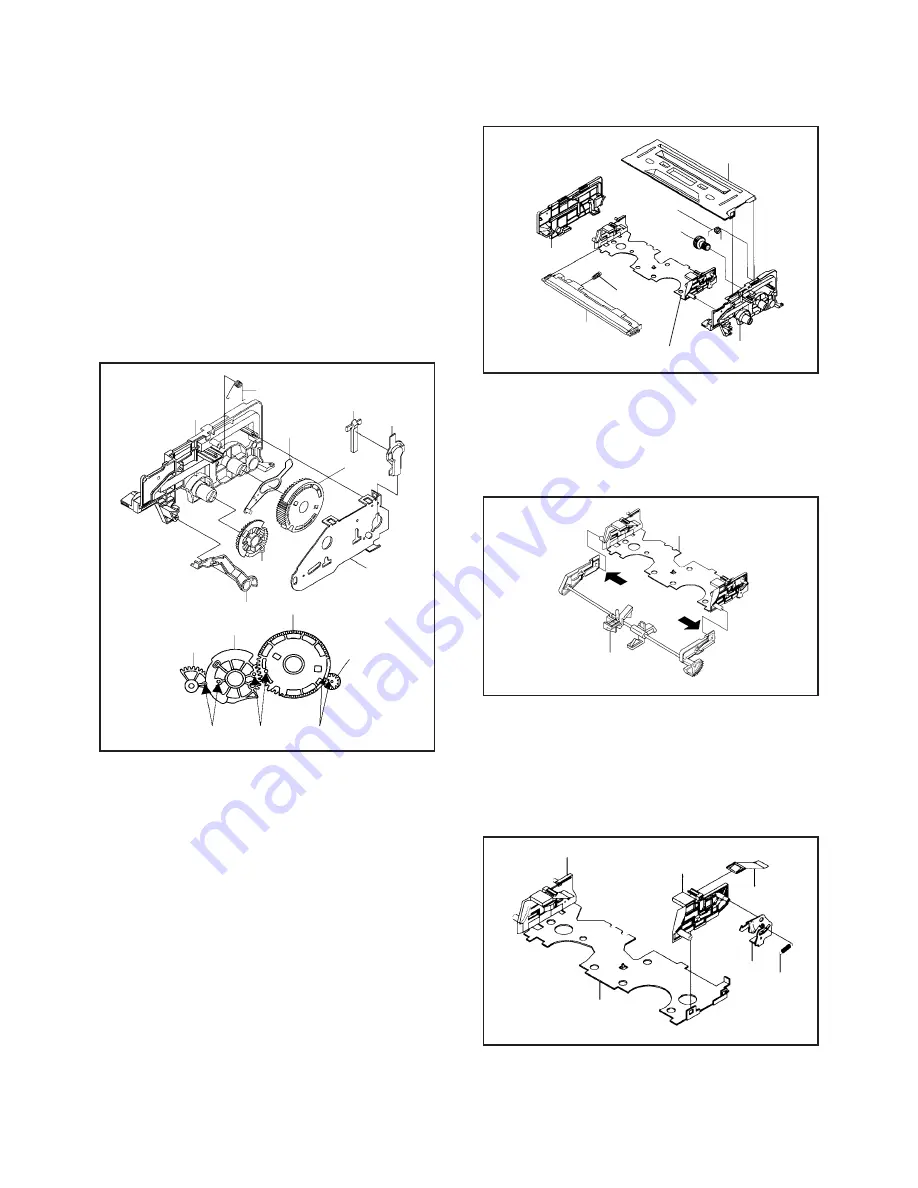
2-1: LINK GEAR (R) / CAM GEAR (Refer to Fig. 2-1)
1.
2.
3.
4.
5.
Unlock the support
1
.
Remove the BOT Sensor Cover and BOT Reflector.
Unlock the 3 supports
2
.
Remove the Side Bracket R2 and Spring Earth.
Remove the Flap Lever, Link Gear (R) , Cam Gear
Ass'y and BOT Lever.
REMOVAL OF DECK PARTS
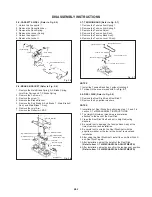
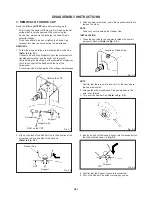
2-3: LINK ASS'Y 3 (Refer to Fig. 2-3)
1. After removing in the direction (A) of Link Ass'y 3,
remove the Link Ass'y 3 in the direction (B).
NOTE
Install the (B) first, then install the (A).
(A)
(B)
Fig. 2-3
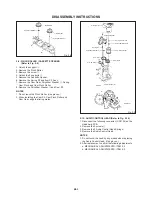
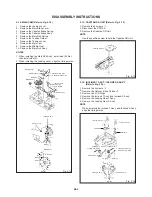
2-4: CASSETTE SIDE R (Refer to Fig. 2-4)
Cassette Holder Ass'y
Locker R
Locker Spring
Pack Spring
1
1
2
1. Unlock the 2 supports
1
.
2. Remove the Cassette Side R.
3. Remove the Pack Spring.
4. Remove the Locker Spring.
5. Unlock support
2
.
6. Remove the Locker R.
Cassette Side L
Cassette Side R
Link Ass'y 3
NOTE
When installing the BOT Lever, insert the BOSS into
the hole of Linl Gear (R).
When installing the Link Ass'y 3 and Link Gear (R),
align the timing Marks.
Cassette Holder Ass'y
3
2
2
Side Bracket R1
Joint Gear
2
2
Tape Piece
Guide
1
1
Side Bracket L
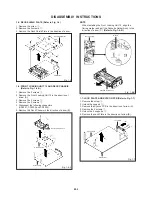
Fig. 2-2
Top Bracket
Lever Rec
Spring
Cassette
Holder Ass'y
1.
2.
Spring Earth
BOT Lever
1
BOT Reflector
BOT Sensor
Cover
Cam Gear Ass'y
2
Side Bracket R1
Side Bracket R2
Cam Gear Ass'y
Flap Lever
Link Gear (R)
Marker
2
2
Link Gear (R)
Fig. 2-1
Joint Gear
Marker
2-2: TOP BRACKET / TAPE PIECE GUIDE
(Refer to Fig. 2-2)
1. Remove the Lever Rec Spring.
2. Unlock the 2 supports
1
.
3. Remove the Tape Piece Guide.
4. Unlock the 4 supports
2
.
5. Remove the Top Bracket.
6. Remove the Side Bracket R1 and Side Bracket L.
7. Unlock the support
3
.
8. Remove the Joint Gear.
9. Remove the Bracket R Spring.
Marker
Link Ass'y 3
Bracket R Spring
Fig. 2-4
B2-1


