4
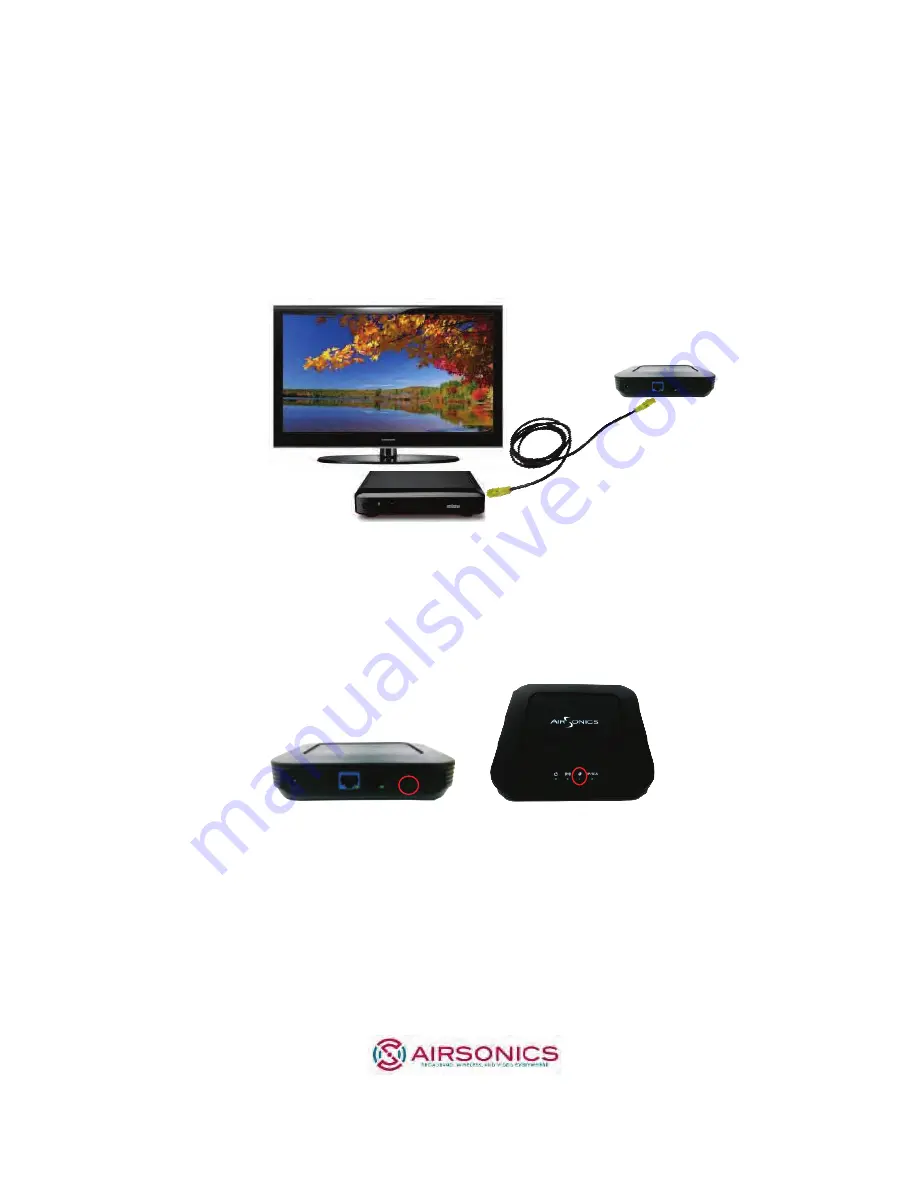
Step 3 – Placement and network connections
A. Place the GXT542U Client near the Multicast Video Set-Top
Box (STB).
B. Insert the Ethernet cable into the STB and the other end into
one of the Ethernet ports of the GXT542U.
Step 4 – Pair the Client with theAP
A. Press the WPS button on the back of the GXT542U AP. The
WPS LED on the top front will flash for up to 2 minutes,
indicating it is ready for association with Clients.
B. Within 2 minutes, press the WPS button on the GXT542U
Client. The WPS LED will continue flashing until associated
with the AP and stop at which time the WLAN LED will
illuminate.
WPS Button
WPS LED


