


Bundled Software
Mega DV Manager and other
bundled software packages
Mega DV Manager is your camera's driver as well as basic
operating software. Your camera also comes bundled with the
following video and image processing software. For more
information, see each application's help file or visit the
supplier's website.
NetMeeting
Http://www.microsoft.com/windows/netmeeting/default.asp
Video
Live
Http://www.goCyberlink.com
Power Director Pro
Http://www.goCyberlink.com
Photo Express SE
Http://www.ulead.com
Photo Explorer
Http://www.ulead.com
Bundled Software
24
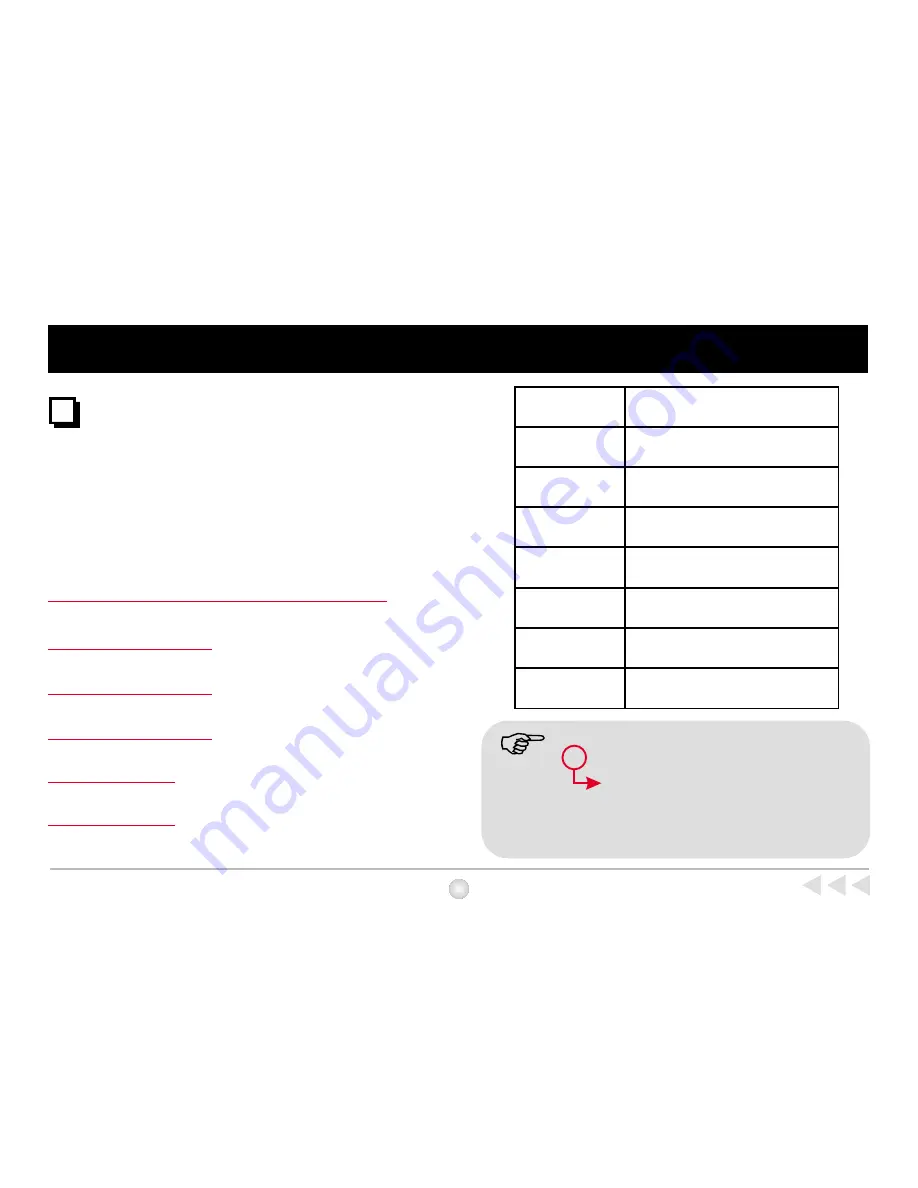
Total Video Conference Software
Solution
(2) NetMeeting
Main Feature
Applications
(1) Mega DV
Manager
Mega DV Manager configuration
software
(3)
Live
Video
(4) Power Director
Pro
(6) Photo Explorer
(7) Photo Express
SE
Create and Send Video E-mails
Edit and Create Movies on CDs.
Edit and Manage Your Photos and
Albums
Manage Your Visual File
H: DV Disk ( DCIM folder)
C:/ Program Files /Mega DV Manager/
Work Temp
(depends on your PC setting.)
When using other applications to capture image, please see P30.
1. Files in your camera are stored in:
2. Files captured in Live mode are stored in:
(5) Media Show
Media Show
Http://www.goCyberlink.com
Make Animated Slide Shows for the Web
or Screen Saver


