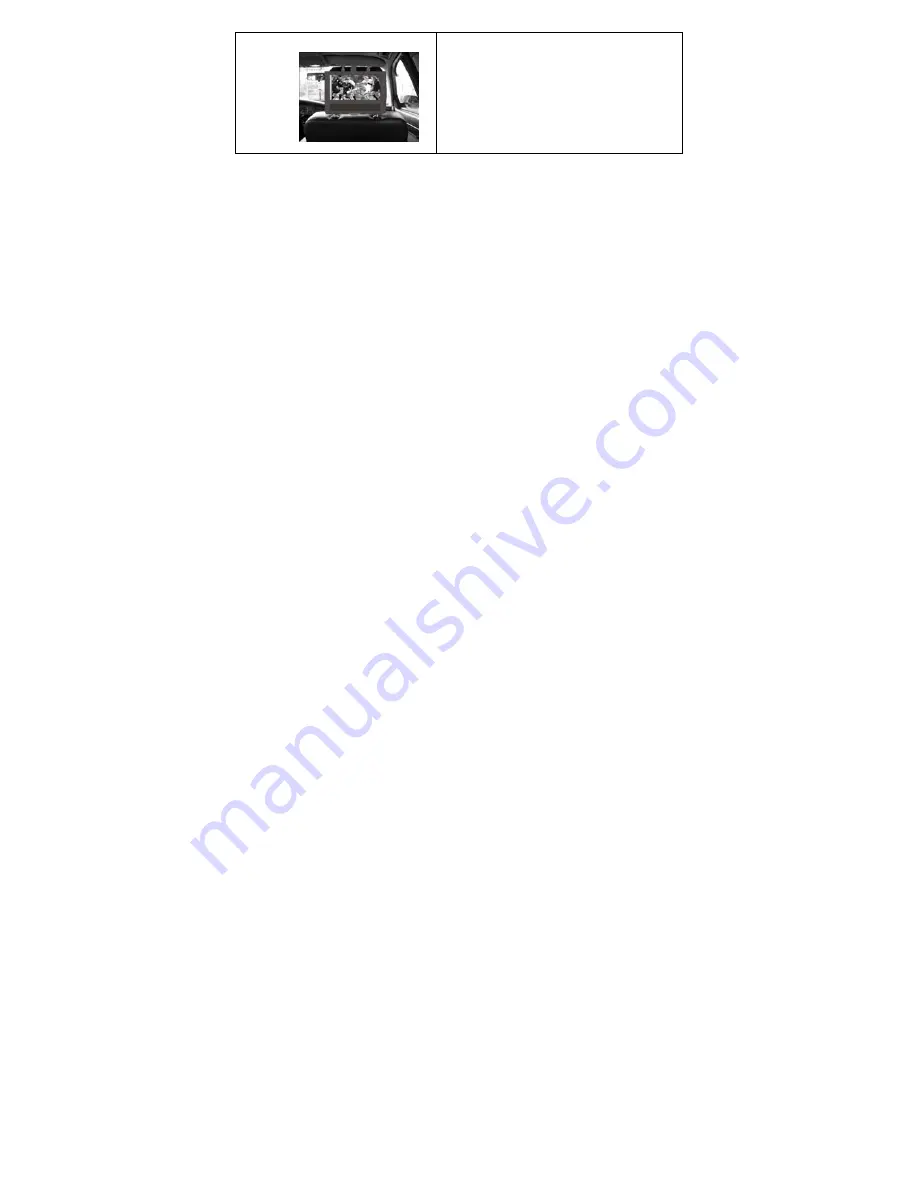
5. Your Portable DVD Player includes a sturdy
carrying bag/mount for the ultimate in
portable
convenience! The bag/mount is easy to
attach
on fits on nearly any car or truck headrest.
- 28 -
Page 1: ...7 Portable DVD Player PDV 919 Operation Manual...
Page 2: ...upported by this player Usage of Power Switching Adapter Power Supply Using and Charging the Battery Pack Detaching Battery Pack Using a Car Adapter Using Headphones About Rechargeable Battery Basic O...
Page 3: ...uce heat 9 Do not defeat the safety purpose of the polarized or grounding type plug A polarized plug has two blades with one wider than the other A grounding type plug has two blades and a third groun...
Page 4: ...erating or the DVD is placed near an air conditioner In the hot summer season the DVD player is moved from an air conditioned room to a hot damp place to be used The DVD player is being operated in a...
Page 5: ...t for listening to movies or music in private 11 REVOLVING TFT LCD screen Adjust the screen for custom viewing by revolving it horizontally about its axis or lay it flat with the screen facing up 12 S...
Page 6: ...on 10 Stop button 11 Play button 12 Menu button 13 Title button 14 Bright up down 15 Speaker For enjoying high quality stereo music 16 Mode button The player is with TFT display mode normal screen 4 3...
Page 7: ...onnecting this jack speaker volume is turned off 3 Audio output input and optical digital output jack 4 Video output input jack 5 Switch position between AV IN and AV OUT Switch to IN then the player...
Page 8: ...ress to display titles if present on the disc 4 Direction buttons Press to select menu items 5 ENTER button Press to confirm the items or setting 6 SETUP button Press to access the DVD player s setup...
Page 9: ...c menu 16 PAUSE button Press to pause playback Press PLAY button to resume normal playback 17 STOP button Press once to stop playback and then press PLAY button to resume normal playback Press the but...
Page 10: ...ly 2 The easiest way to connect the DVD player to a television is via the supplied Audio Video connections Connect the audio video cable from the DVD player to the TV s audio video inputs Connecting t...
Page 11: ...was applied to the battery Remove this film 3 Insert the battery into the receptacle and insert the receptacle into the remote 4 For best results aim the remote directly at the player s receiving wind...
Page 12: ...ay most recordable CD R or erasable CD RW CDs but playback of CD R or CD RW discs created on a computer requires proper formatting and finalization of the disc for audio playback Some computers and or...
Page 13: ...d of the power cord to a grounded electrical socket Note Please turn player s power off first and then unplug the power to prevent malfunction Pre operation 1 Connect to power 2 Lift the main cover up...
Page 14: ...then slide the Battery Pack toward the front of the Player until you hear it click and lock into place 3 Charging the Battery Pack Plug the Power Adapter into the Player s DC IN 12 V Jack located on R...
Page 15: ...unit 1 Slide and hold in position Press the tab towards the front of the unit Hold the tab in the up position 2 Taking off the Battery Pack Gently slide the Battery Pack toward the back of the Unit Ca...
Page 16: ...to right side of the unit s Headphone Jack Quick Tips Excessive loud usage of headphones could damage your hearing Turn down the Volume before you connect the headphones and then raise the volume to s...
Page 17: ...but playing time varies from disc to disc Note New batteries should be fully charged before initial use Battery should only be used and charged When temperatures are between 32 95F Never put the batt...
Page 18: ...ly search for the disc and when it finds it play will begin Warning Do not play poor quality discs to prevent damage to the lens Start to Playback 1 Press the PLAY button on the remote control 2 Press...
Page 19: ...screen Title Menu 1 Press the TITLE button on the remote control during payback The title menu will appear on the TFT screen 2 Press direction button or the number buttons to select the title or disc...
Page 20: ...t up 2 Press right direction button on the remote control to select the correct category 3 Press the direction button to select your preference The item you select will be highlighted 4 Press the ENTE...
Page 21: ...automatically works if there has been no operation for a period of time Speaker Setup Downmix Select LT RT in DOWNMIX then the player will output mixed audio in a way prescribed by Dolby Select Stere...
Page 22: ...s If there is no specific preset in the disc then the set audio subtitle and menu language will have the priority to be played first 3 Parental DVD discs equipped with the child lock function are rate...
Page 23: ...f the selected segment A B To resume normal playback press the A B button again Subtitle A DVD disc can be recorded with up to 32 subtitles Press the SUBTITLE button on the remote control the mode of...
Page 24: ...the disc is removed Press the STOP button twice or open the disc tray playback will then be stop and when PLAY button is pressed the play will begin from the beginning of disc Playing an MP3 MP3 is t...
Page 25: ...effective There are four kinds of rotational modes you can use direction button to choose LEFT Inversion Normal RIGHT Enantiomorphism Normal UP Rotate up DOWN Rotate down 3 Zoom of Picture ZOOM butto...
Page 26: ...ise Gently wipe from the inside to the outer edge Cleaning Care Use a soft dry cloth for cleaning For stubborn dirt soak the cloth in a detergent solution ring well first and wipe Use a dry cloth to w...
Page 27: ...panel Pos B 2 Revolving the screen horizontally about its axis in the clockwise only The maximum revolving degree is 180 position C at which you will hear a click and the screen faces backward If you...
Page 28: ...5 Your Portable DVD Player includes a sturdy carrying bag mount for the ultimate in portable convenience The bag mount is easy to attach on fits on nearly any car or truck headrest 28...
Page 29: ...to play and play a section repeatedly Make sure the player is not in A B repeat status Press A B button to cancel A B repeat status Is your disc dirty or warped Clean or replace disc The remote contr...
Page 30: ...udio Out Digital Audio Out Out Level 0 5VP P Load 75 Video Out Video Out Out Level 1VP P 0 2 Load 75 Unbalanced Negative Power AC100 240V 50 60Hz Power Consumption 25W Dimension w o battery 215 mm x 1...
Page 31: ...1 Normal charge time is between 4 hours 2 Do not charge for more than 8 hours 3 Unnecessary charging of the battery will reduce battery service life ATTENTION Charging your battery for more than 8 ho...