AGneovo FM-27 User Manual Download Page 6


Your LCD has been adjusted to its optimal status before shipment. You can also adjust the 
image in accordance with the following allustrations and steps. 
 
● Press the “MENU” button to start the OSD feature. 
● Click the “◄” or “►” to select the function to be adjusted. 
● Click the “MENU” button to access into the function to be adjusted. 
● Click “◄” or “►”button to change the current setting of the function. 
● To exit OSD MENU or go back to the previous action by “EXIT”. 
● To repeat above steps for changing the setting of the other function. 


● Contrast : Press “◄” adjust the Contrast. 
● Brightness : Press “►” adjust the Brightness. 
● Auto : phase and clock when OSD is not shown. 
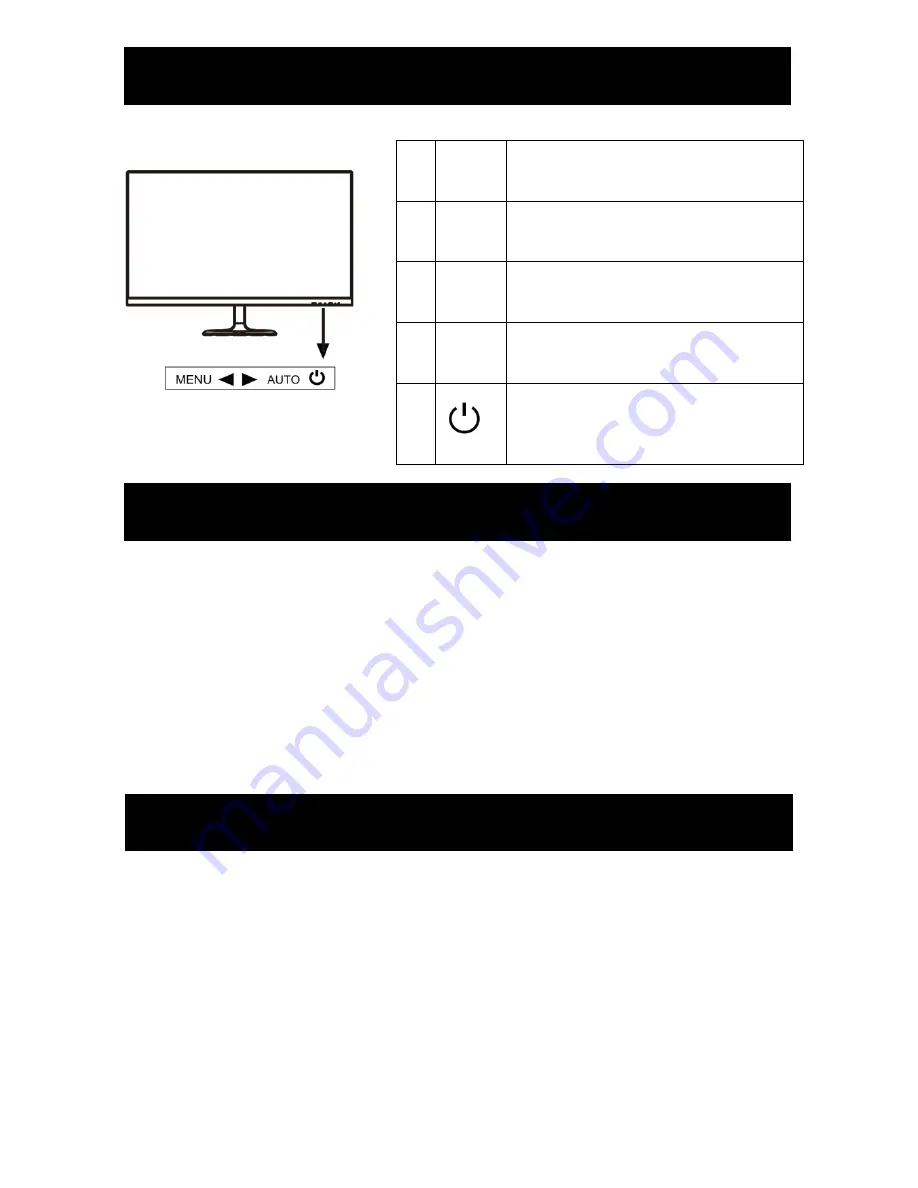


MENU 

Press it to open the OSD MENU, to 
select MENU options when the OSD 
MENU is displayed. 

◄ 

Hot key to adjust Contrast when the 
OSD is off. 
Adjust value up selection button 

► 

Hot key to adjust Brightness when the 
OSD is off. 
Adjust value down selection button 

AUTO 

Hot key to automatically optimize 
positions, phase and clock when OSD 
is not shown. (VGA only) 


Power this button to turn on or off: 
LED Green: Normal; 
LED RED: Power Saving; 
LED-Off: Power Off. 

Operate Explanation 

OSD Control 

Front Panel Controls 

Summary of Contents for FM-27

Page 1: ......

Page 2: ...tion 2 Important Safety Instruction 3 Special Notice 3 Connection 4 Stand Assembly Instruction 4 Front Panel Controls 5 Operate Explanation 5 OSD Control 5 OSD Menu 6 Specification 7 Display Mode 7 TA...

Page 3: ...wing provisions of directives applicable 2006 95 EC Low Voltage Directive 2004 108 EC EMC Directive 2009 125 EC ErP Energy related Product Directive EC No 1275 2008 and 642 2009 Implementing 2011 65 E...

Page 4: ...ngerous voltage that could cause fire or electronic shock Refer all servicing needs to authorized service personnel 8 Unplug this product from the wall outlet and contact authorized service personnel...

Page 5: ...and monitor adapter to the nearest socket 4 Turn on PC and monitor image possibility shows successful installation If not please double check all the connections NOTES 1 To connect signal cable and p...

Page 6: ...changing the setting of the other function Contrast Press adjust the Contrast Brightness Press adjust the Brightness Auto phase and clock when OSD is not shown 1 MENU Press it to open the OSD MENU to...

Page 7: ...on the screen VGA only V Position Move the image up and down on the screen VGA only Clock Adjust the clock pulse of the image VGA only Phase Adjust the focus of image VGA only OSD Menu Language Select...

Page 8: ...V 2A Power Cosumption 30W 35W Dimension 535mm W x 402mm H x 198mm D 612mm W x 445mm H x 198mm D Net Weight 3 1kg 3 8kg Display Mode Hori sync kHz Vert sync Hz Pixel Clock MHz Sync Polarity H V VGA 640...

Reviews: